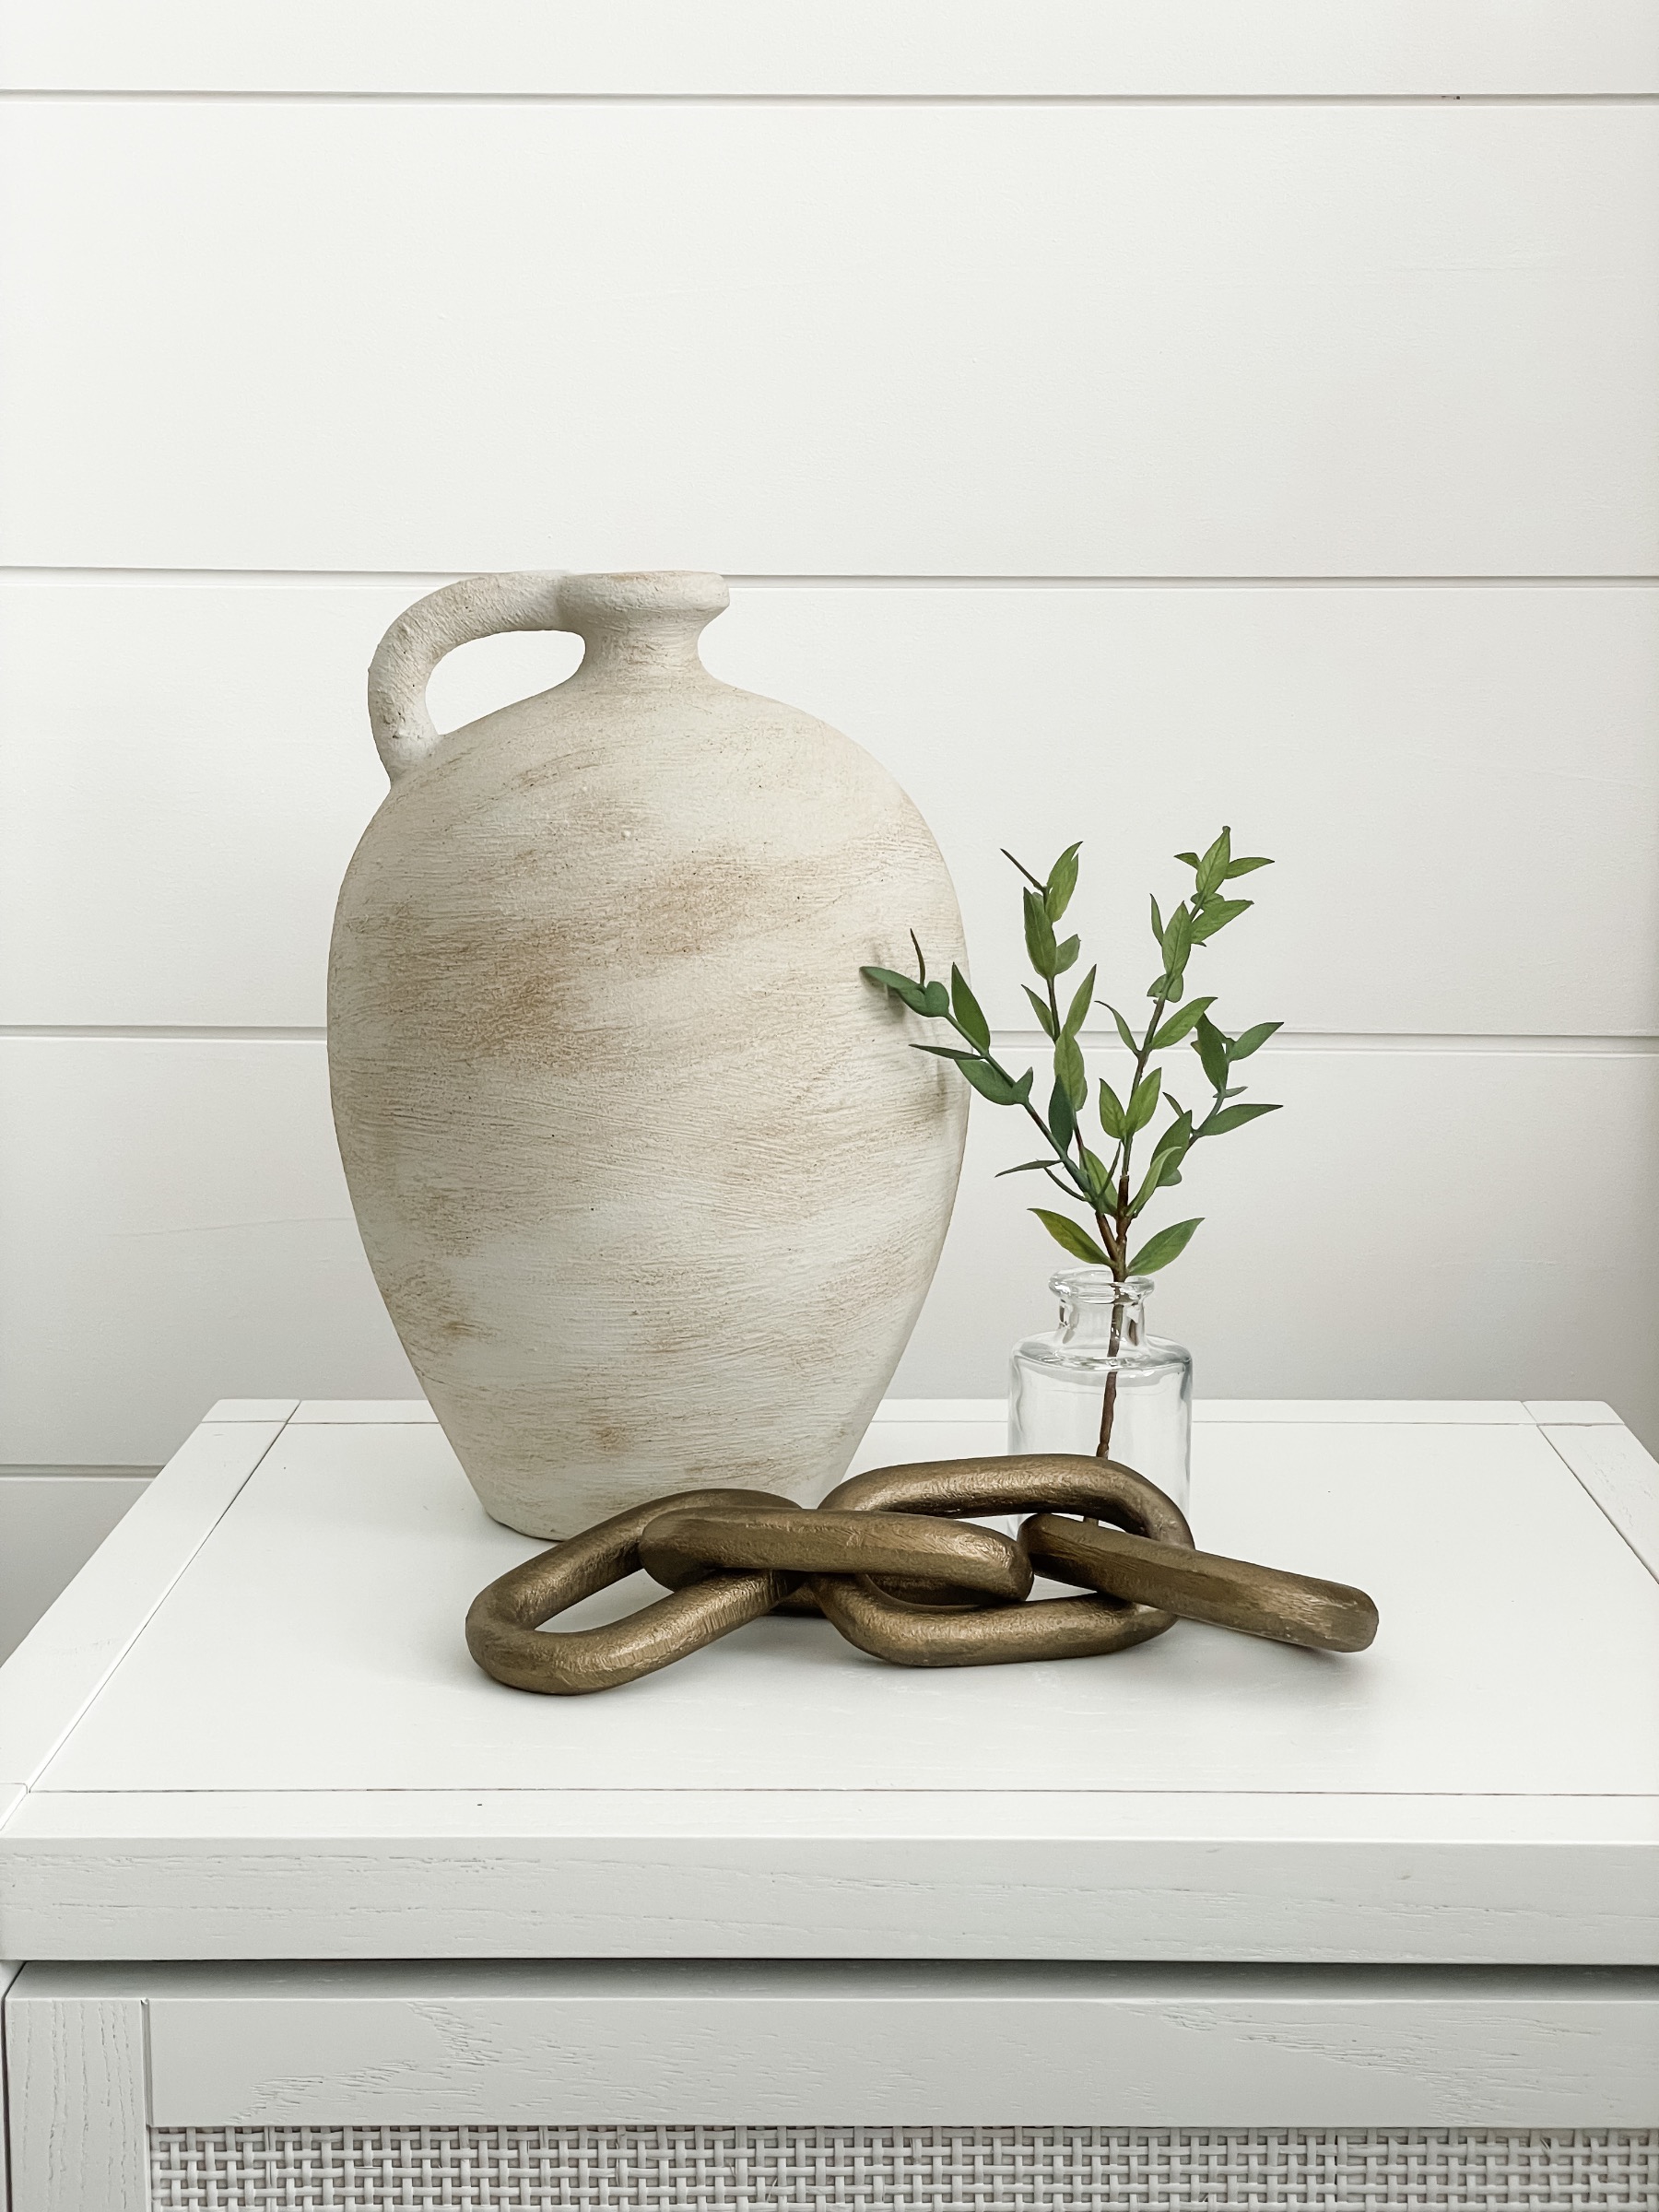
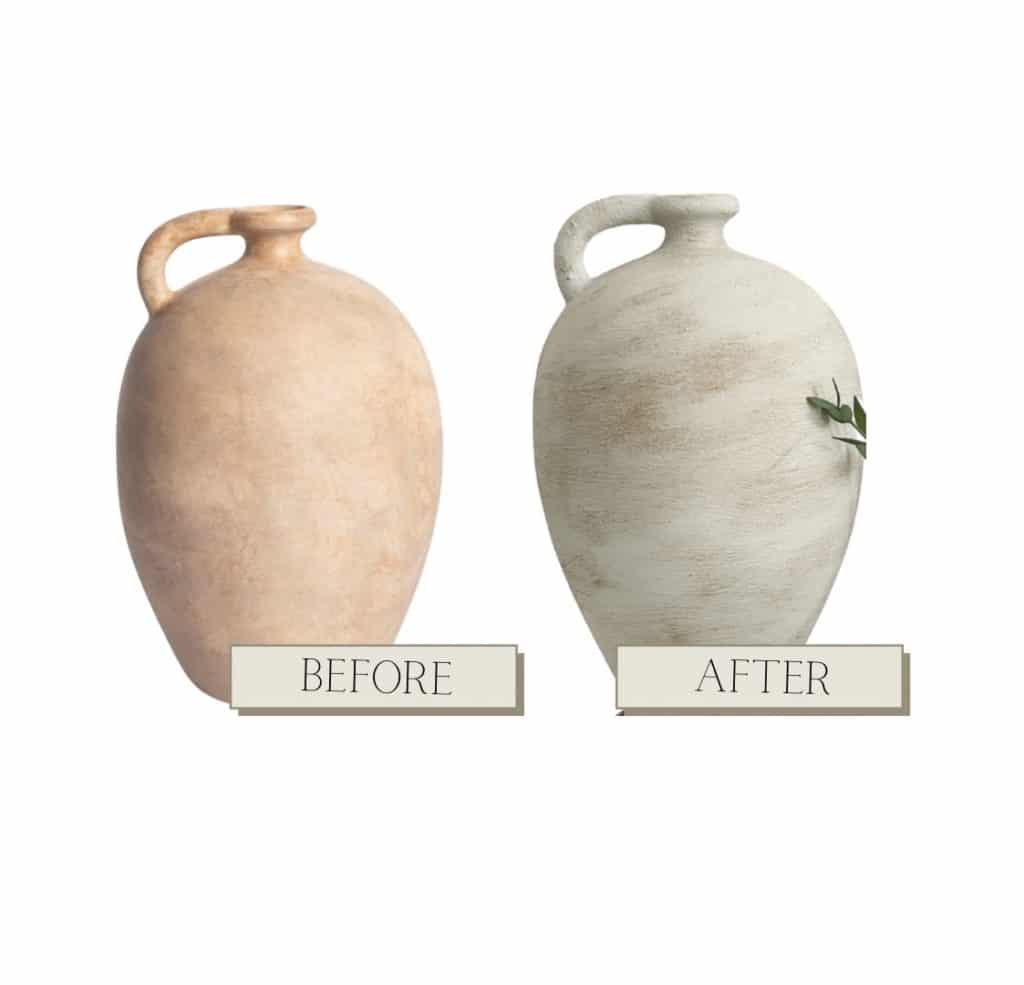
DIY Aged Vase
One of the best tips that I can give when shopping for home decor pieces such as vases and decorative bowls is to never pay attention to the color. You can easily use paint to change the color of practically anything. Instead, focus on things that you can’t change- like the shape of an object. As long as you have a base that you like, you can customize any piece to your liking!
In this post I will show you how to give an “aged” or “vintage” appearance to any vase that you may have using things that you most likely already have around your home!
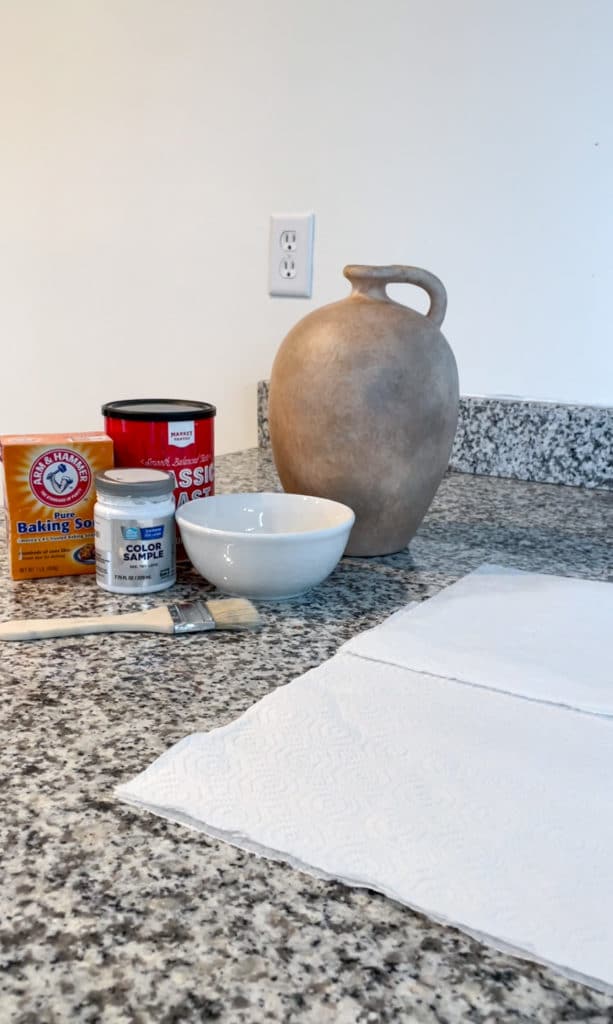
SUPPLIES NEEDED:
- “Crushed Ice” Sherwin Williams paint sample (or any paint color of choice)
- Paint brush
- Baking soda
- Coffee ground
- Paper towels
- Decorative piece of choice (vase, bowl, etc.)
Apply base coat of paint
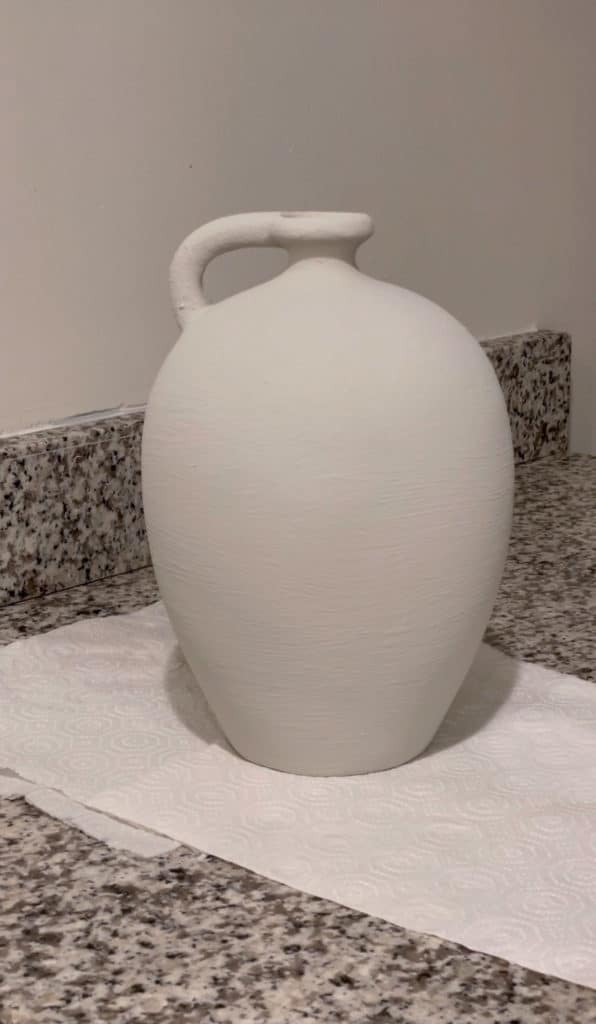
In order to add some texture to your vase start off by mixing some baking soda into your paint. The more baking soda you add, the more texture it will create. Eyeball the amount of baking soda that you add in until you have reached your desired consistency.
Coat you vase evenly in your paint/baking soda mixture. Let dry and repeat coat if needed (it took me two coats).
Create "aged" look
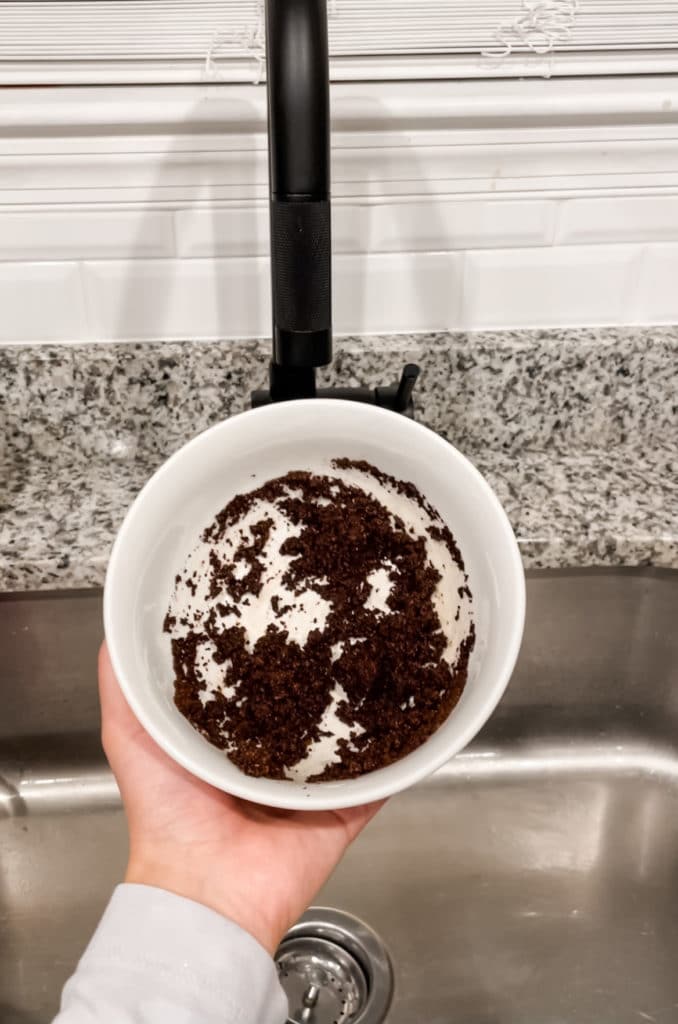
To create an “aged” look we’re going to be using coffee grounds. This is similar to the “dirt method” that you may have heard of.
Place coffee grounds into a bowl and mix with a little bit of water. You want to add enough water to make the coffee grounds damp, but not enough to have a liquidy consistency.
Using a dry paper towel, press into the coffee grounds and apply the mixture onto your vase. I highly recommend folllowing the contour of your vase rather than applying the mixture in various different directions. This creates a more seamless and natural look in my opinion
Next go in with a damp paper towel to remove any excess coffee grounds. Use that same damp towel to blend the coffee ground pigment into your vase.
Continue adding/removing coffee grounds mixture until you have achieved your desired look.

It’s that quick and easy! This technique is perfect for pieces found in a thrift store or if you simply want to give a new look to a piece that you already have at home.
If you would like to see more of this project in action check out @ourblissfulnest on Instagram! There you can find a highlight titled “DIY Aged Vase” where you can see step-by-step video progress. As always, if you decide to try this project out feel free to tag @ourblissfulnest on your Instagram post or send me a picture via DM or email. I would love to see how it turns out!
Disclaimer: This post contains links in which I do earn a small commission from if you decide to purchase through them. This comes at no additional cost to you and as always your support is greatly appreciated!