Ourblissfulnest

Giana faux marble countertop paint kit
DIY

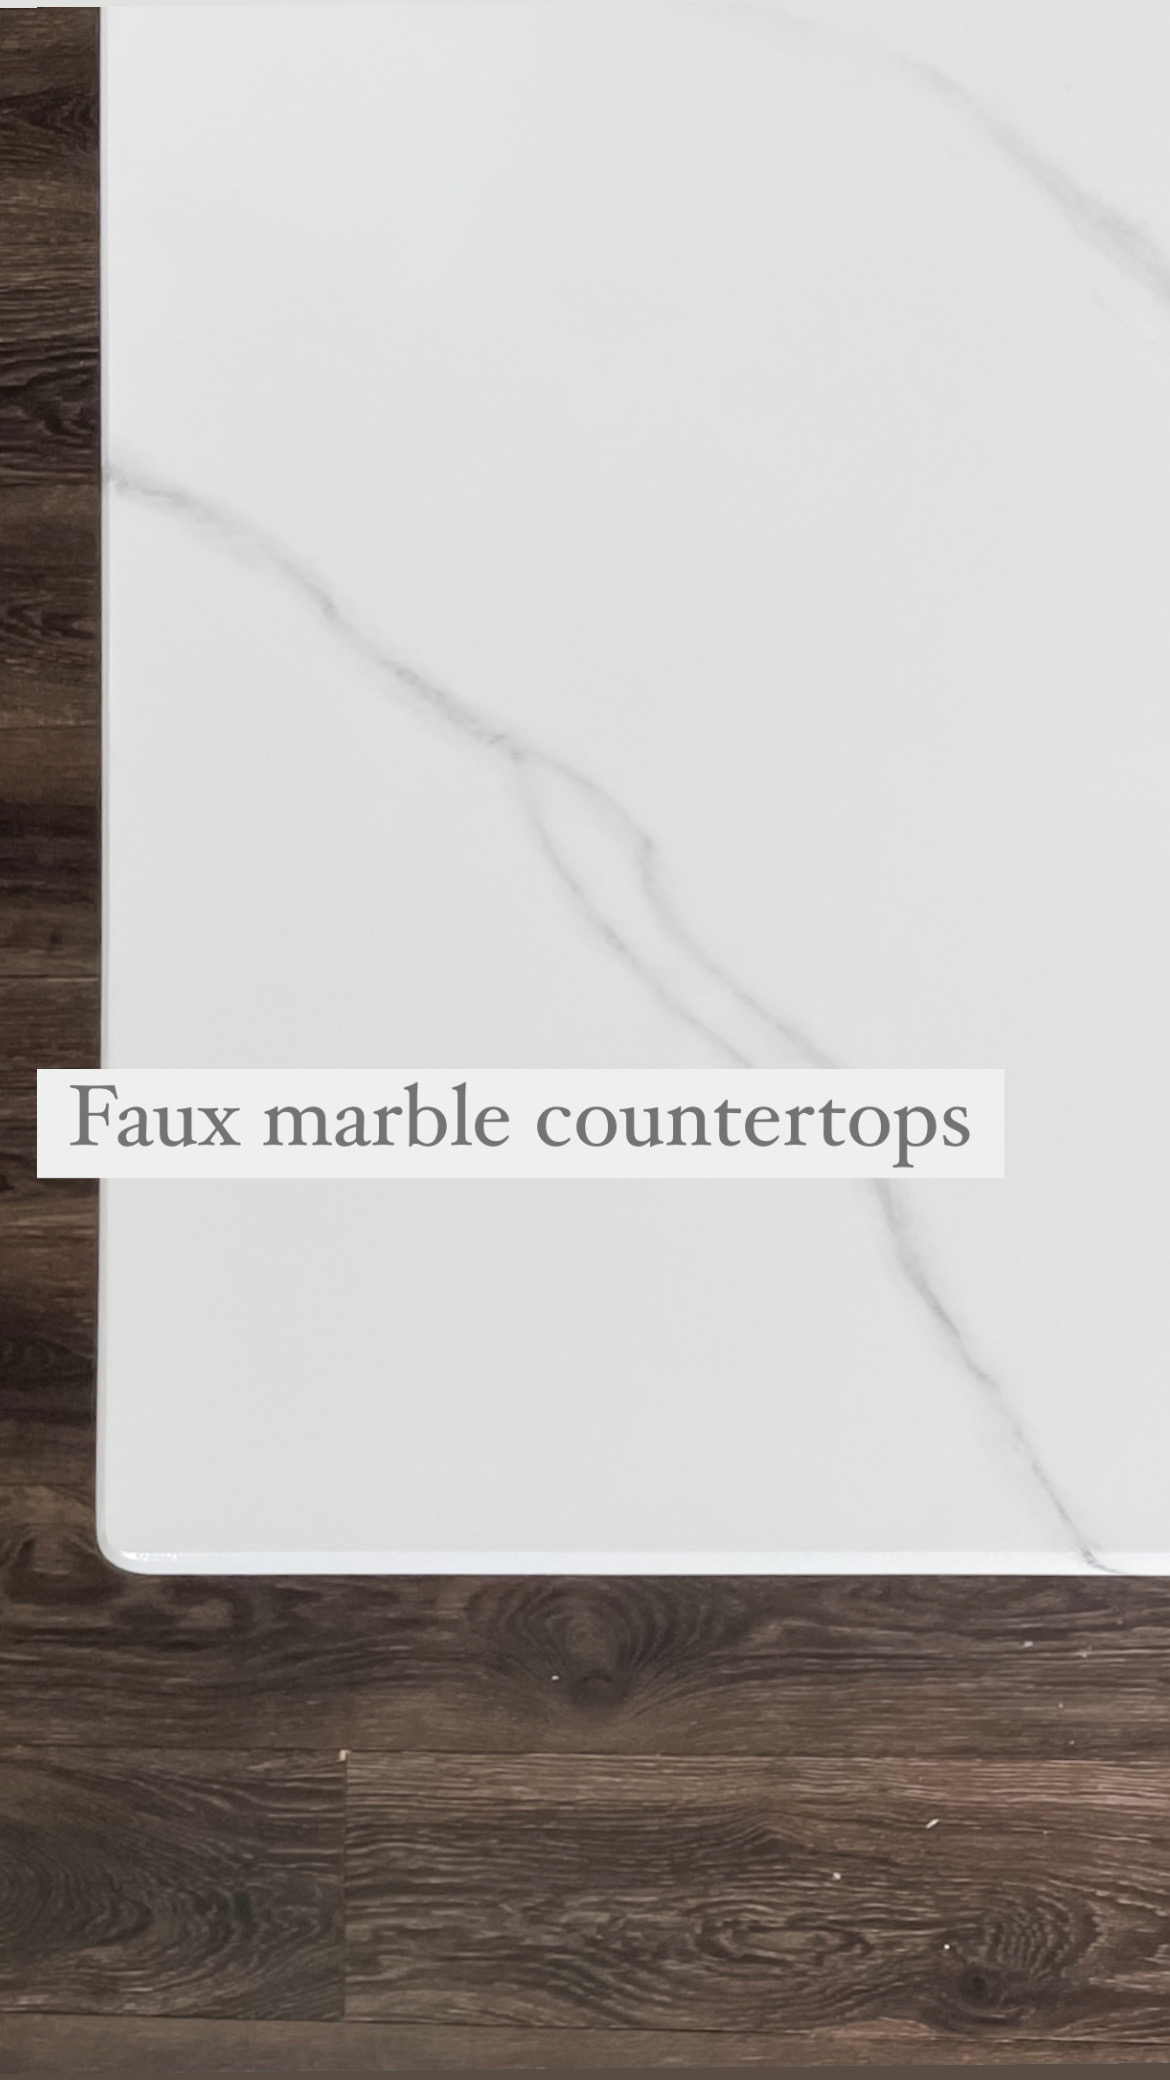
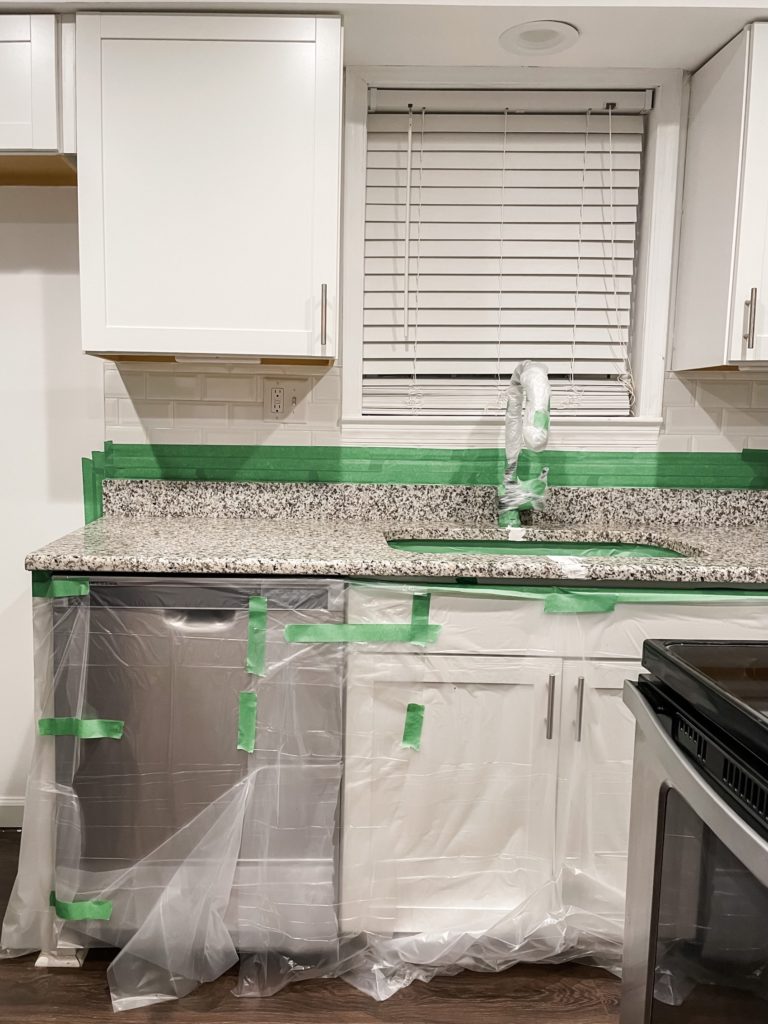
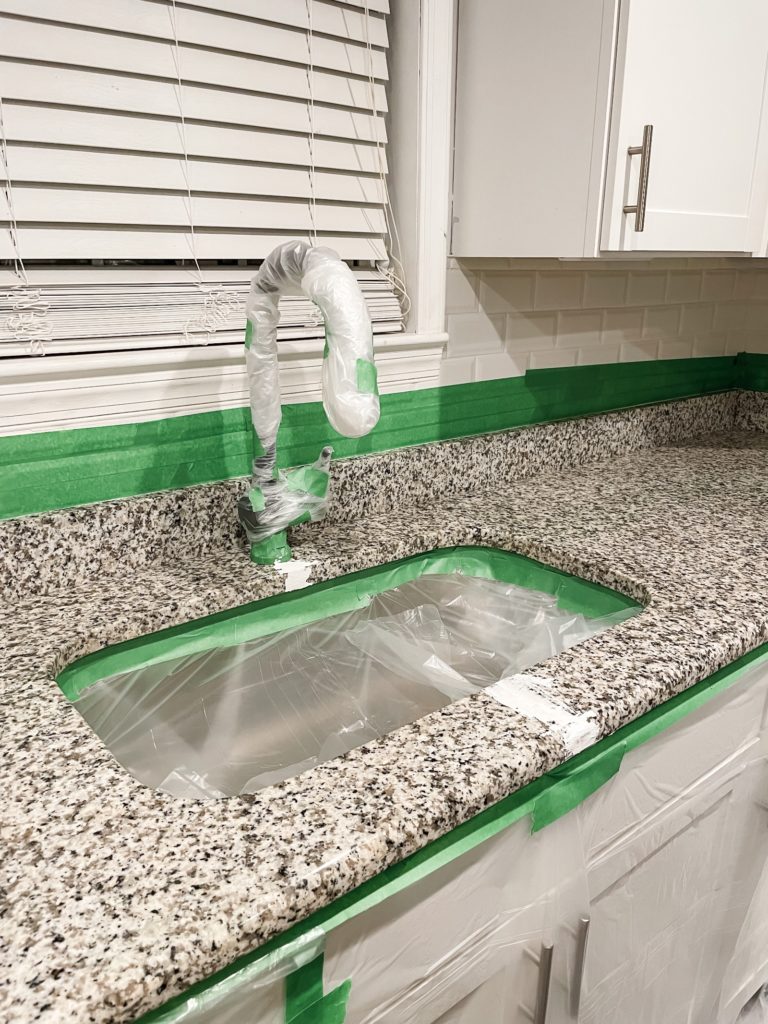
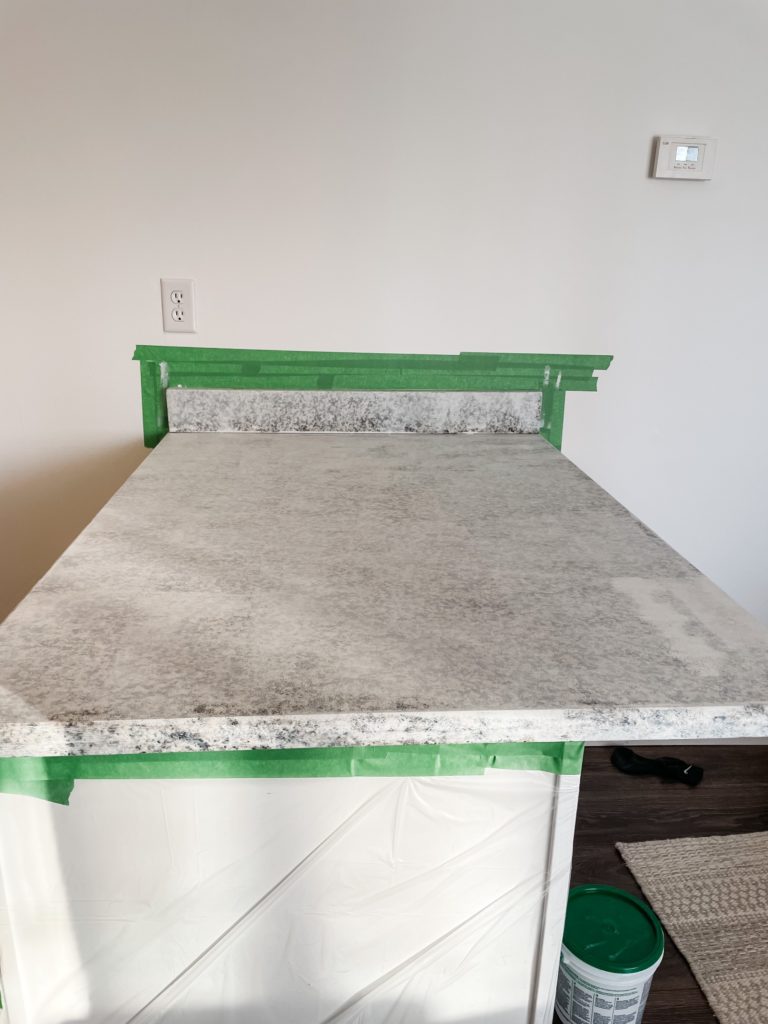
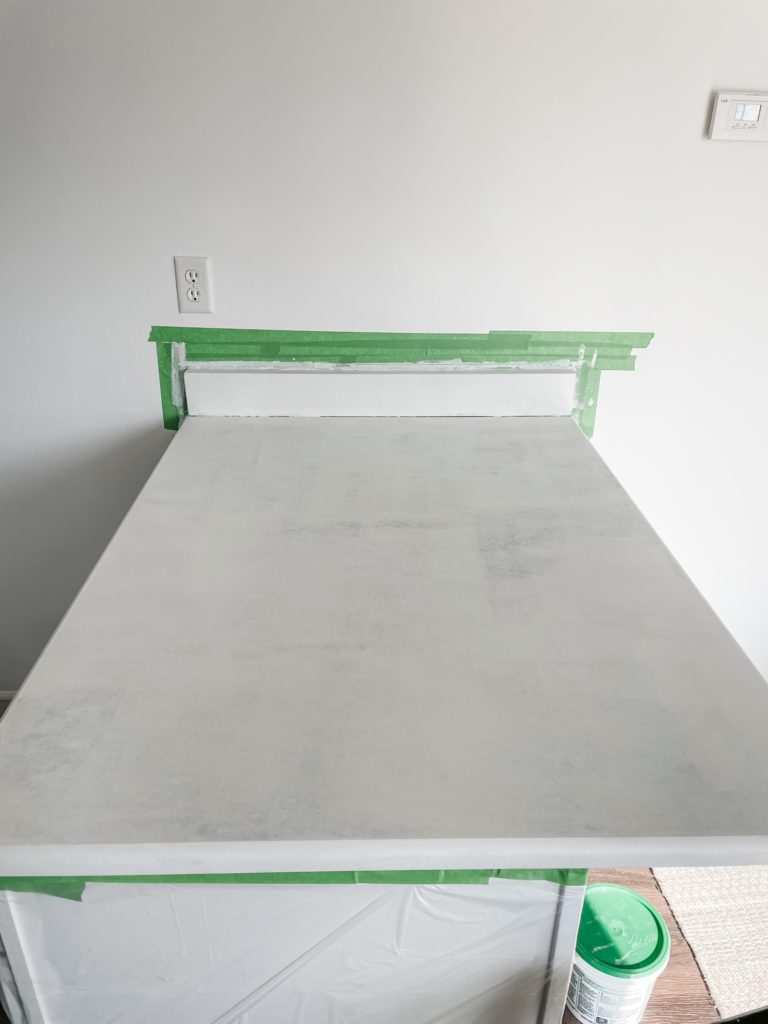
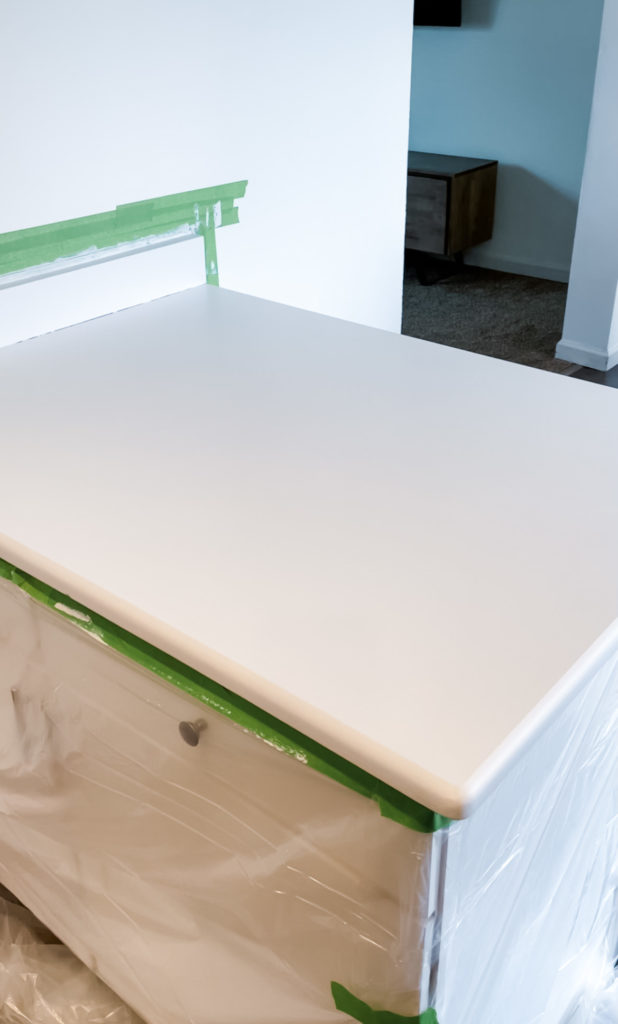
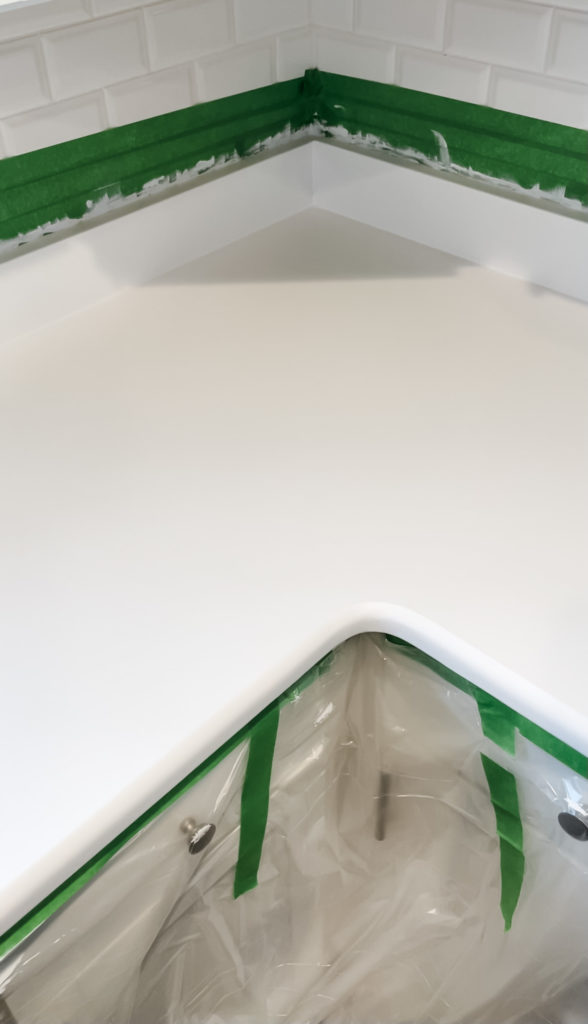
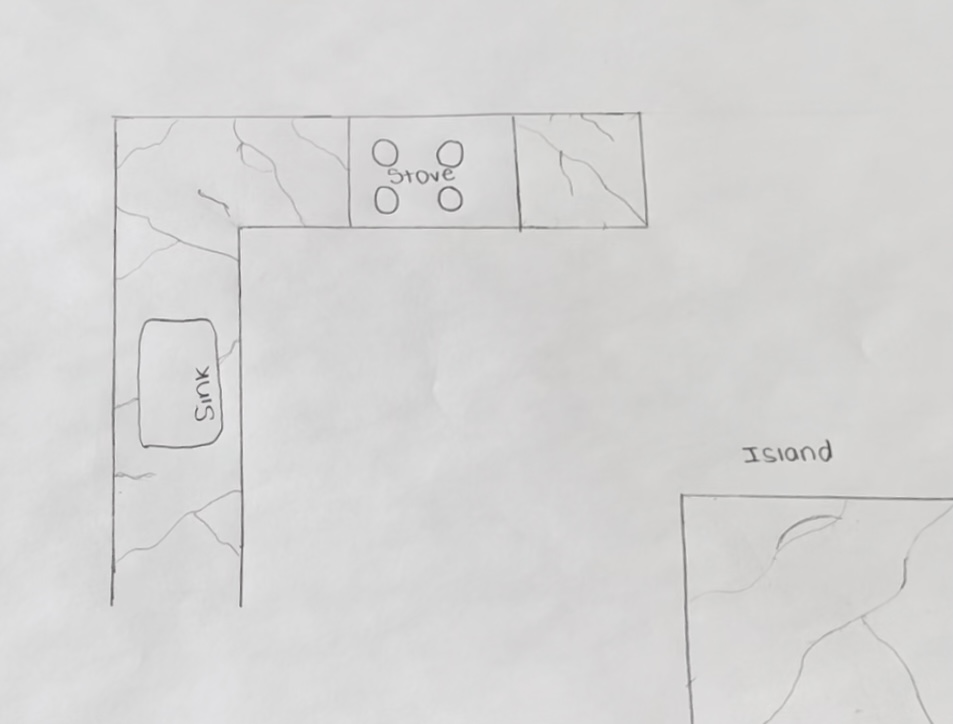
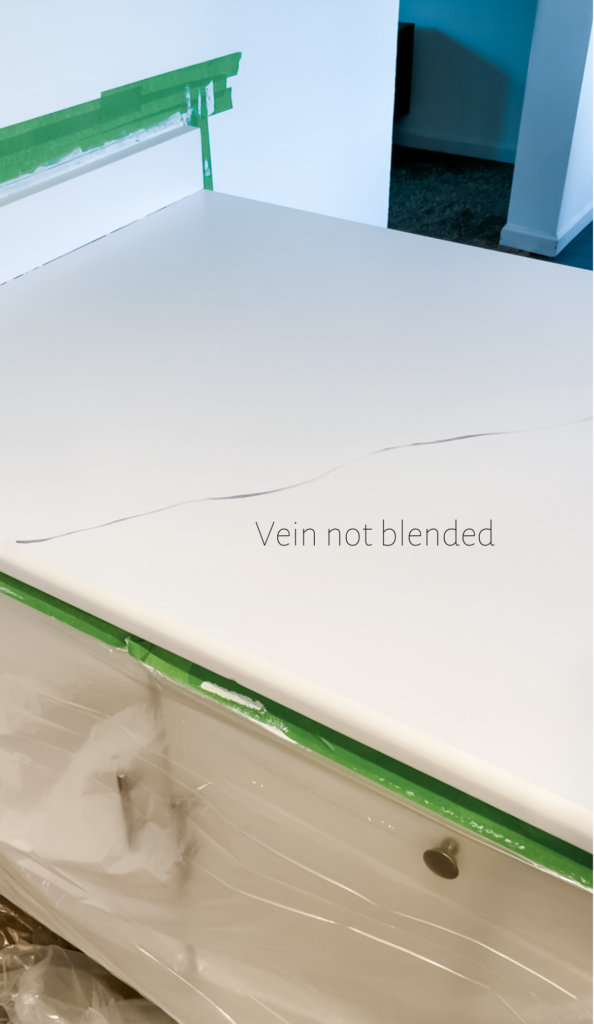
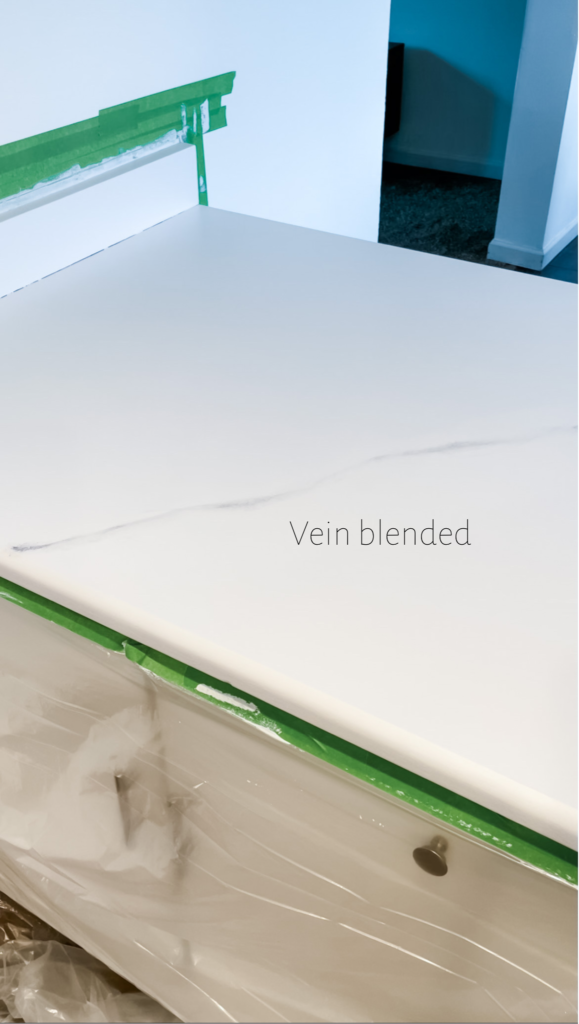
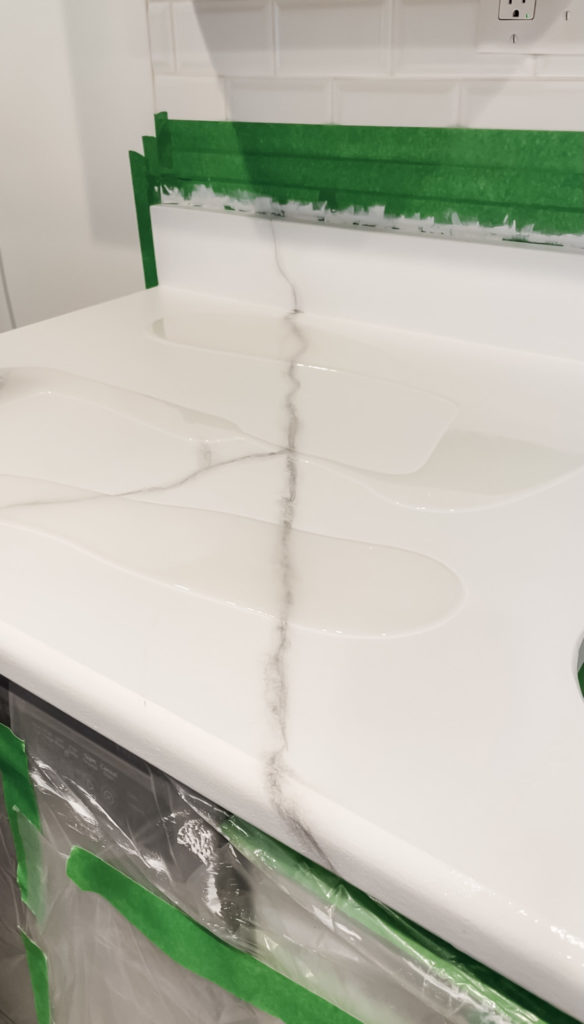
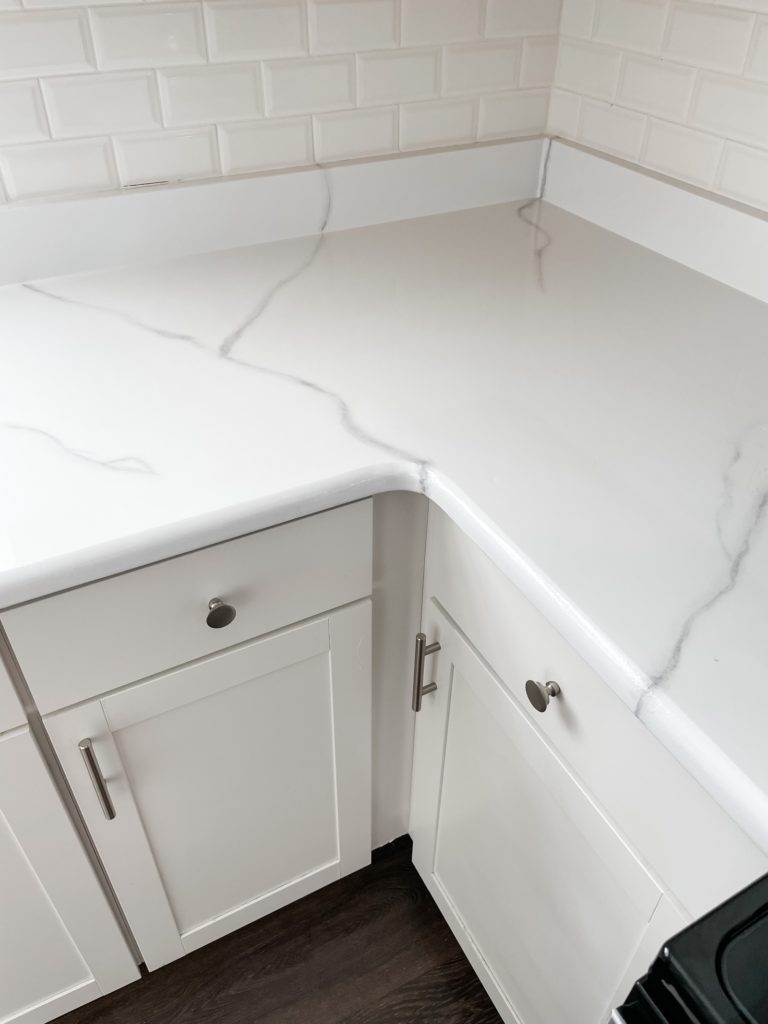
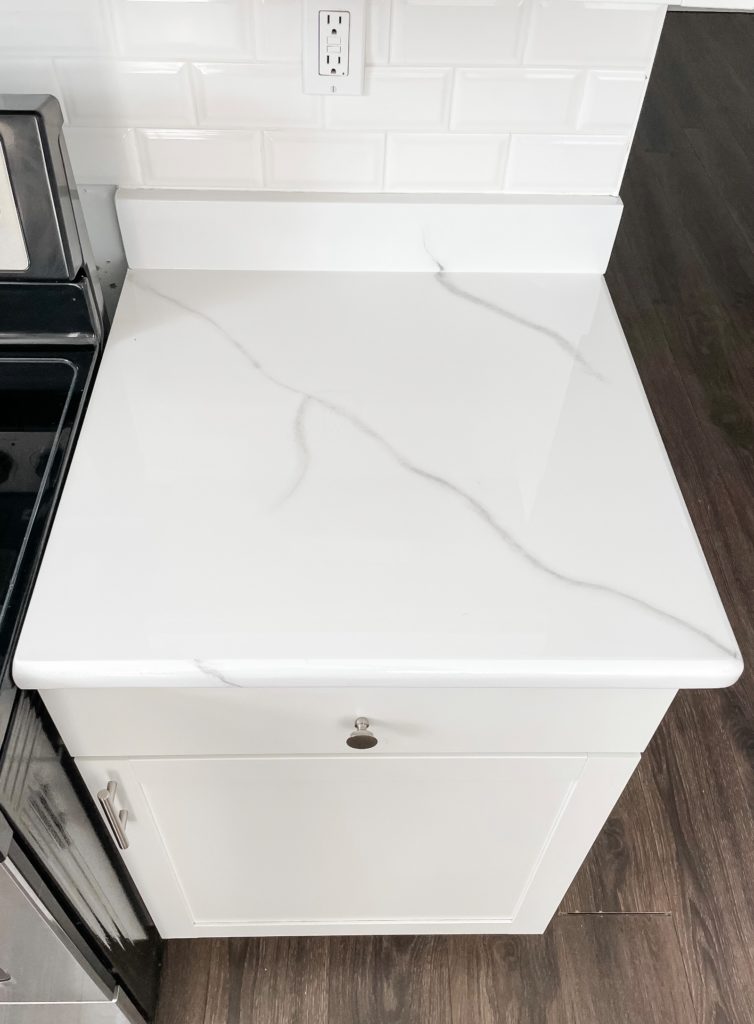
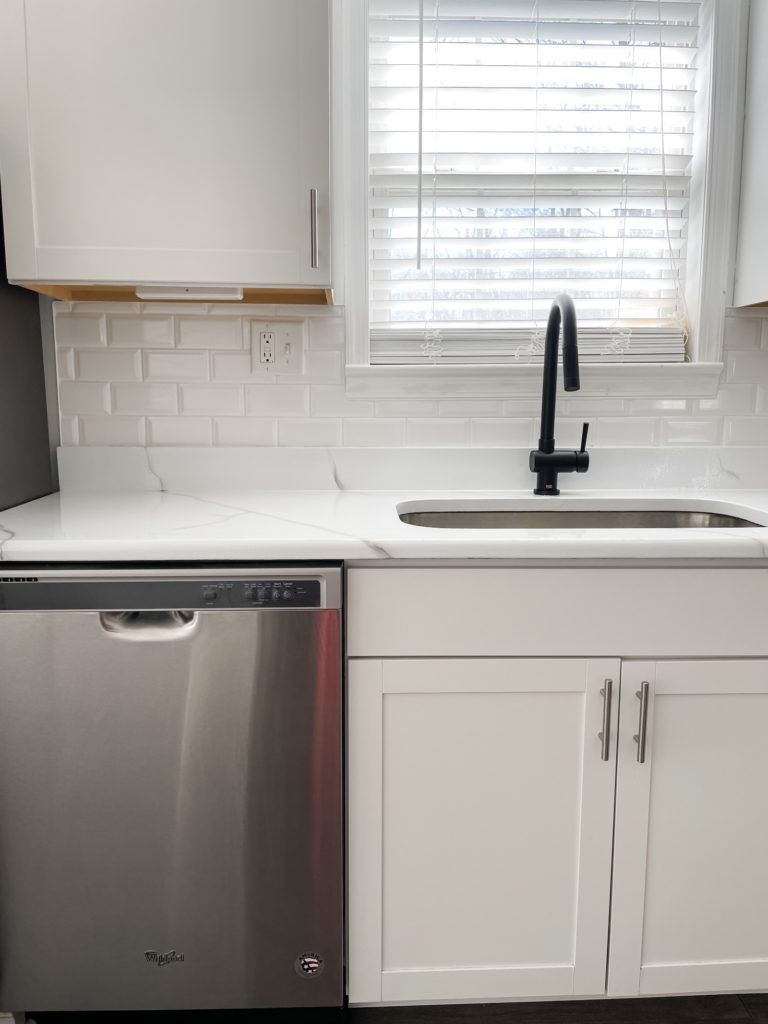
Faux Marble Countertops
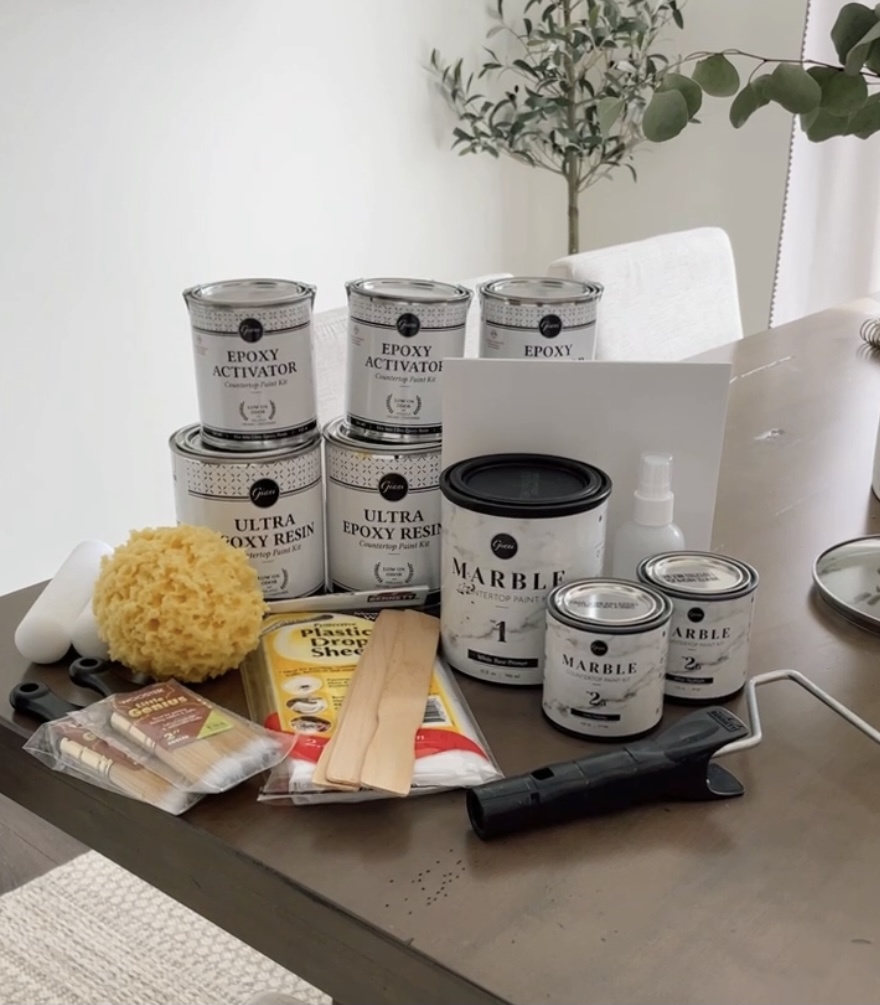
I have always dreamt of marble countertops in our kitchen. However, like many other things they were out of our budget. And quite frankly I know that I would have felt guilty purchasing new countertops when the ones we already have are in perfect condition- just not my style. 

To my surprise I stumbled across the brand Giani on Instagram, who specializes on paint kits for your countertops. I was amazed with the before and after photos on their page. After debating with myself for months I finally decided to take the plunge and go for it! 

In this post I will show you how I used Giani’s marble countertop paint kit to create faux marble countertops for under $250!

I was truly amazed at how much product you get for the amount you pay for the kit. It comes with practically everything you need to complete this project. However, there are a few items that are not included that you will need in addition to the kit. I will list those items down below. 

Giani marble countertop paint kit

Supplies needed:

If your countertops have existing seams you’ll also need: 
  • All-purpose joint compound
  • Putty knife
  • 320 grit sanding sponge 

SHOP SUPPLIES HERE


Important note: Make sure to thouroghly read all instructions included in your Giani marble countertop paint kit prior to beginning this project as they provide much more detailed instructions on how to properly execute the required steps to achieve the best results!

Step one: Clean countertops

To prep the countertops for paint you’ll want to start with a clean surface. Giani recommends using a Brillo or an SOS pad. Clean your surface thoroughly and rinse with water twice. Be careful not to leave any residue behind as doing so can make it harder for the paint to adhere. 

Step two: Fill seams

Search your countertops for any seams. If you want a smooth and even finish it is recommended to fill them before moving forward. You can use either all-purpose joint compound or wood filler to do this. 

Luckily my countertops only had two small seams so this step didn’t take long. It can definitely be more time consuming if you have more seams to fill, but I personally think it’s worth the extra time to get the best results. 

Give the joint compound/wood filler the proper amount of time to dry. Once it’s dry lightly sand over the area(s) using a 320 grit sanding sponge until it becomes smooth.

Seam #1
Seam #1
Seam #2
Joint compound
Joint compound placed to cover seam. Sand down once it is dry.

Step three: Tape off surrounding areas

Cover any surrounding areas such as your backsplash and cabinets. It is recommended that you use a precise tape such as FrogTape to do so. Two rows of tape should be enough along your backsplash and appliances, but if you are a messy painter like me I suggest doing three. Also be sure to tape off the underside portion of your countertops.

Use the tarps provided in the kit to cover/protect the cabinets. Make sure to extend the tarps onto the floor especially when you are working with the epoxy.

Plastic tarp #1
Plastic tarp #3

Step four: Prime

If your countertops are on the darker side like mine were I suggest using a primer before using Giani’s countertop paint kit. The main reason being is that you will probably need more than two of the suggested coats of white primer from the kit. To avoid running out of the Giani white primer I used the Kilz Interior Primer first.

Use a two inch angled brush to apply the primer along the edges and on the back portion of your countertops where they meet with your backsplash. Use a foam roller to apply the primer on the remainding surface.

Let the primer dry for 1 hour before applying another coat. I did two coats total.

Island countertop after one coat of Kilz primer
Kilz primer coat 2
Island countertop after two coats of Kilz primer

Step five: Apply white base coat

The first step in the Giani marble paint kit is to apply the marble white primer onto your countertops. Use the same technique that was used when applying the kilz primer- 2inch angled brush for edges and a foam roller for the remainder of the surfaces. 

Let dry for one hour and apply a second or even a third coat if needed.

Giani marble white primer
Two coats of Kilz primer + two coats of Giani's marble white primer
Giani marble white primer 2
Two coats of Kilz primer + two coats of Giani's marble white primer

Step six: Vein mapping

Before you jump into drawing veins on your countertops, it is helpful to draw a layout of your kitchen first. Map out some veins onto your sketch so that you can get an idea of where you want them to go. Look at images of marble countertops online to get an idea of how the pattern typically flows. Keep in mind this is just a draft- don’t stress too much about placing your veins in the exact same areas as your sketch.

Vein mapping sketch
Marble vein sketch

The kit does include a tile sample for you to practice your veins on. They do state that it does not give the same exact effect as when you do it in the countertops and I agree. I personally did not find that practicing the veins on the tile was helpful but it is nice to have it as an option.

Prior to getting started make sure that you have filled the misting bottle included in your kit with water as you’ll need to have it on hand. 

Take the artist brush and grey veining mineral from your kit and draw your first line. Make it a point to hold onto the brush lightly and gently twist your wrist as you go along. Mist the line with water immediately afterwards. You want to spray just enough water to where you can see the paint start to spread, but not enough water to submerge the area. 

Next take the 2-inch angle brush and begin to blend by dabbing the line in an up-and down-motion. You will see that this will soften the vein and give it that marble effect. Keep in mind that each vein will most likely look different from each other, but that is what will make it look natural.

Un-blended vein
Blended vein

I would recommend to start your vein off lightly as you can always go back and darken it up if you wish. 

The instructions recommend to start off by drawing your “main veins” and then going back to extend/add your accessory veins in.

There is a variety of style in veins that you can create that are further explained in the instruction manual so be sure to read it before getting started. 

**Side note: If you are unhappy with how a vein looks, immediately spray it with plenty of water (enough water to start to puddle) and simply wipe it off with a paper towel. It is important to note that I found that the vein does not come off 100%- at least in my experience. If you plan to go over that same area I don’t consider it a problem since what is left of it will be hidden. If you are removing the vein because you dislike the placement, use the marble white primer over the areas that are still visible.

Let the veins dry for at least 4 hours before moving onto the next step.

Step seven: Epoxy

If I’m being honest this was the most nerve-wrecking part for me! Not only can working with epoxy get messy but it is also time-sensitive. 

The kit comes with very specific instructions but they were pretty easy to follow. 

You should have 3 cans of epoxy activator that correspond to 3 cans of epoxy resin. It is important to know that each set of resin and activator should cover 6ft of counter space- nothing more and nothing less.

Take one can of epoxy activator and pour the entire thing into one can of epoxy resin. Stir vigorously for exactly 3 minutes and 30 seconds. 

Pour mixture onto 6 ft of counter space immediately after stirring. Leaving it in the can will cause it to harden quicker making it harder to work with. 

Epoxy pour
Apply epoxy in this pattern to evenly spread over the surface

Using a 2-inch angle brush begin to spread the epoxy toward the back of your counter space that leads to your backsplash and along the edges. Use a foam roller to cover the remaining areas. Hold the foam roller lightly as you do not want to apply too much pressure onto the epoxy causing it to thin out. The epoxy is self leveling so try not to overwork it. Ensure that the entire surface is covered with epoxy. 

**Side note: Expect to see epoxy dripping from the edge of the counters for about 30-60 minutes after application.

Mix the activator and resin for the next 6ft section and blend into the prior section so that no seams are created. Continue until all counter space is covered with epoxy.

**Side note: Make sure that you cover your counters with the proportional amount of epoxy. For example: If your last counter area only measures 2 ft then only use 1/3 of the can of the epoxy resin and activator mixture.

How to fix common epoxy mistakes

Like I mentioned earlier epoxy is very time sensitive. You have approximately 40 minutes to fix any errors before the epoxy begins to harden.

Once you have coated the countertops with the epoxy go back with a bright light and closely inspect your work. You may encounter some of the following issues..

Bare areas

You may notice some areas that were not coated with epoxy. Simply use the 2-inch angled brush and take some of your left over epoxy and lightly dab it into the bare area. Do not overwork it as it will level itself out. 

Bare epoxy area
Gently dab epoxy with a brush in any areas that are missing epoxy

Lint/Debris

While working with the epoxy try and keep minimal airflow within the room to avoid having any tiny particles land into the epoxy while it is wet. Nonetheless, it is bound to happen. To fix this simply take a pair of tweezers and pull out any pieces of lint/debris that may be in the area. 

Lint & tweezers
Remove any lint/debris with tweezers before epoxy dries

I highly, highly recommend having someone else take alook at your work before the epoxy dries. They may catch some areas that you may have missed. I did not have anyone double-check the counters for me and I highly regret it because I ended up missing some bare areas. Unfortunately, I didn’t realize until the epoxy had already dried. (I did contact Giani’s customer support to see if there’s a way to fix this. I will update once I hear back from them.)

Step eight: Final touches

You must remove the tape from surrounding areas within 1-2 hours after epoxy application. Removing it too soon can mess with the self- leveling process and removing it too late can cause the epoxy to harden over the tape. This would make it harder to remove and create jagged edges. 

Remove tape within 1-2 hours after epoxy application

Remove tarps after eight hours of epoxy application. 

Let the countertops dry for 48 hours.

Although your counters will be dry after two days, they will not fully be cured until 7 days have passed. That being said, refrain from placing heavy items on top of your countertops until the after the 7 day period.

Once your countertops have been drying for two days, seal the edges with ACRYLIC (not silicone) caulk. 

I can truly say that I am ecstatic with how the countertops turned out! If I didn’t know any better I would think that they were actually real marble countertops! This is a great alternative to replacing your kitchen counters if you are on a budget or if you do not want to do any demo. You truly can’t beat this for the price you pay. Our kitchen has a much cleaner and brighter appearance thanks to the Giani marble countertop paint kit. Make sure to check out their site as they have several different countertop paint kits and many other products as well!

Faux marble countertops 2
Faux marble countertops 3

If you would like to see more of this project in action check out @ourblissfulnest on Instagram! There you can find a highlight titled “Marble Countertops” on my page where you can see step-by-step video progress. As always, if you decide to try this project out feel free to tag @ourblissfulnest on your Instagram post or send me a picture via DM or email. I would love to see how it turns out! 

Disclaimer: This post contains links in which I do earn a small commission from if you decide to purchase through them. This comes at no additional cost to you and as always your support is greatly appreciated! 

Leave a Comment

The Comments

  • Blue
    March 28, 2022

    How has the countertop held up so far?

    • Erika
      > Blue
      March 29, 2022

      It’s been about a month now and they’ve held up great so far! They clean easily and haven’t experienced any issues with them.

  • Nush
    January 11, 2023

    What about a top coat??? Did you apply one???

    • Erika
      > Nush
      February 16, 2023

      I did not. The epoxy coat it the top coat. It’s been a year so far and no issues (: