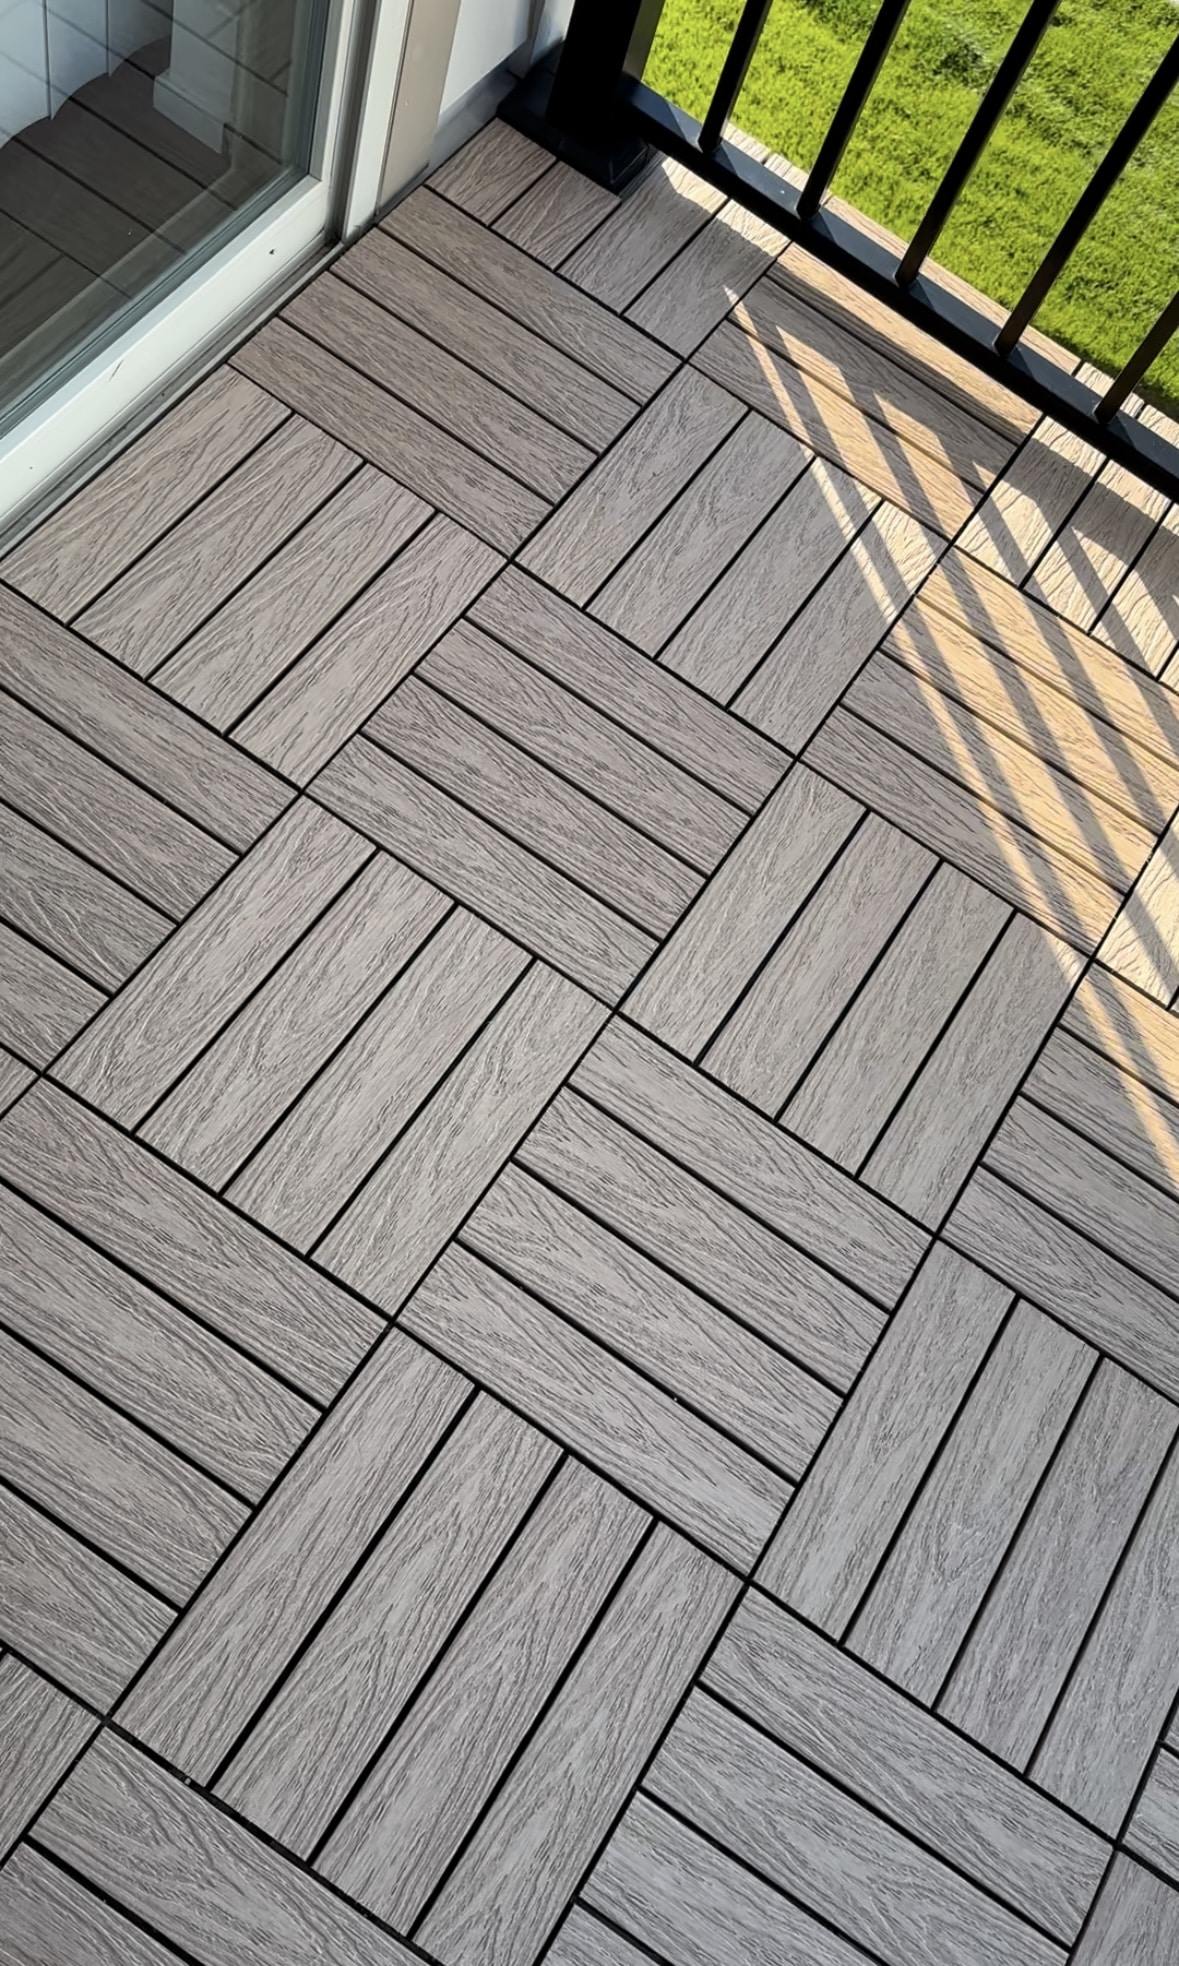
Composite Deck Tiles
I think I just found the coolest and easiest way to upgrade any outdoor space! At first glance, these deck tiles sounded a little too good to be true, but so far they have lived up to the hype!
In this post I’ll be sharing product information on these deck tiles, go over installation, and provide my final review.
UltraShield Outdoor Composite Tiles
I stumbled across many deck tiles from various competitors, but ultimately I decided to go with NewTechWood’s UltraSheild Outdoor Composite Deck Tiles.
NewTechWood has an endless amount of style and color varieties and they are suitable for many outdoor spaces such as balconies, decks, patios, pools, and walkways.
I purchased the 1ft x 1ft deck tiles in the shade Canadian Maple.
Compared to other competitors these tiles were on the pricier side, however the quality is superior. NewTechWood’s composite deck tiles are are made to be durable and long-lasting. They are designed to resist fading, cracking, and bending. Although I have not had these installed long enough to comment on these claims, I will be providing updates as to how they hold up overtime.
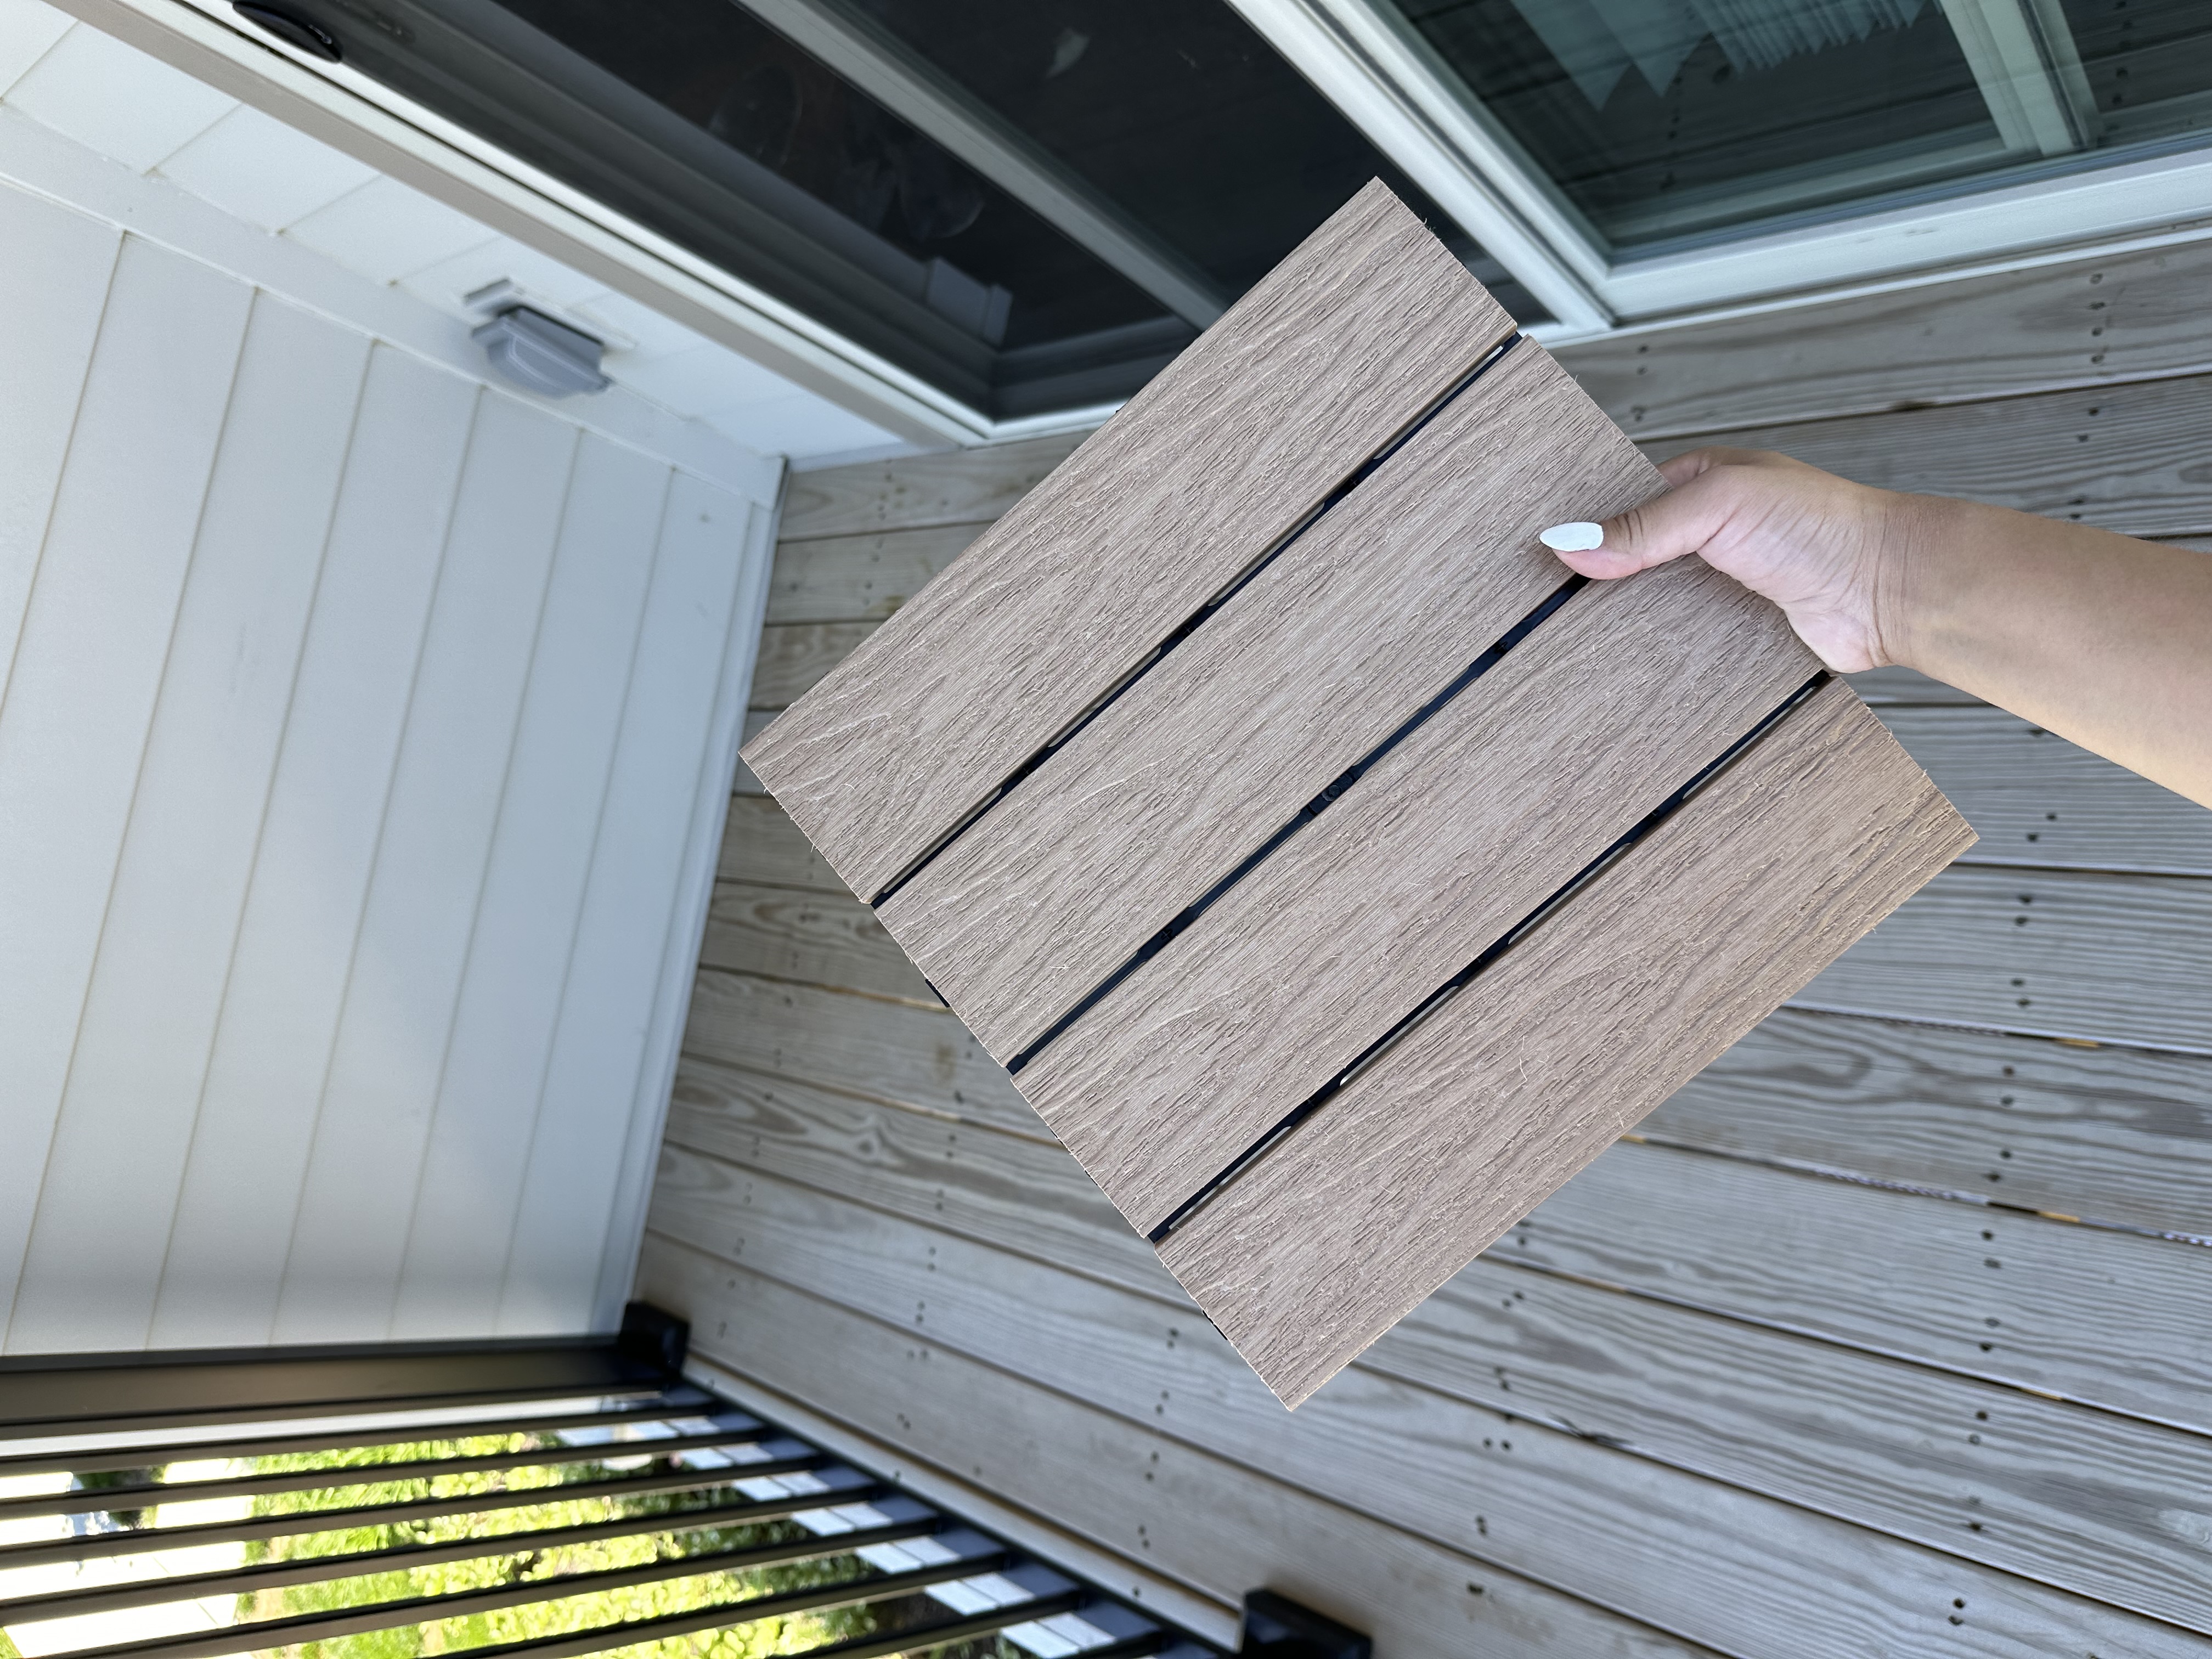
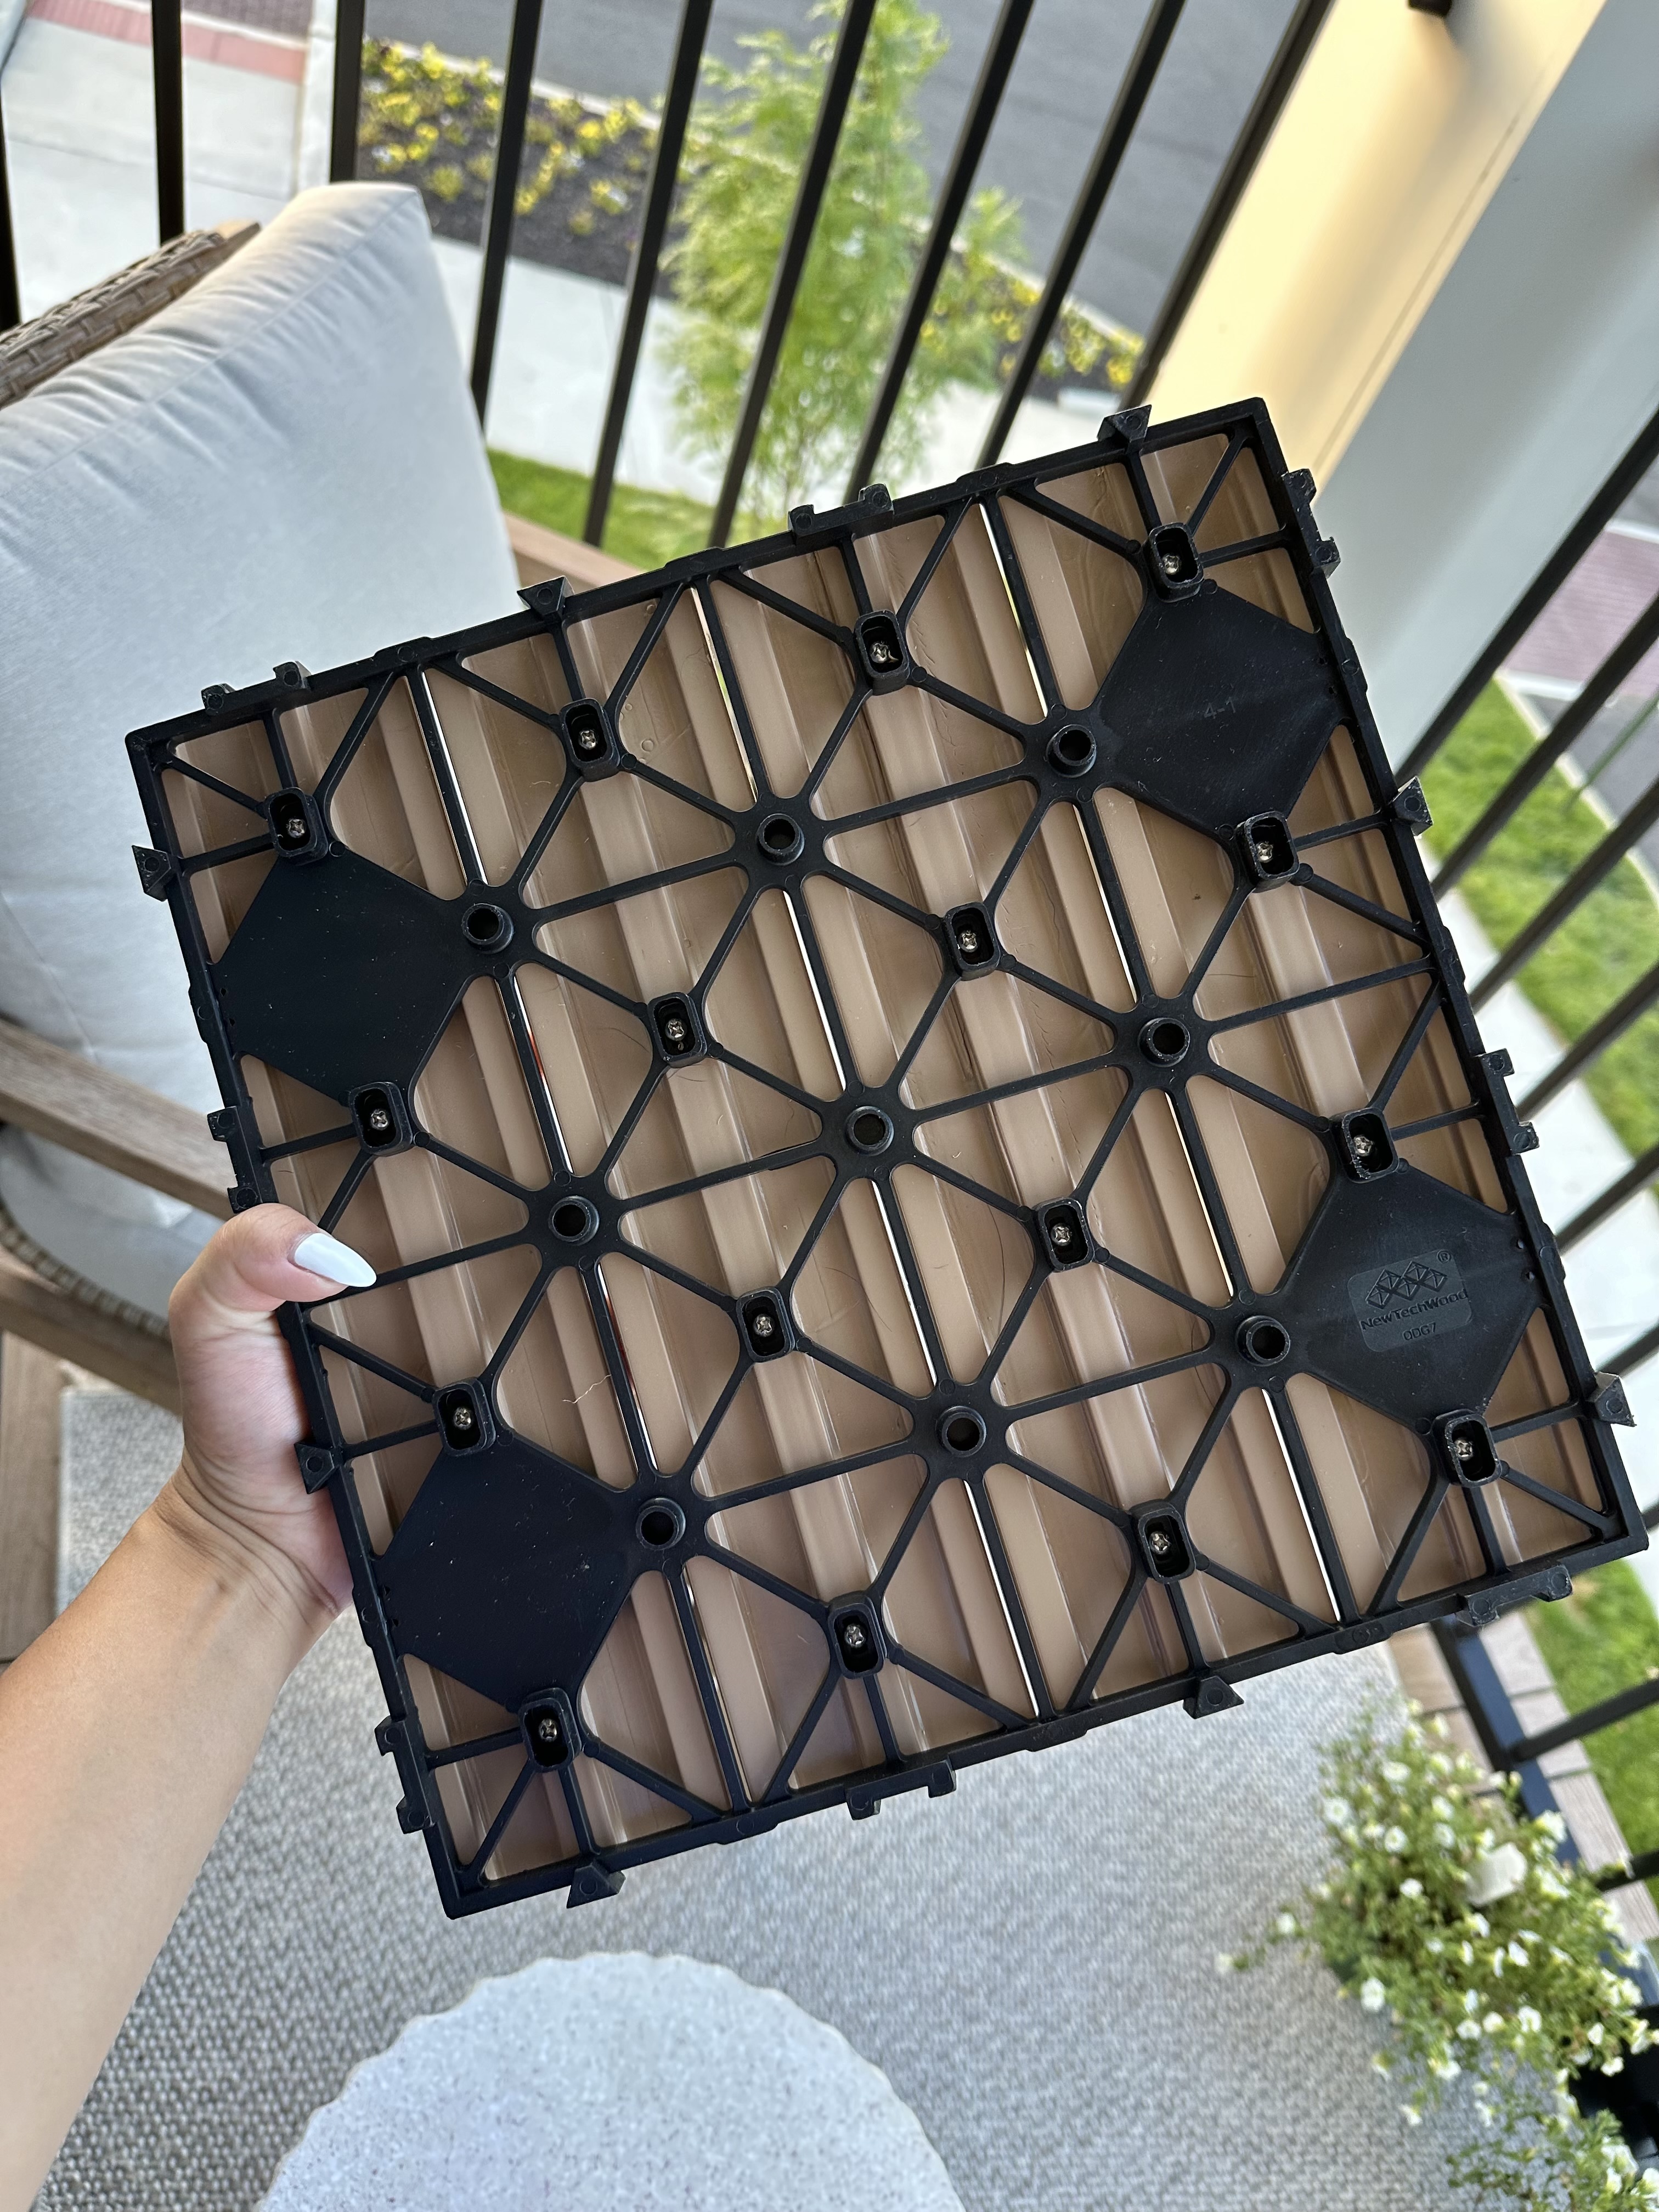
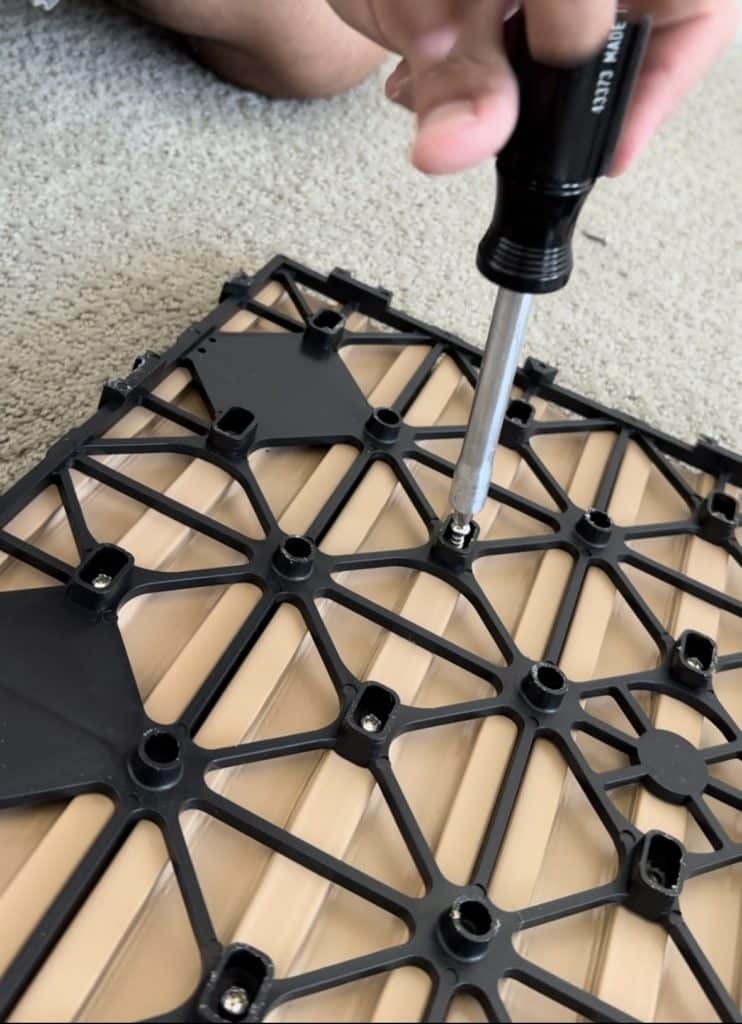
The backing of these tiles are designed with drainage channels for water flow. Additionally, they have a non slip surface and a waterproof inner core making them ideal for any climate.
installation
I found the best thing about these tiles to be that they’re ready to use right out of the box! There’s not too much to it, they simply snap and interlock together.
These are a non permanent solution so no adhesive or drilling is required for installation.
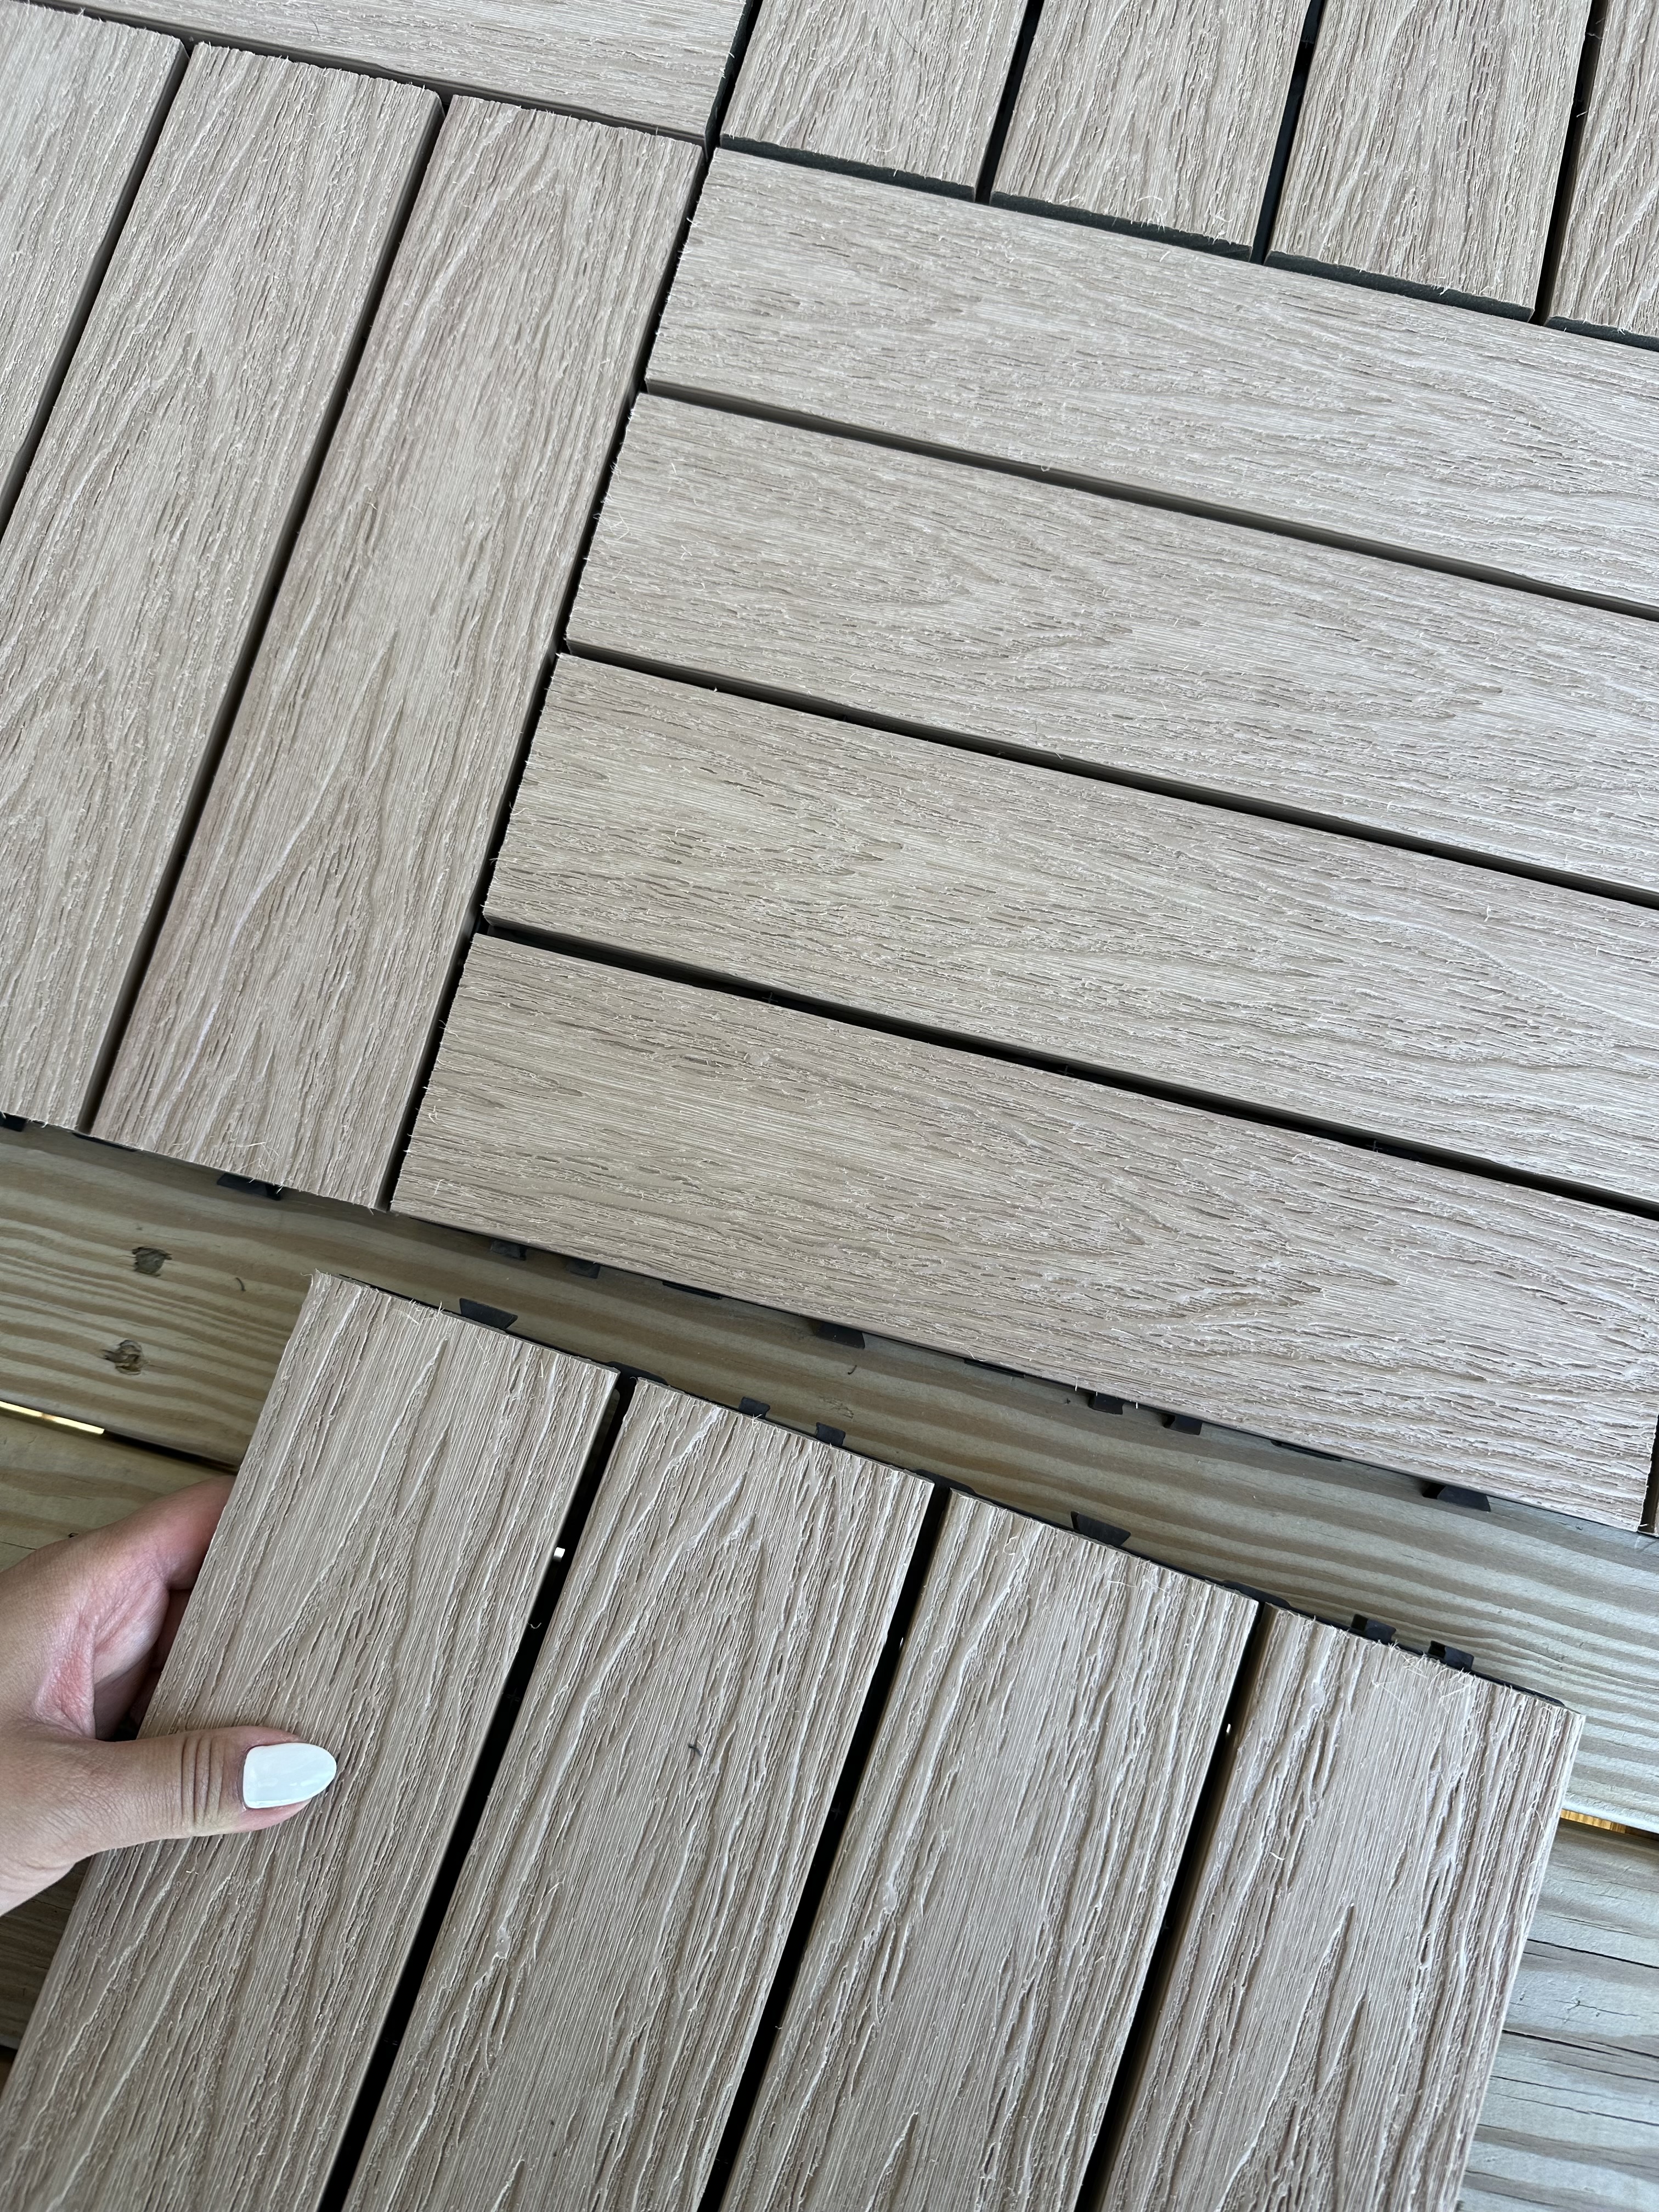
You have two options when installing these tiles.
Option #1: Installing tiles parallel to each other.
Option #2: Installing tiles perpendicular to each other.
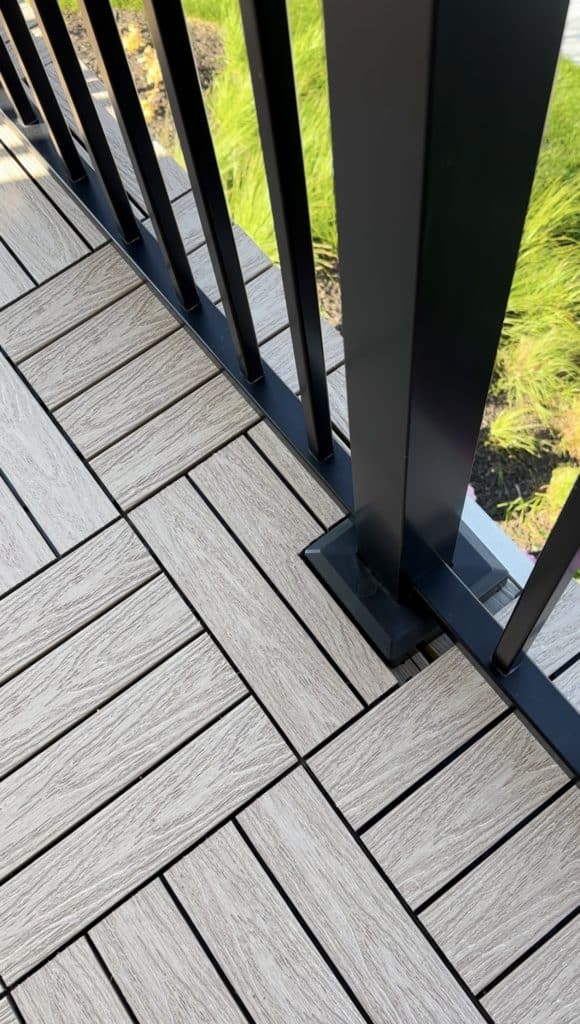
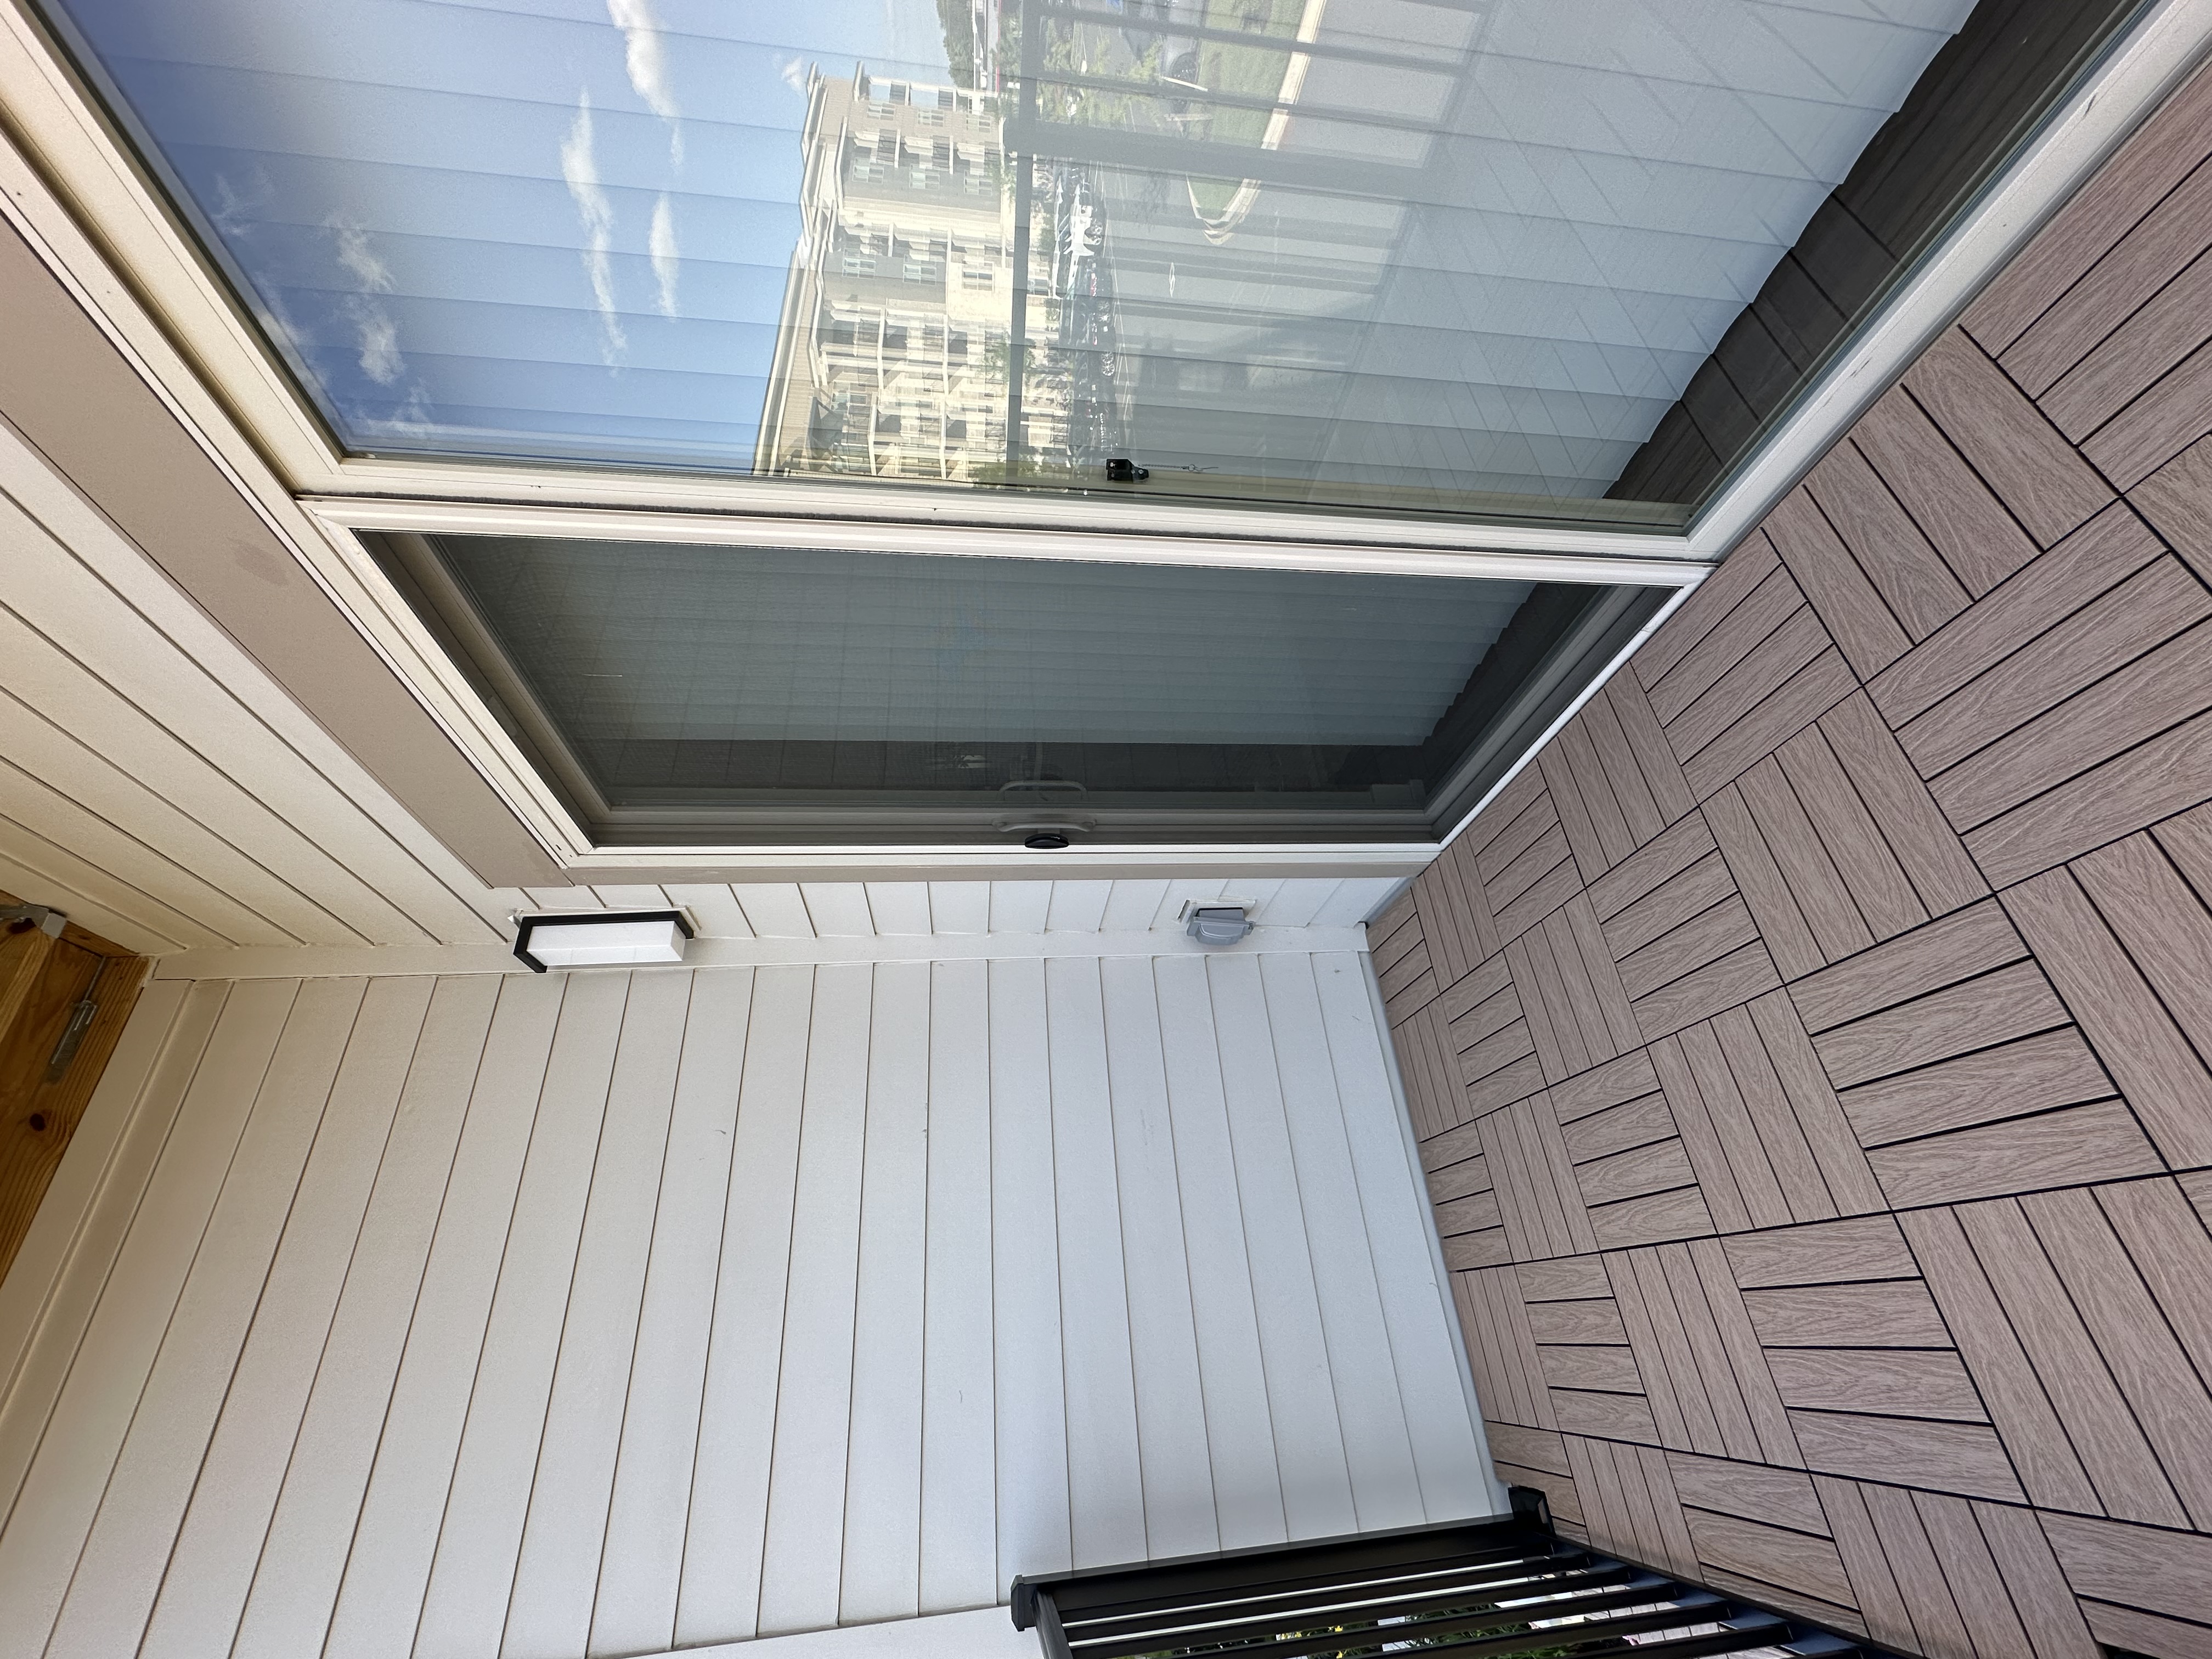
Both options use the same installation method and it’s completely up to your preference. I decided to opt for option #2 for visual interest.
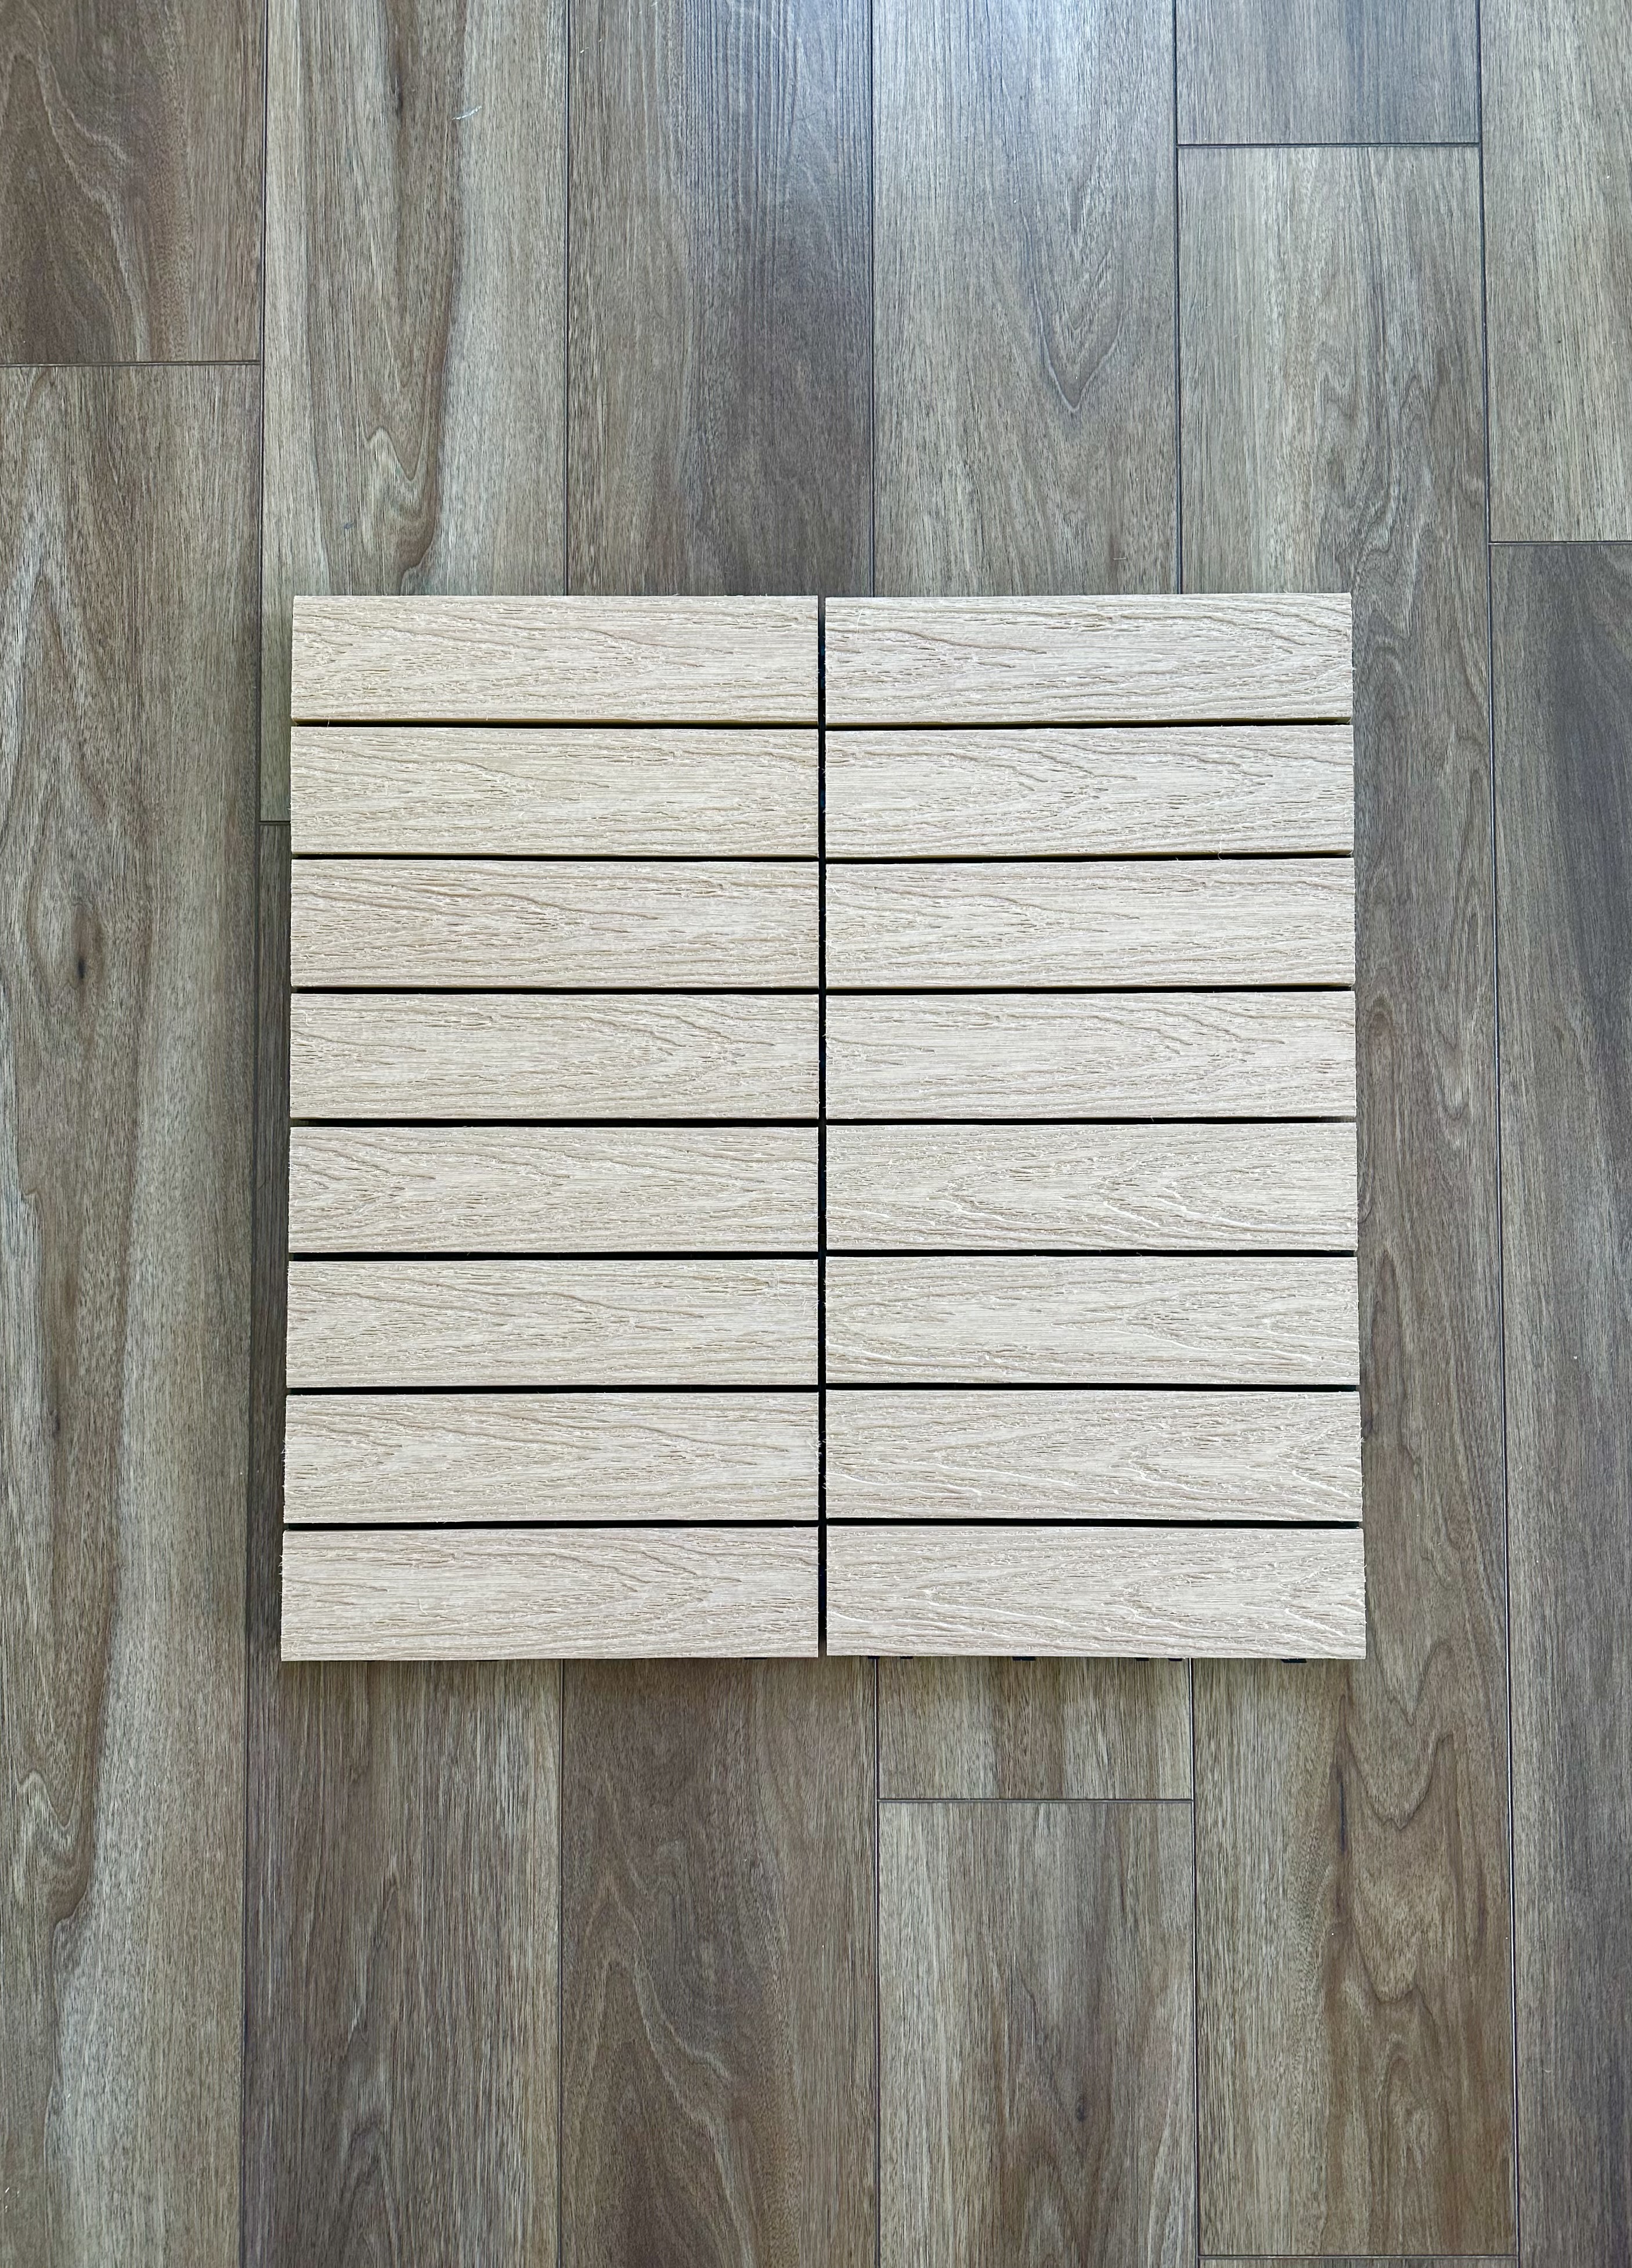
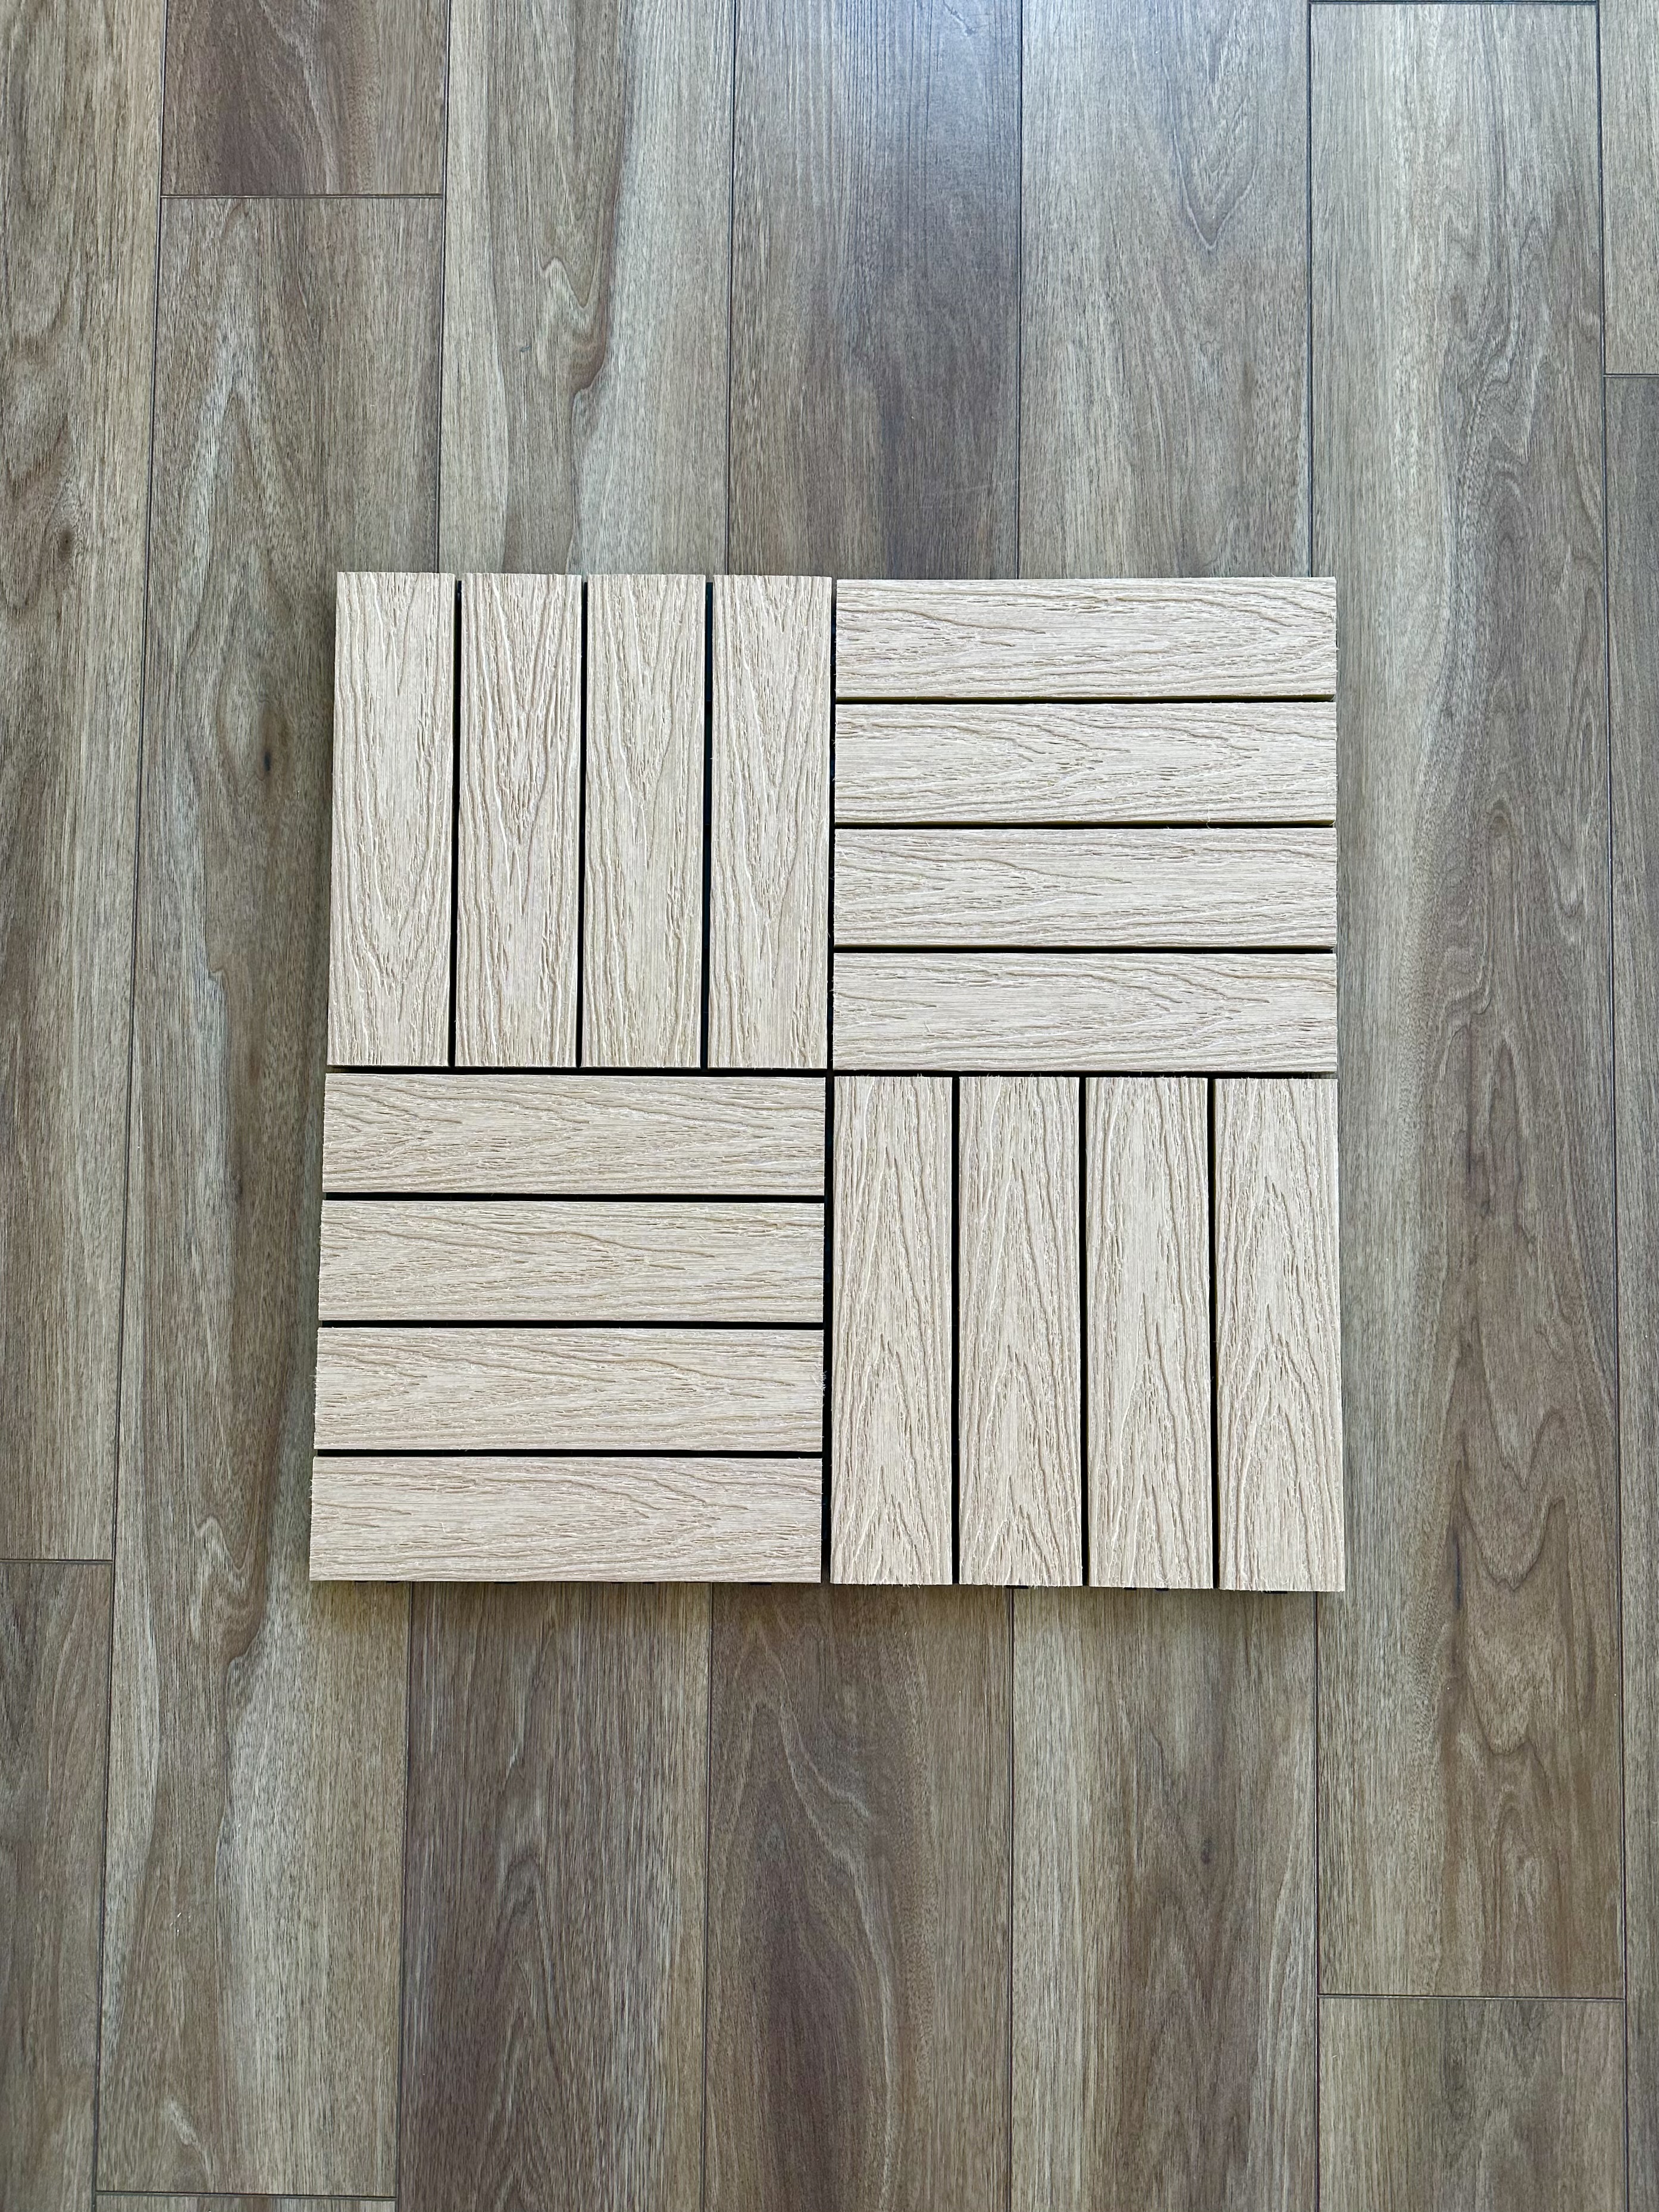
Installation for a 9ft x 5ft balcony space took about an hour to complete, including 4 special cuts that were needed.

How Do I Calculate How Many Boxes I Need?
These deck tiles are sold in 10 sq. ft. per box. To calculate how many boxes you’ll need, you would simply find the sq. footage of the area that you will be covering.
Example: Our balcony measures 9 x 5 feet.
9 x 5 = 45 sq. ft.
I rounded up to get 5 boxes of tile for a total of 50 sq. ft.
Can The deck Tiles Be Cut?
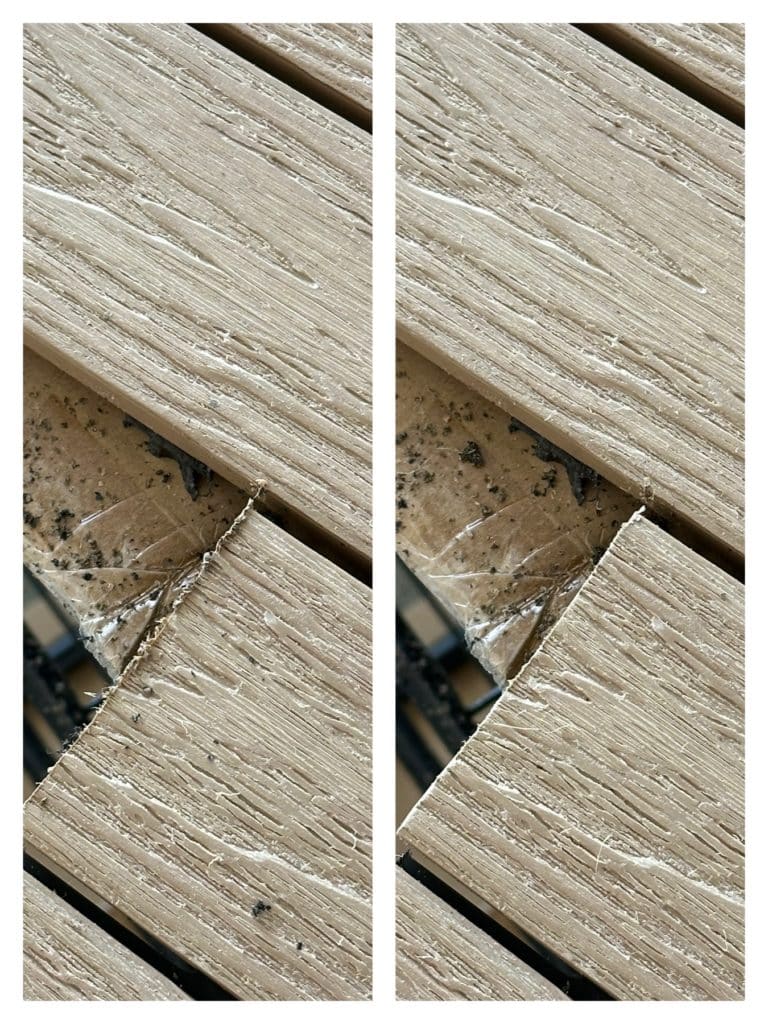
Yes! You are able to cut these tiles with a miter saw or a jig saw.
Be sure to remove any screws that may interfere with your saw when cutting the tile.
After making your cut you may notice that the edges are a bit frayed. Using a sanding block will smooth everything out.
Trim
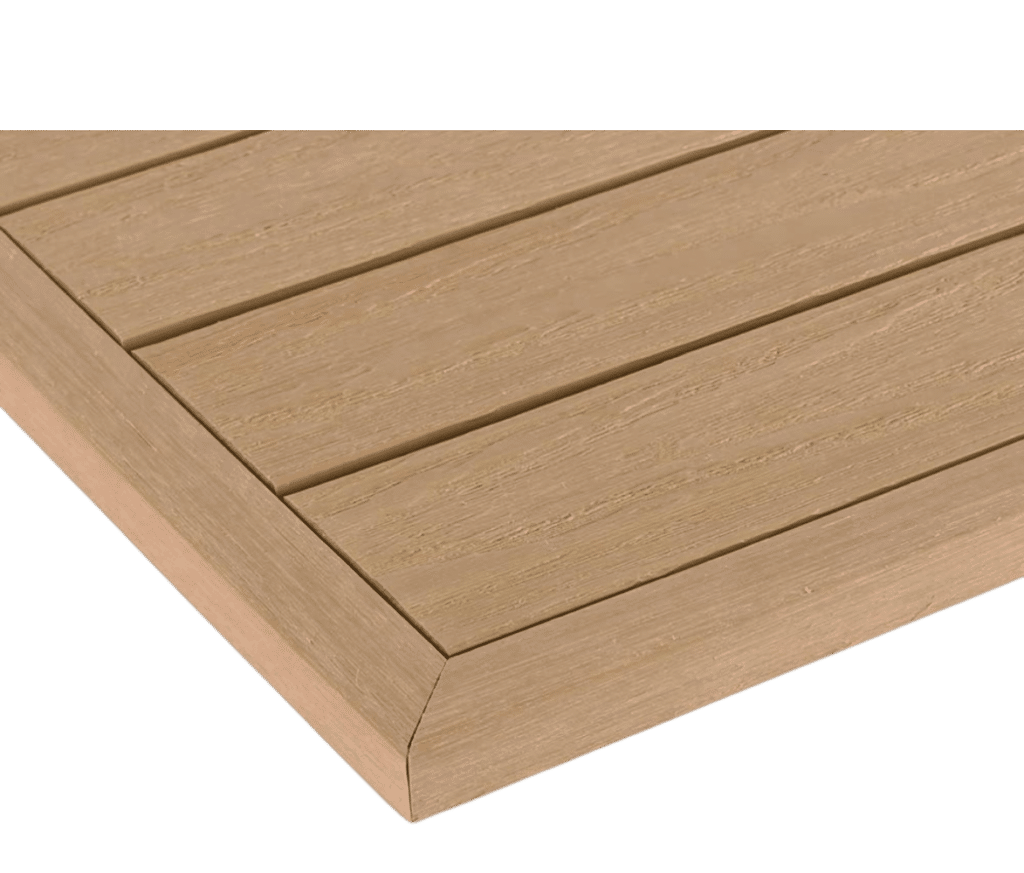
NewTechWood also sells a variety of trim pieces to give your outdoor space a completed look.
In our case, the edges of any of the tiles can’t be seen, so we opted to skip on the trip pieces. However, I think these are essential if you install these tiles on a patio or deck.
Overall I am thrilled with how easy this project was for the impact that it made on our balcony. It is a great renter-friendly option to spruce up your outdoor space.
If you would like to see more of this project you can find video clips saved under my IG highlights titled “Balcony” over on the @OURBLISSFULNEST Instagram page.
If you have any questions leave them down below. As always, if you decide to try out this DIY feel free to tag @ourblissfulnest on your Instagram posts or send a picture via DM or email. I would love to see how it turns out!