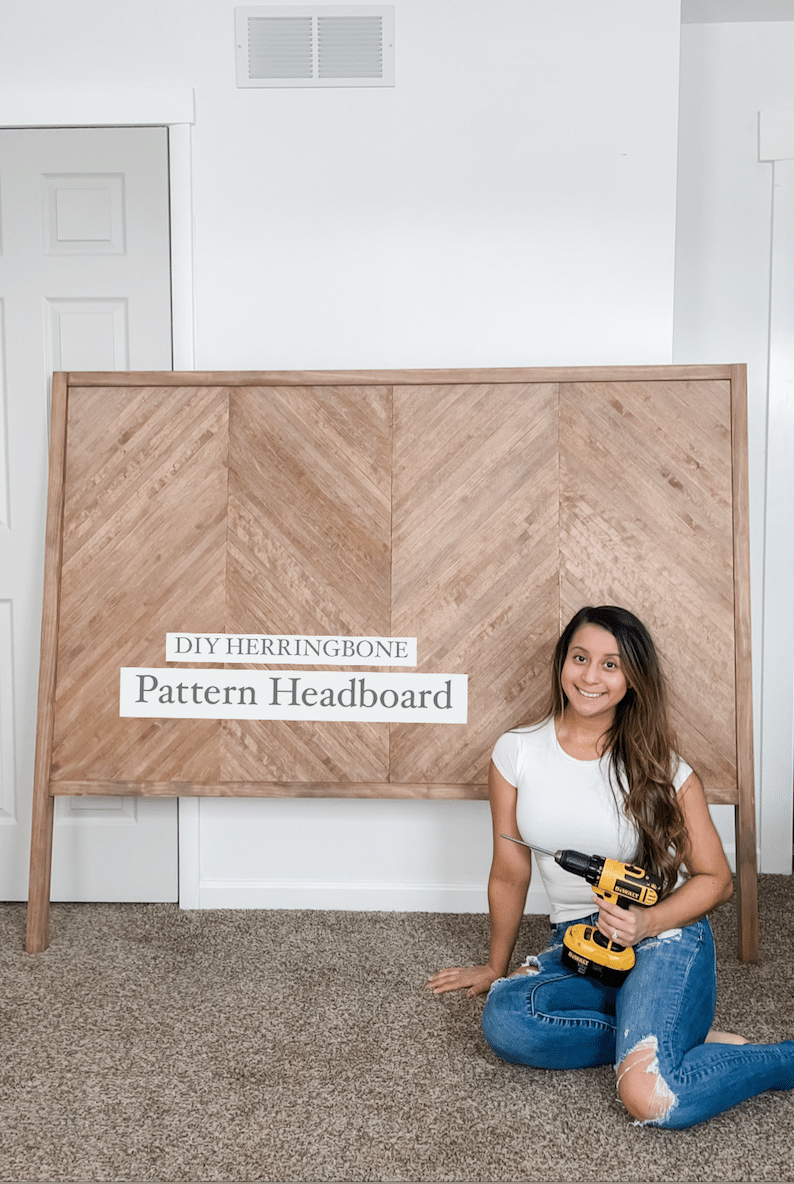
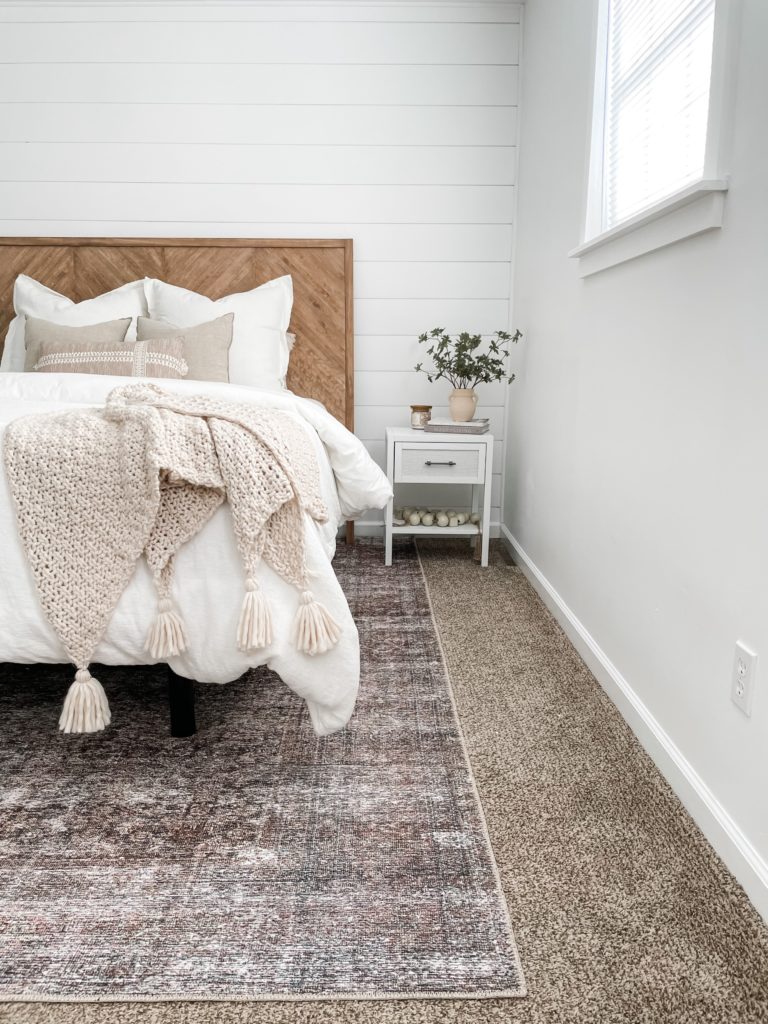
DIY Herringbone Headboard
SHOP SUPPLIES/TOOLS HERE:


SHOP SUPPLIES/TOOLS HERE: