How to Install LVP Flooring: A Guide for Beginners

SHOP TOOLS/SUPPLIES:


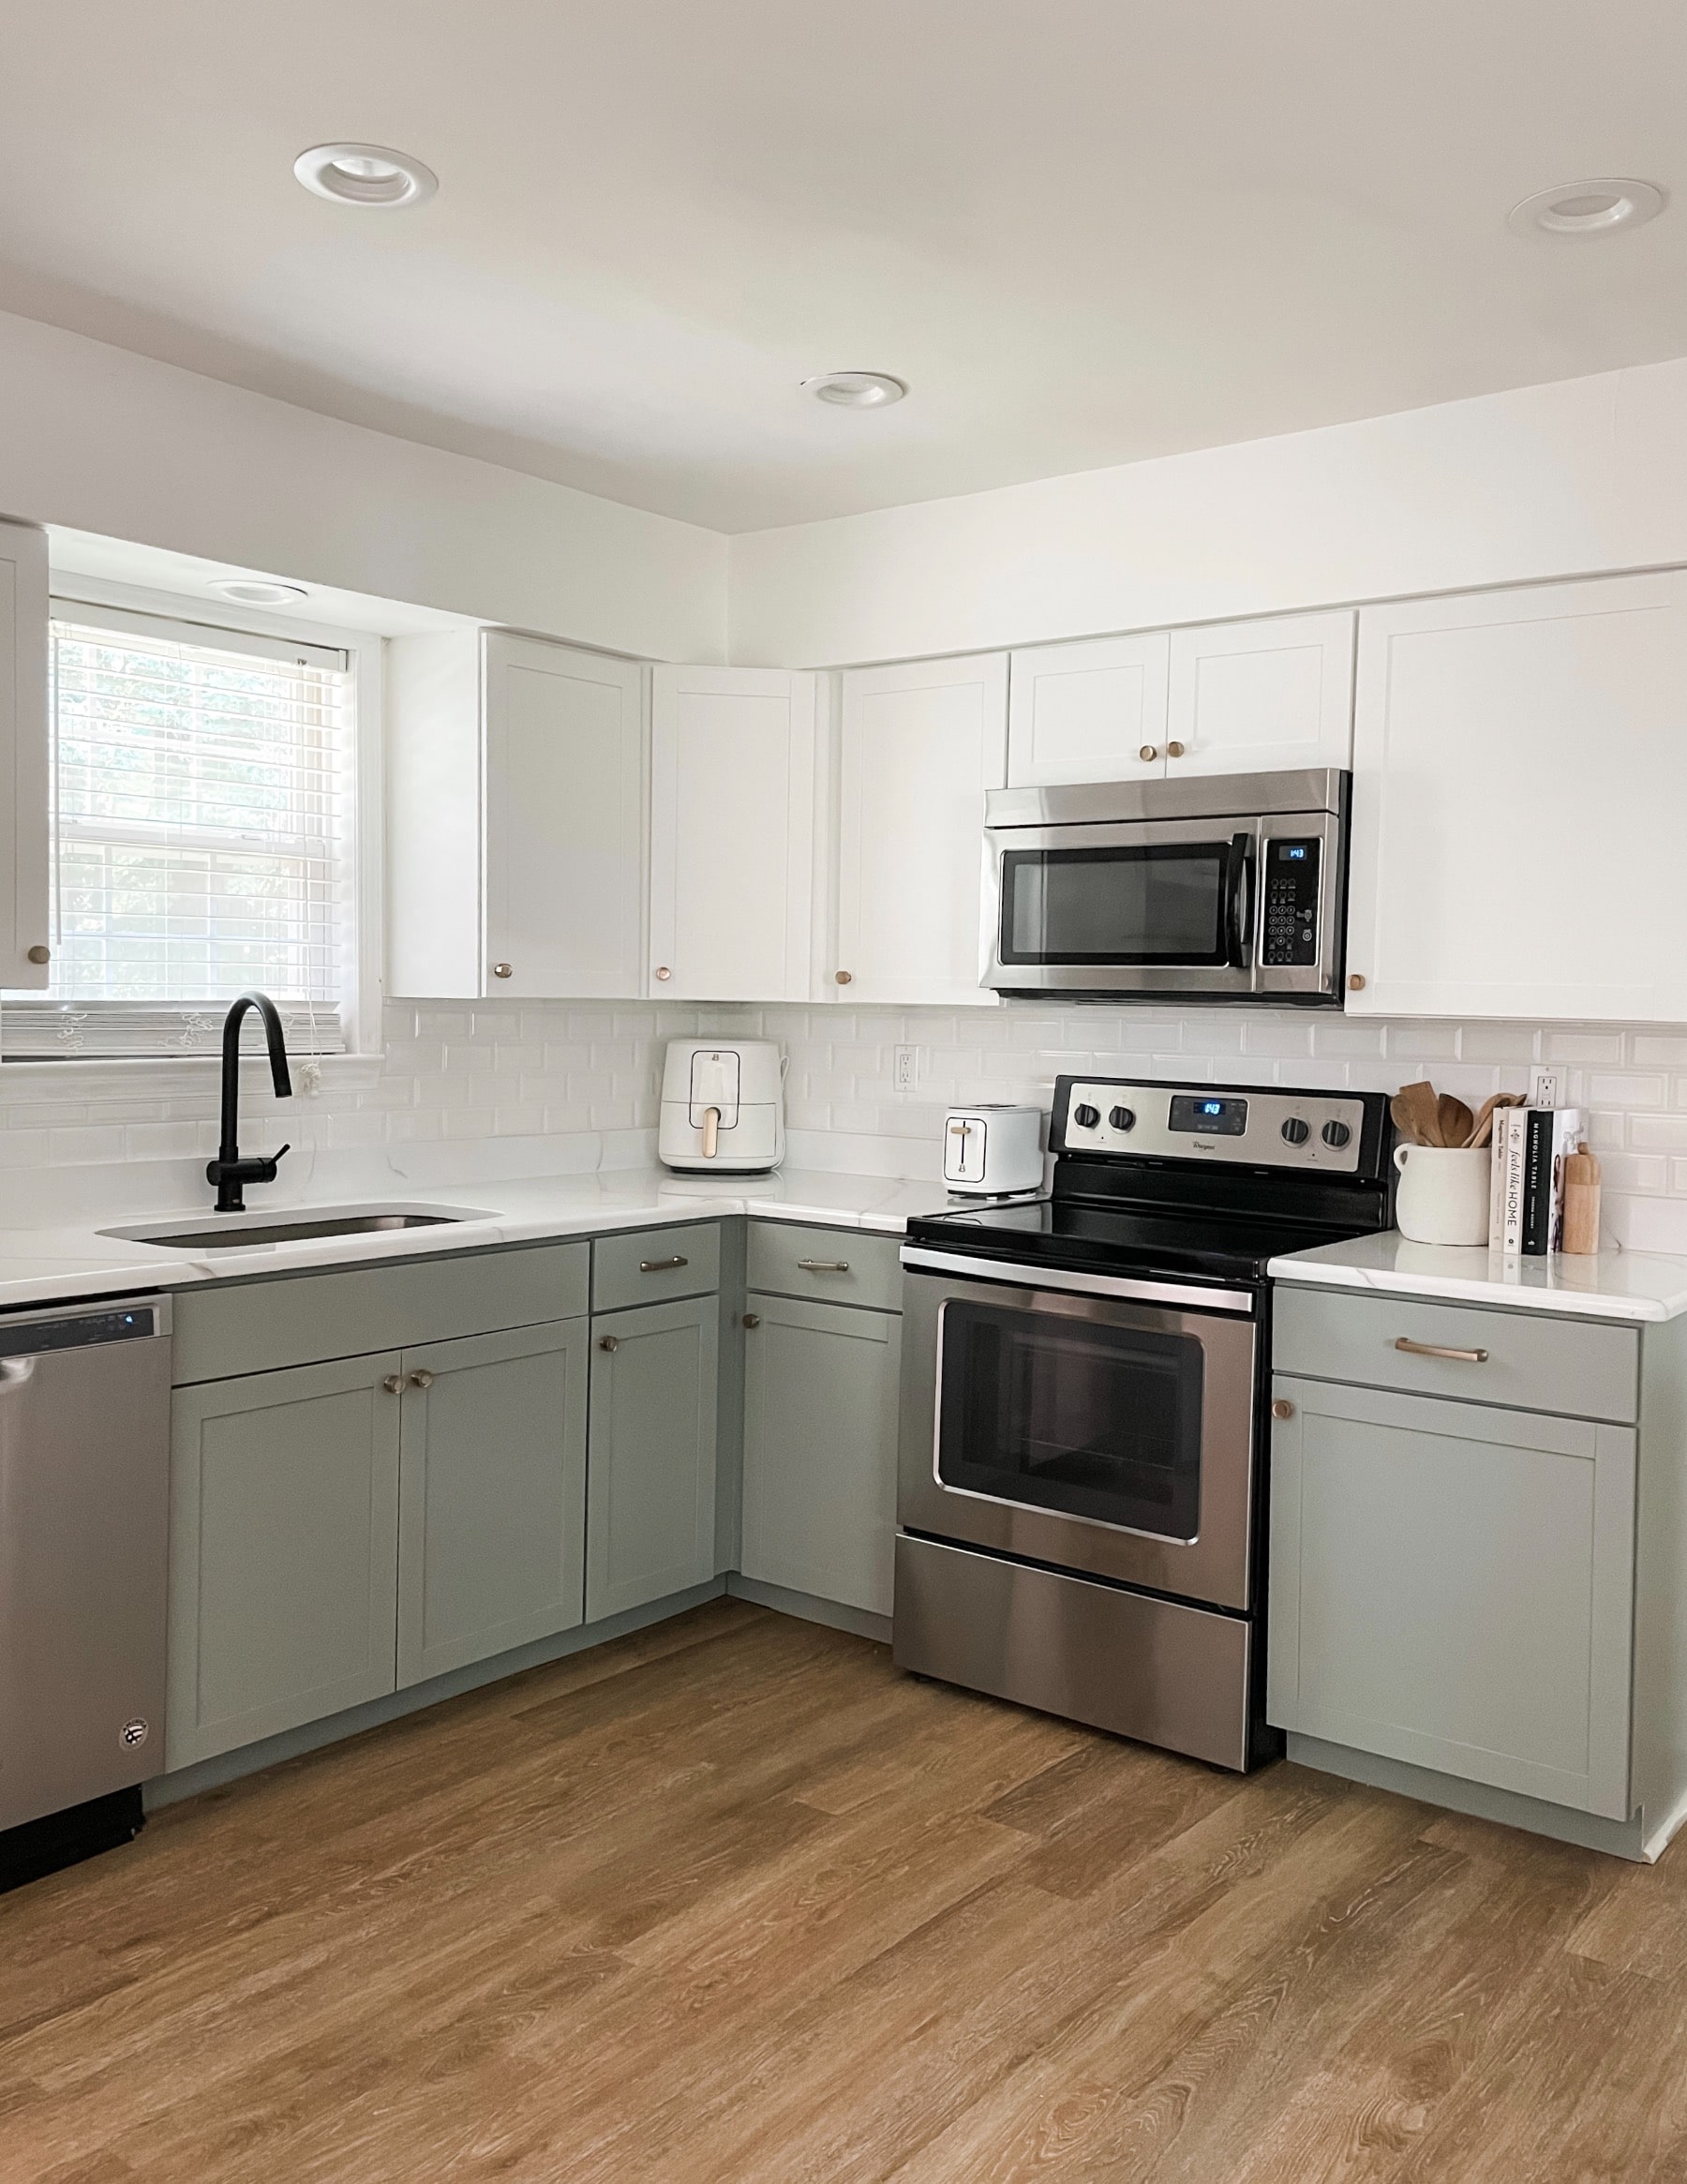
The two simplest things that can transform a house in my opinion? Paint and new flooring. By updating these two things you give yourself a good, clean base to work on for whatever style you may be envisioning.
In today’s post I’ll be sharing how my fiancé and I installed new LVP flooring throughout our home. We had not had any prior experience doing so, but it turned out to be a pretty beginner-friendly project.
Luxury vinyl planks (also known as LVP) have a realistic hardwood appearance, yet they are easier to maintain. They are waterproof (select brands)- a must if you have dogs or kids, and they are durable. It was a no-brainer for us to choose LVP flooring for our home.
While there are a ton of different floor brands out there, I always recommend doing thorough research to find the best company that suits your needs. After plenty of our own research we ultimately decided to go with Flooret.
Flooret checked off all of our boxes and then some! Here are some of the highlights that stood out to us:
Keep in mind that flooring looks different in every home. I highly suggest ordering samples in order to help with your design selection. Place your samples in various areas of your home and keep an eye on them during different times of the day/in different lighting. Leaving your samples up for a few days/weeks can help you feel more confident with your decision.
Flooret offers samples in various models: craftsman- narrow plank (3.4in width), base- medium plank (5.9in width), and signature- wide plank (9in width). The cool thing about Flooret’s floor samples is that they are bigger than the samples you would find in-store. They also provide the option to order full-length size planks- which I highly recommend.
If you are in the market for LVP flooring and would like to check out Flooret’s products, you can use code OURBLISSFULNEST33 for 33% off your sample order!
Besides purchasing your new floors you’ll need a couple of other tools/supplies to complete this project. However, most of these items are basic household tools that you most likely already have lying around the house!
SUPPLIES/TOOLS NEEDED:
SHOP TOOLS/SUPPLIES:
We found it helpful to remove the baseboards throughout our home before removing our currents floors. If you have never removed baseboards before, it’s fairly easy. Simply take a utility knife, score the caulk where the trim meets the wall and use a trim puller to remove your baseboards. A mallet is also helpful in getting the trim puller into tighter areas.
If you prefer not to remove your current baseboards, you can still go ahead and install luxury vinyl planks. However, because you need to leave a 1/4 inch gap between the wall and the planks; you will need to add shoe moulding afterwards to hide the gap.
Once the baseboards are out of the way you can begin removing the current floor that is in place. In our situation it was a combination of low-quality LVP and carpet.
Before beginning the removal of your old flooring be sure to wear proper protection such as safety glasses, nitrile gloves, knee pads, and a respirator. You never know what you’ll find underneath your current floors.
Removing the old LVP floor that was currently installed wasn’t a challenge. Since luxury vinyl planks are floating floors, they aren’t glued or nailed down to the subfloor. No tools were necessary for this step, we were able to remove all of it by simply using our hands (with gloves on of course).
Removing the carpet was a little more tedious than removing the old LVP. We began by taking a utility knife and cutting strips of carpet about 2ft wide (to avoid having to carry too much weight at a time). We were then able to pull the carpet from the subfloors. The same steps were repeated to remove the carpet padding underneath.
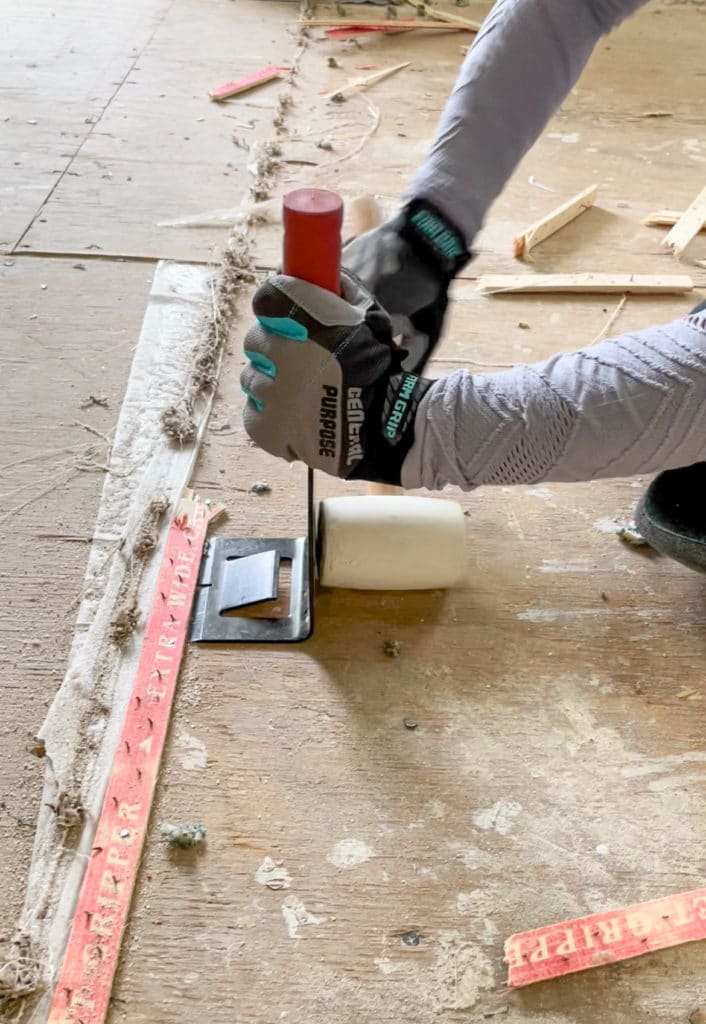
Once all the carpet and carpet padding were gone, we moved onto removing all of the tack strips by using a trim puller (a pry bar can also be used) and a mallet.
The thing with carpet is that there is a TON of staples to remove afterward in order to get your surface leveled. Removing staples was honestly the most tedious part of this entire project!
If you will be replacing the floors in more than one room I would highly suggest renting out a dumpster to relieve the stress of figuring out where all of your old flooring will go. We personally had never rented a dumpster before so we were a bit lost on where to even begin.
Budget Dumpsters made our rental process super easy! They explained the rental process to us from start to finish and answered all of our questions. They were also very helpful in walking us through what size dumpster we would need for our project. As far as rental time goes, we decided on a 10-day rental and that was plenty of time for the size of our project.
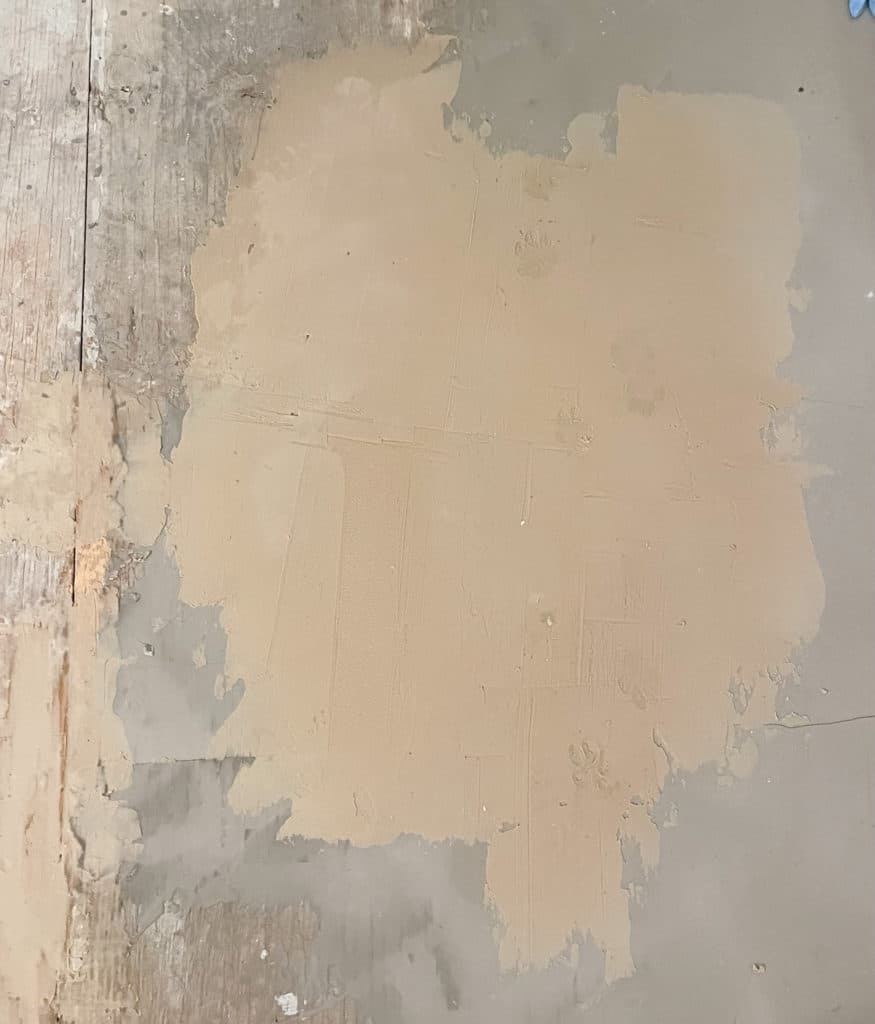
If your subfloors are uneven, they will need to be leveled in oder for your planks to lay flat.
Certain areas that we were working on were not completely level. In order to fix them we used a premixed floor patch to even them out. Keep in mind that if using a floor patch, it takes several hours for it to dry so make sure you take that into account when planning for prep work.
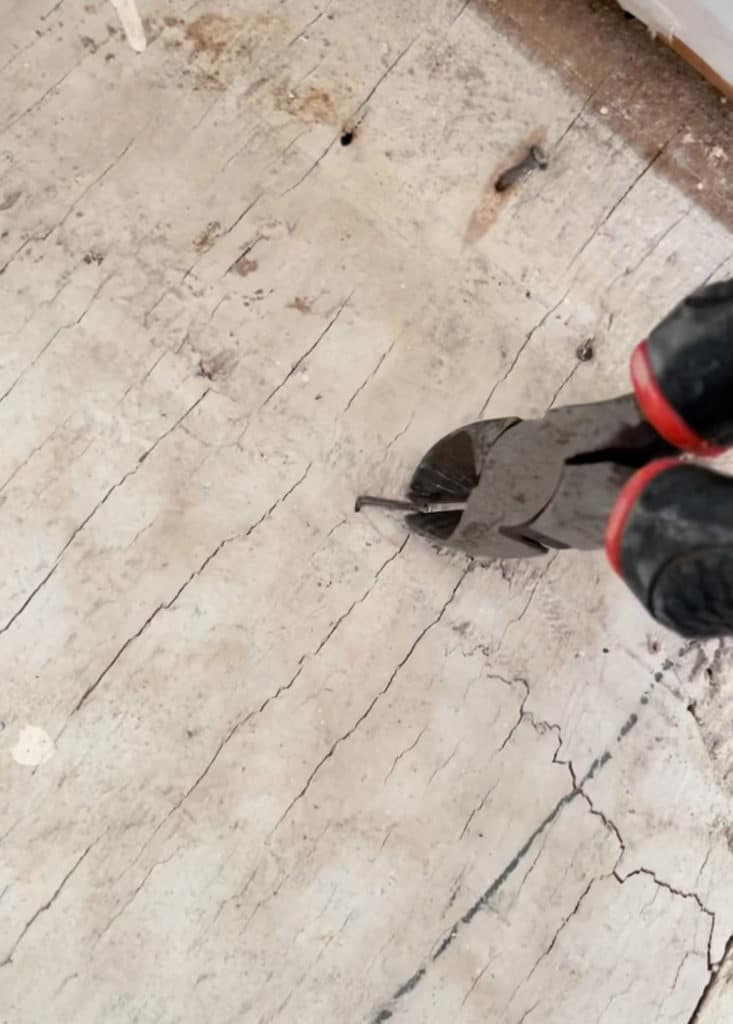
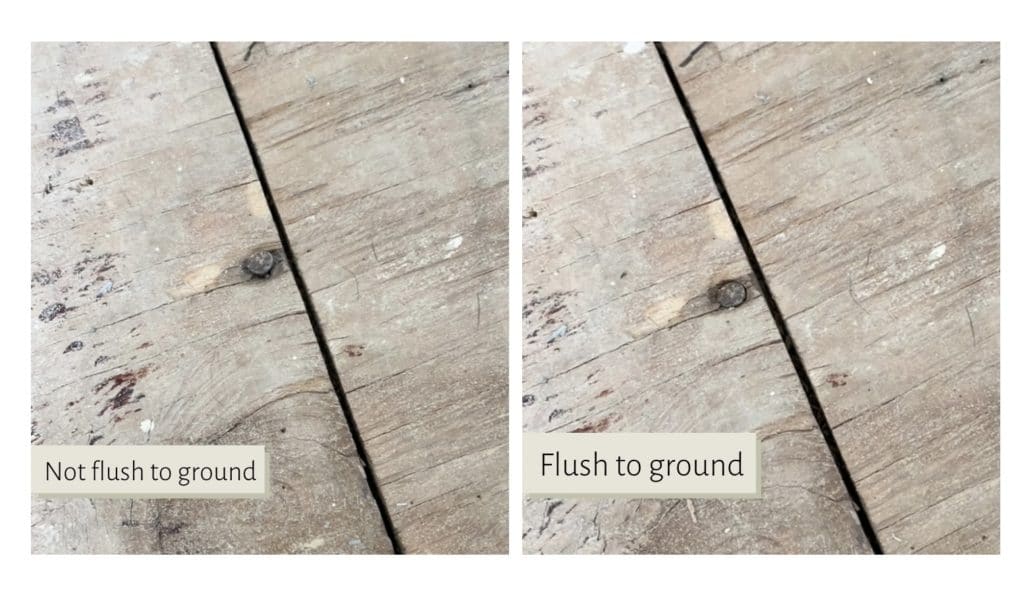
Make it point to check for nail heads that may be above the subfloor. You can do so be running a putty knife across the floor. The putty knife will be stopped in its tracks if it encounters something sticking out above the surface. You can either make it flush to the ground or remove it all tougher.
Sweep/vacuum the subfloors prior to LVP installation to ensure that you have a clean workspace.
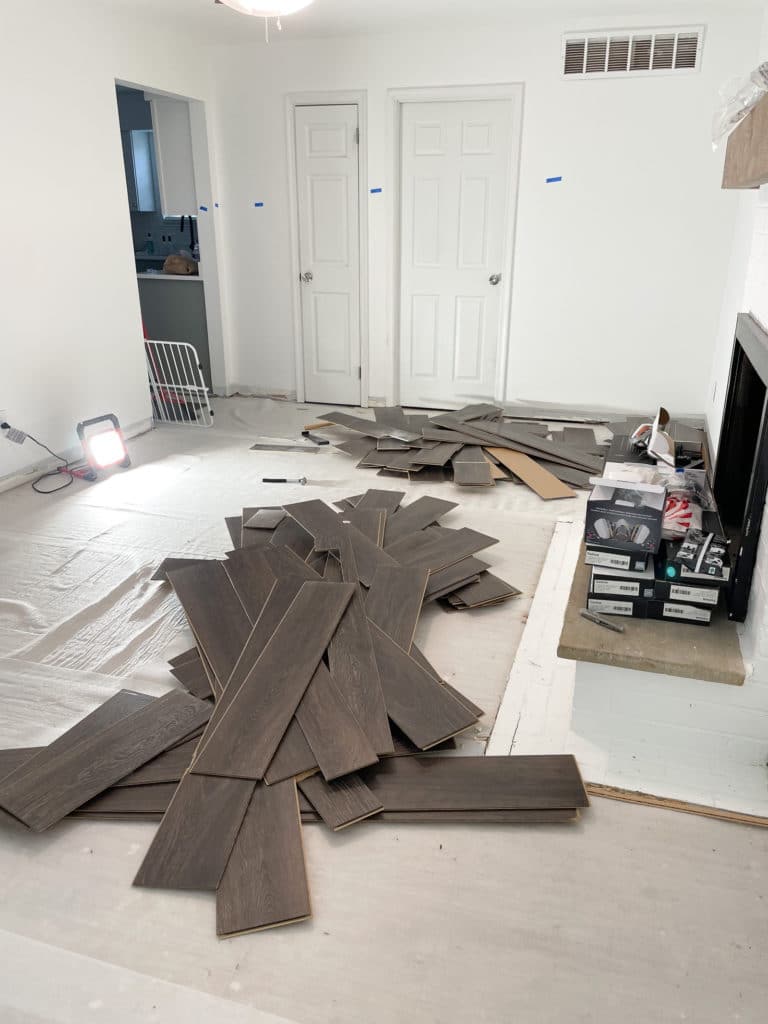
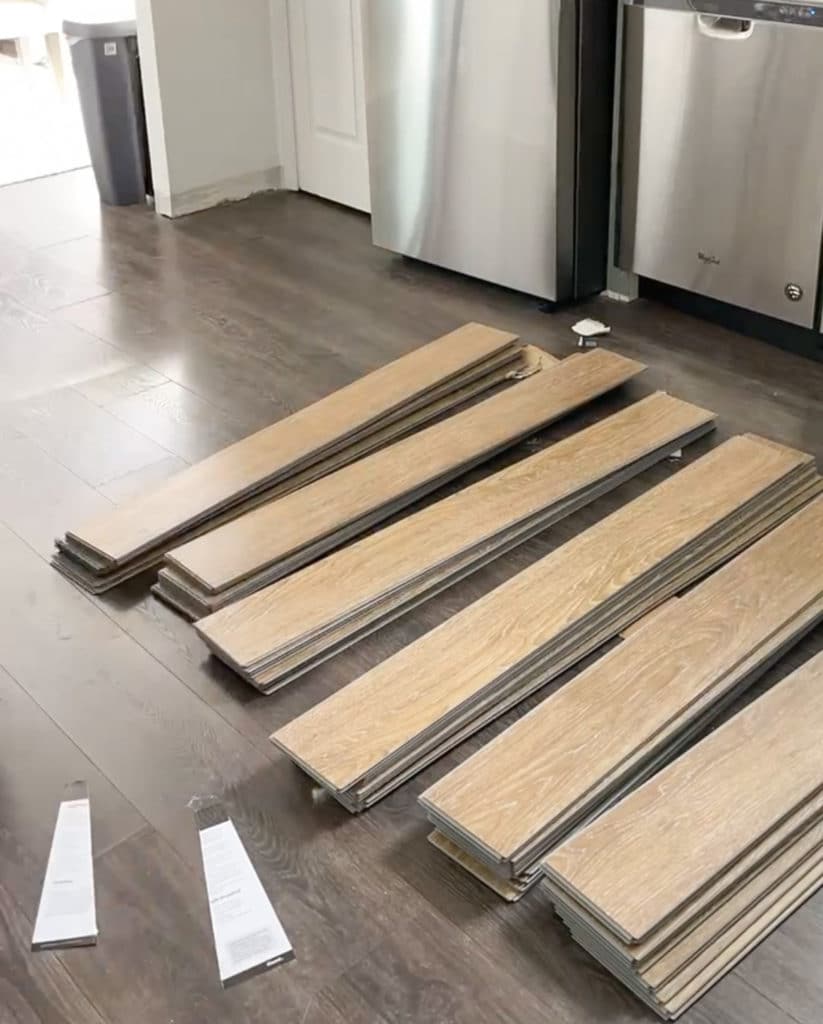
Before beginning installation, open 5-6 boxes of flooring. It is likely that there will be slight differences in shades/patterns throughout your planks. This is normal as it helps to create a natural hardwood floor appearance.
Since any given individual box of flooring tends to have the same variation of planks, you want to alternate what box you grab a plank from each time you reach for a new one.
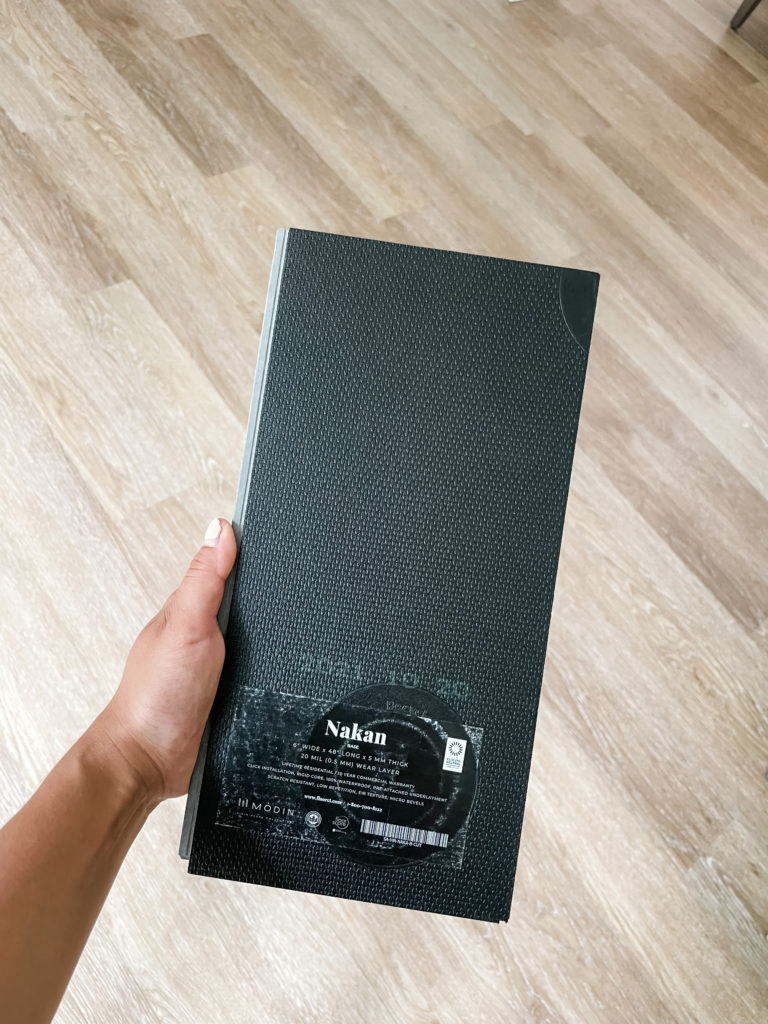
One of the main reasons why we decided to go with Flooret was because of their pre-attached IXPE underlayment. This made installation way easier by cutting out an additional step and saved us money by not having to purchase underlayment separately.
Start by laying your first plank directly onto the subfloor. Make sure it is running parallel along the longest wall in the room (be sure to start in the largest room if you are working in multiple rooms). Place your floor spacers in between the plank and the wall along both the long and short end of your plank.
*Tip: The floor spacers that come with most flooring kits aren’t the best. They tend to move around and require tape if you want them to stay put. Instead, I recommend using these T-spacers from Amazon.
Luxury vinyl planks are considered “floating floors” meaning they are not nailed or glued down to the subfloor. This type of flooring expands and contracts based on temperature changes. Because of this, you don’t want to place your planks directly adjacent to the wall. It’s important to leave a 1/4inch gap between the plank and the wall in order to allow for any expansion/contraction. Using spacers ensures that you have that gap all throughout the perimeter of the room. Leave the spacers on until you finish installing all your planks in the room in order to avoid any shifting.
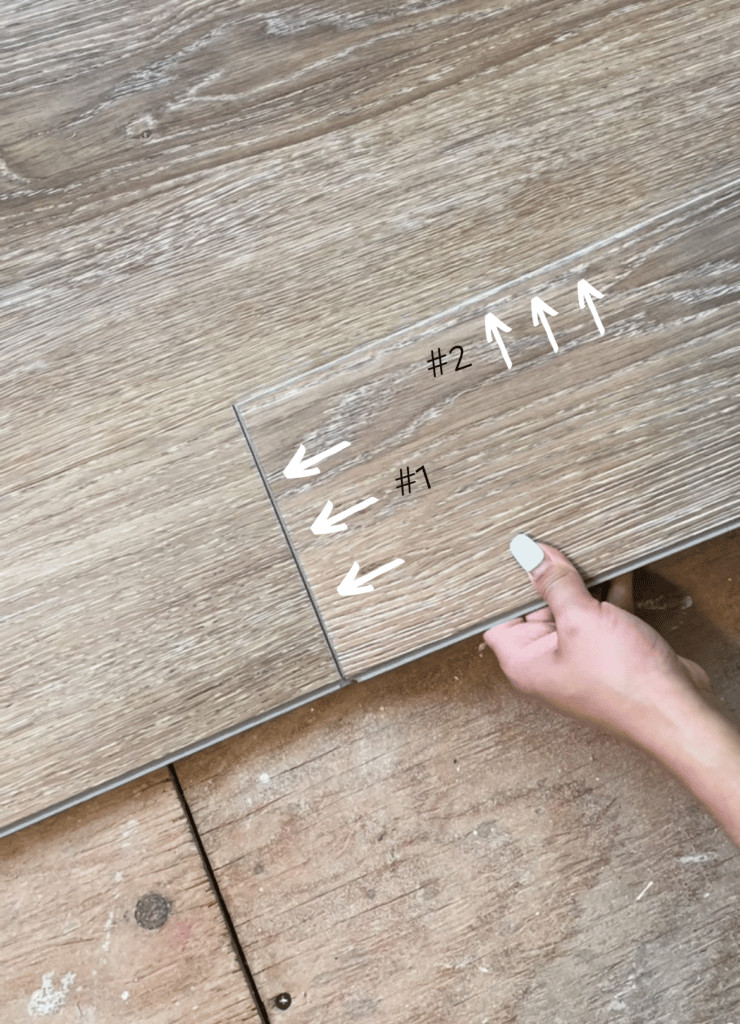
Flooret’s angle-tap click installation method makes it super easy to lay your flooring. We found that it was easiest for us to click the short end of the plank into place first and then click the long end into place. Just as the method implies, you’ll hear and feel once your planks are locked into each other.
Continue laying your planks until you reach the end of your row and continue to use your floor spacers anytime you are working alongside a wall. Once you reach the end of your row, you’ll most likely need to make a cut for your last piece to fit.
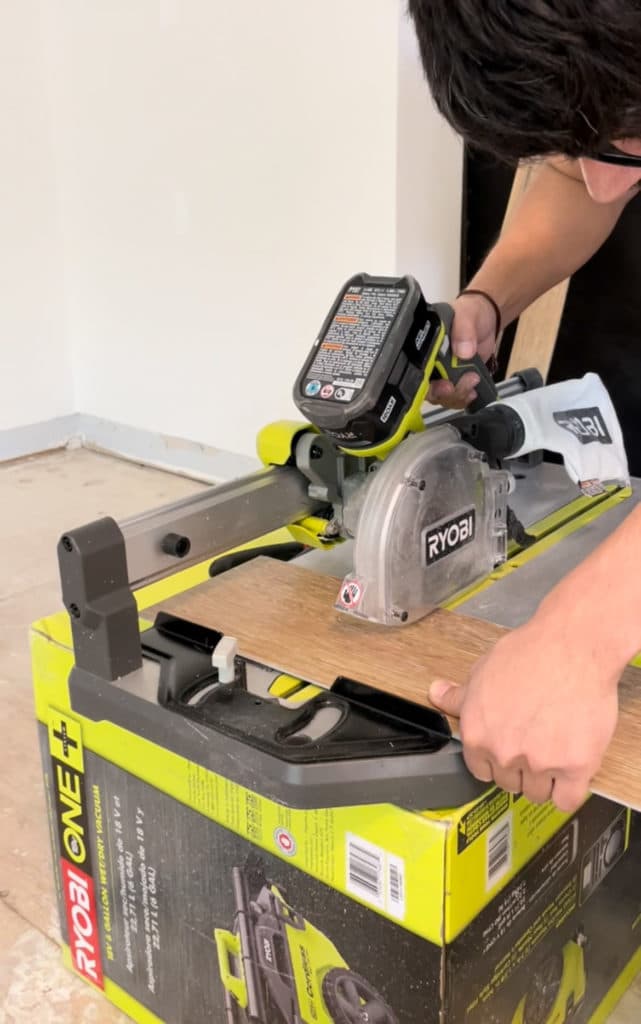
While you can use a table saw + miter saw to make your cuts, we definitely found it super helpful to use a flooring saw instead. Ryobi’s Flooring Saw specifically was really great to use due to it being battery-operated/portable. We had no issues with battery life and loved that we were able to make both long and short cuts with one tool.
*Tip: If possible make your cuts in a separate room from where you are working in. Using a saw tends to generate a lot of dust in the area.
*Tip: Always double-check to make sure you are cutting the proper end of your board
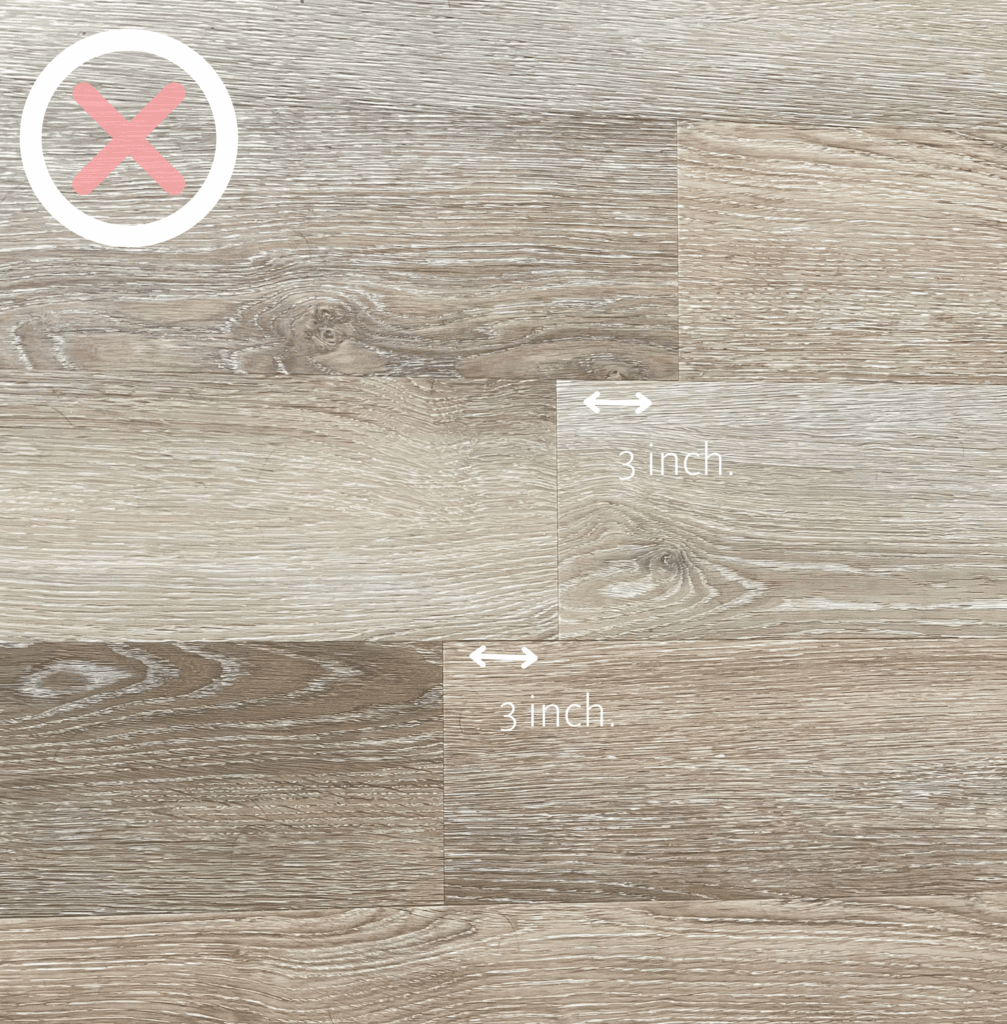
Take the remaining piece of the board you just cut to begin your new row. Repeat this whenever finishing/beginning a row. This technique helps avoid creating a pattern when laying your floor as doing so can create an unnatural appearance.
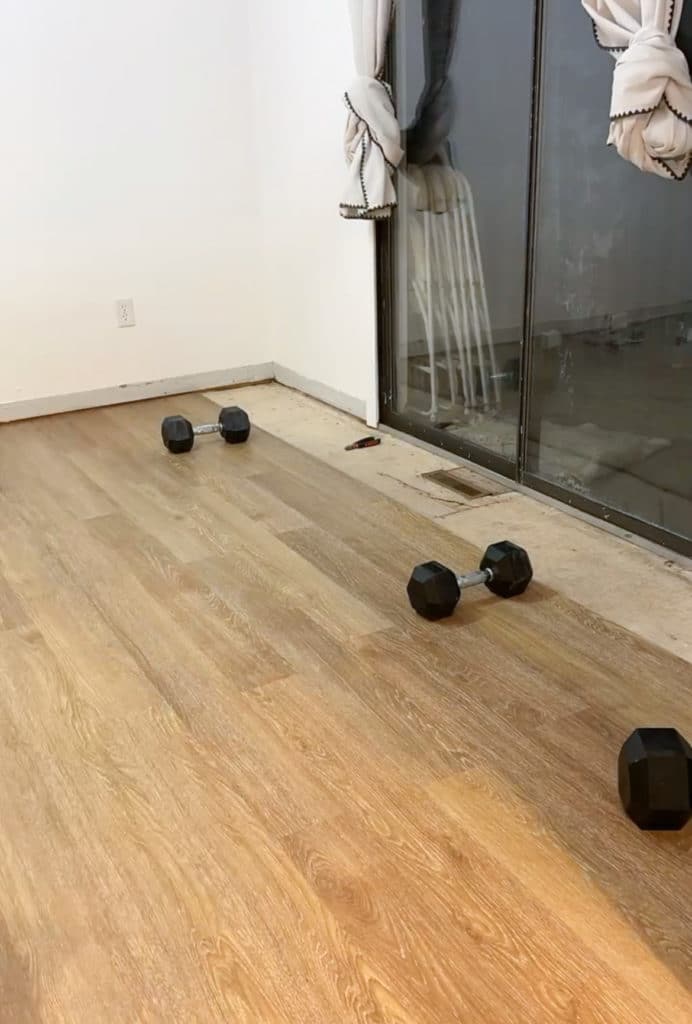
Since Flooret’s Modin LVP falls under the floating-floor category, we wanted to prevent the planks from shifting while we were working on them. In order to do so we placed weights (unopened plank boxes will also work) over the floor we had already laid. Most likely your floors won’t shift around during installation, but we just wanted to be extra cautious.
Throughout the floor installation process, you will most likely encounter areas that will require special cuts (air vents, door jambs, etc.). For these cuts a jigsaw is helpful.
Leave at least 8 inches of clearance between the end of each plank in order to allow for proper attachment.
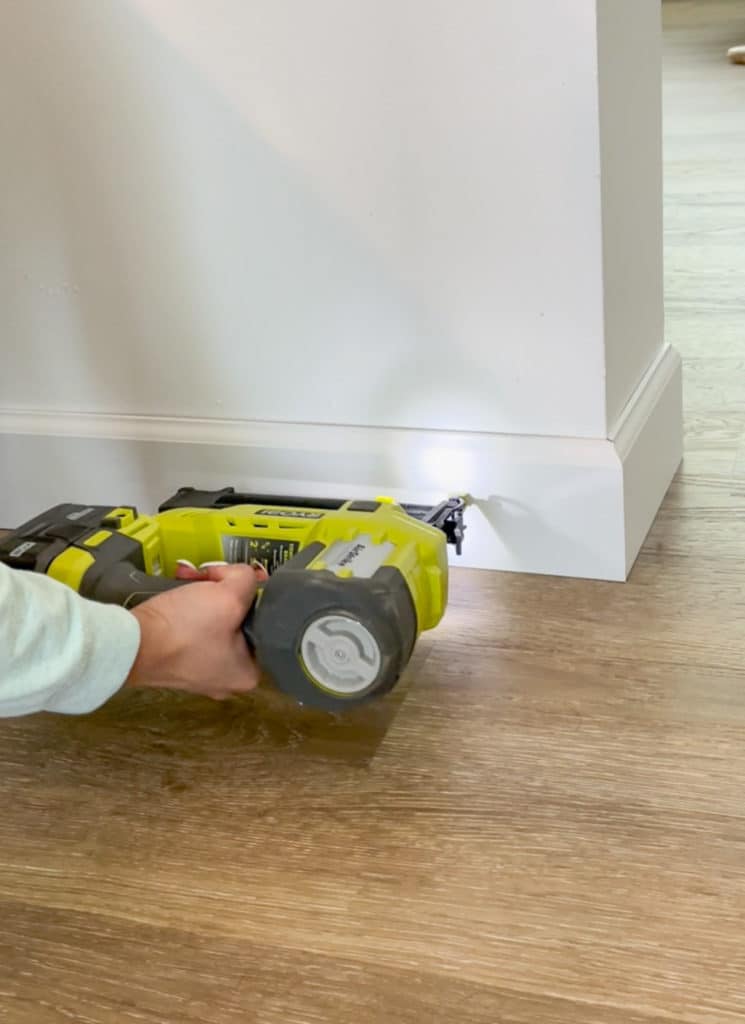
Your new floors aren’t complete until your baseboards are finished. Once your new luxury vinyl planks are in your baseboards can go back into place.
There are tons of ways to go about this step but we decided to paint, cut, and install. While you can reuse your old baseboards, we opted for new ones.
Following installation I used wood filler to cover up the nail holes from the brad nailer. Since I only used very little wood filler I was able to skip out on sanding. As far as touch-up paint goes, I found a touch-up paint pen which made it easier to accomplish this task.
The final step was to caulk alongside the baseboards.
While I know the thought of replacing your floors can be daunting, we were pleasantly surprised with how easy it turned out to be. Don’t get me wrong though- it was still plenty of work. It took us about a week and a half to install the floor in about 1000 sq footage of space. The transformation that came from it though was very well worth it!
If you would like to see video clips of the entire floor project I have a saved highlight titled “Floor Install” on my Instagram page. Feel free to tag @ourblissfulnest on your Instagram posts or send me a picture via email or DM if you decide to tackle installing LVP flooring. I would love to see how it turns out!
Disclaimer: This post contains links in which I do earn a small commission from if you decide to purchase through them. This comes at no additional cost to you and as always your support is greatly appreciated!
Subscribe to our newsletter to stay up to date on the latest project tutorials, home decor deals, giveaways, and more!
Ourblissfulnest is a home and lifestyle brand. We strive to inspire others to create a space they truly love.
Copyright © 2024 Ourblissfulnest.com. All Rights Reserved.