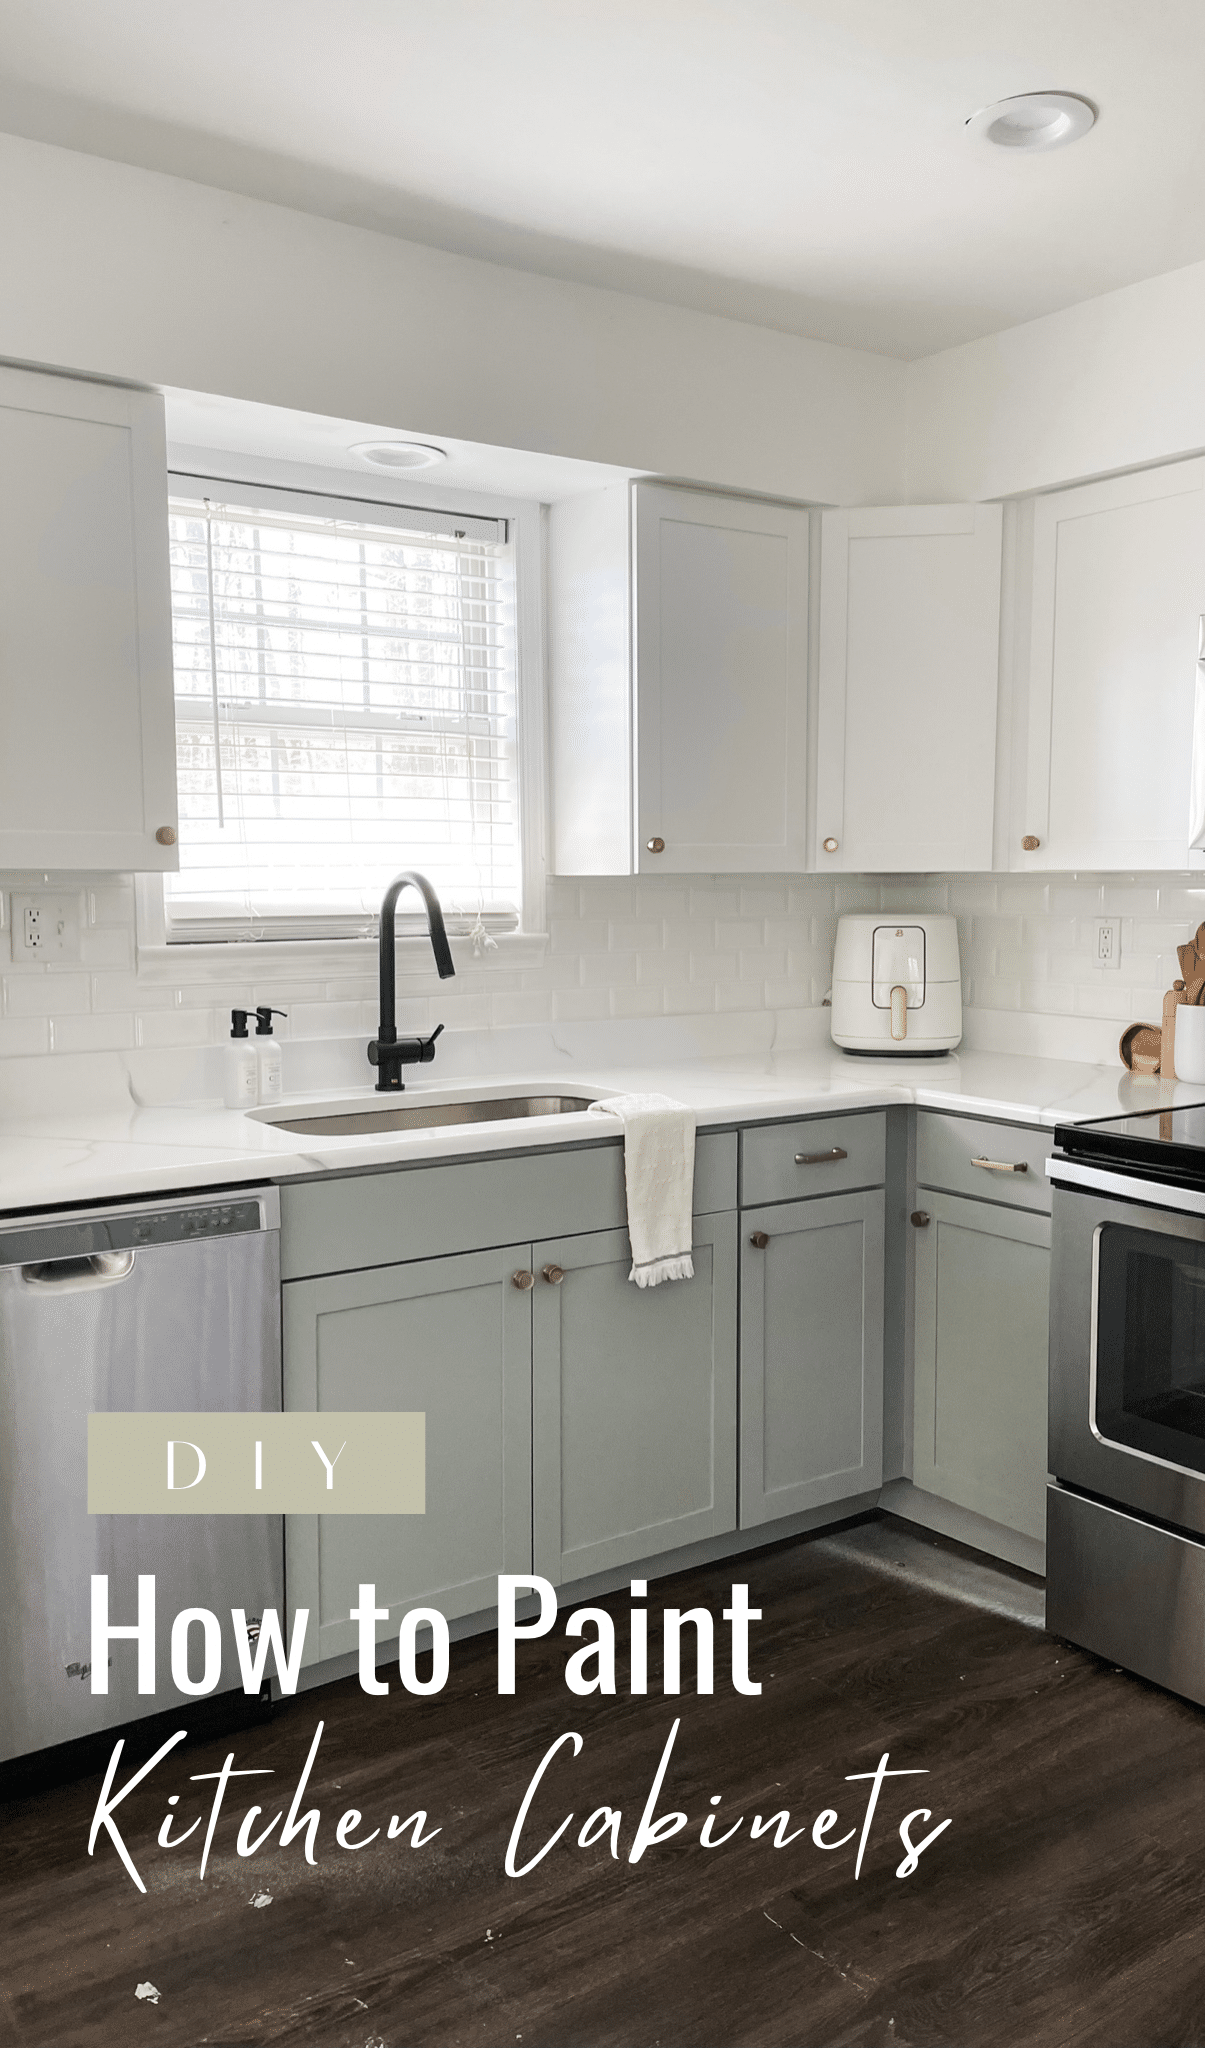
How to Paint Kitchen Cabinets: A Beginner’s Guide
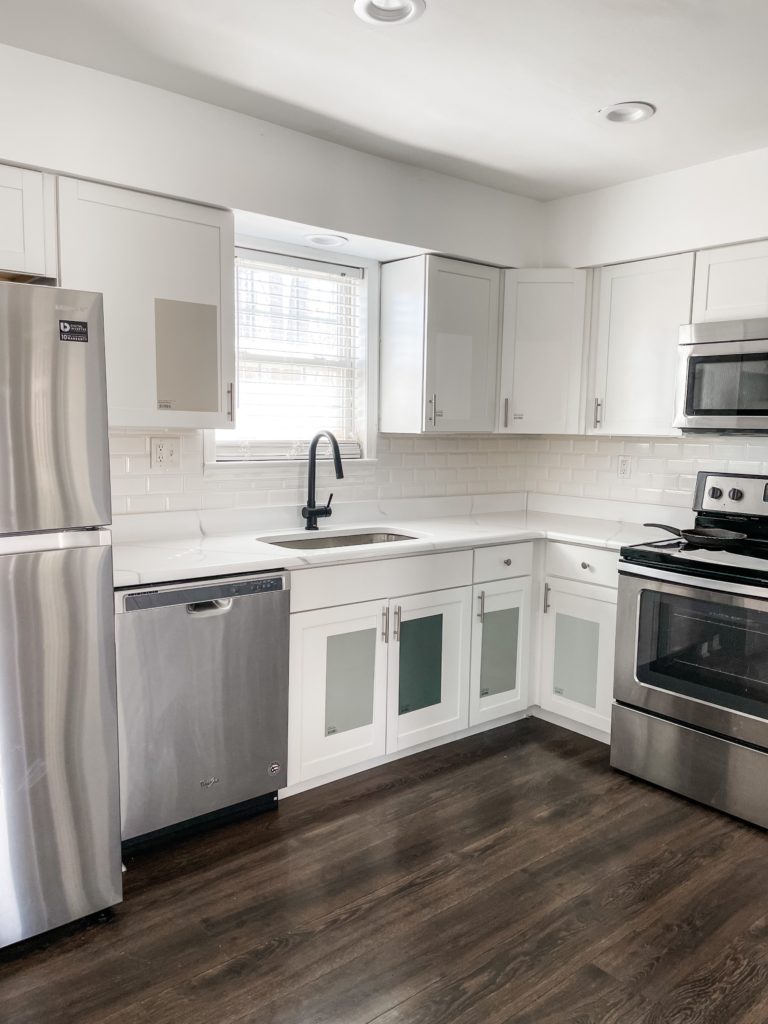
Is painting kitchen cabinets intimidating? Yes. Is it doable? Also yes. While I did underestimate the work that went into painting kitchen cabinets, I am SO happy with the results. It was a big project to say the least, but I would say it’s a project worth taking on.
In this post I’ll be sharing how I painted our kitchen cabinets all on my own.
Since I was working solo and ran into a few issues during this project, it took me about six weeks to complete. I know that sounds like a lot but that does include a two week break that I ended up taking (because life, ya know?). If I were to do it again I think that I would be able to knock it out within two weeks max.
SUPPLIES/TOOLS NEEDED:
- Painters tape
- Masking film
- Hand-masker
- Craft paper
- Caulk (optional)
- Caulk gun (optional)
- TSP Cleaner
- Washcloth
- Bucket
- Disposable gloves
- Wood Filler
- 320 grit sanding paper/sponge
- Tack Cloth
- Sprayer
- Primer
- Paint color or choice
- Painting tray (optional)
- Foam roller (optional)
- Paint brush (optional)
- Painters pyramid
SHOP SUPPLIES/TOOLS HERE:

Don’t let the long list scare you! I know it’s a lot, but the cost of hiring out this job cabinets literally costs thousands of dollars. I was able to do it on my own for around $600.
Selecting a color
You don’t necessarily have to make this selection prior to beginning, but I highly suggest purchasing color samples and leaving them up for a couple of days. Painting cabinets is no easy task. The last thing you want to do is go through all the work of painting just to end up hating your color selection. Give yourself ample amount of time to view your color samples throughout different times of the day and in different lighting to ensure that your are happy with your choice.
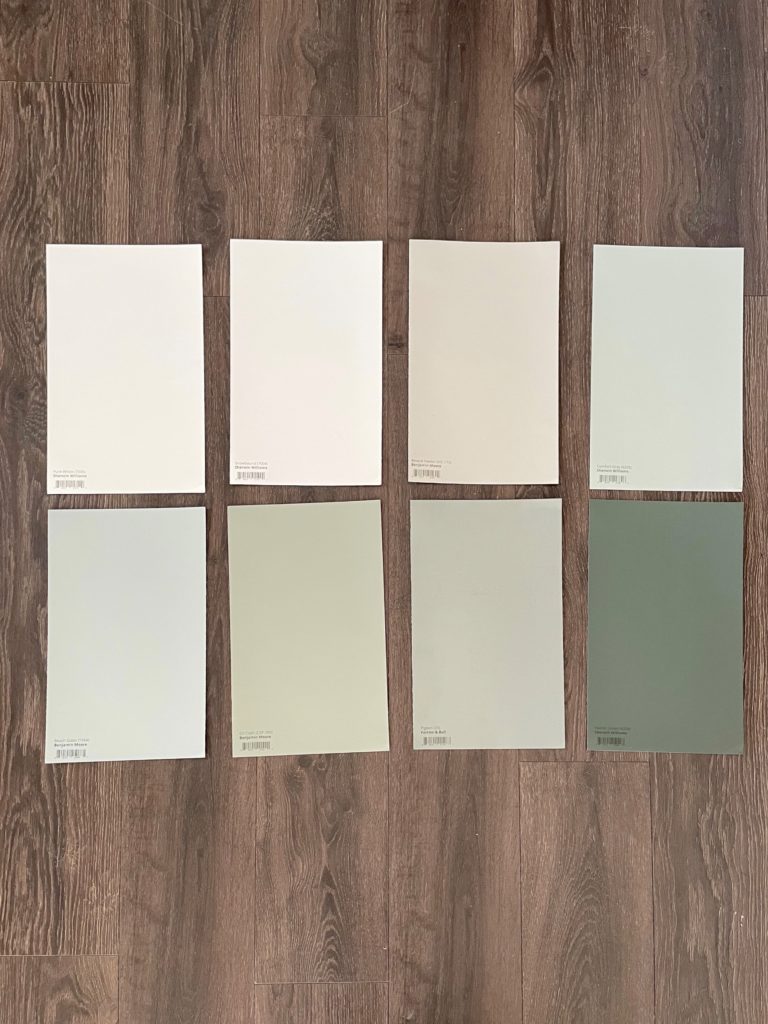
I love using Samplize when trying to decide on a color. If you haven’t heard of them before, they send you a peel and stick 9×14.75inch rectangle that sticks to most surfaces such as walls, cabinets, etc. A swatch of the actual paint color and brand that you are considering is already applied onto the peel and stick. Samplize carries the most well-known paint vendors so you are bound to find a color suited for your vision. I love how Samplize is not permanent to your surface and it creates no damage to your walls. It’s also nice not having to be stuck with leftover paint if you are unhappy with your color selection.
If you want to learn more about selecting your perfect color checkout the Samplize website.
Removing hardware
Organization will be key throughout this project to keep everything running smoothly. I found that what worked best for me was to keep all of the hardware that I removed from each door (hinges and knobs/pulls) and place it in a ziplock bag. I then placed that bag within it’s corresponding cabinet. You can definitely combine all of your hardware into a large ziplock bag however, chances are that your hinges are already adjusted to their specific door. If you mix them all together you might end up spending time adjusting your hinges to their new door once you go to place them on again.
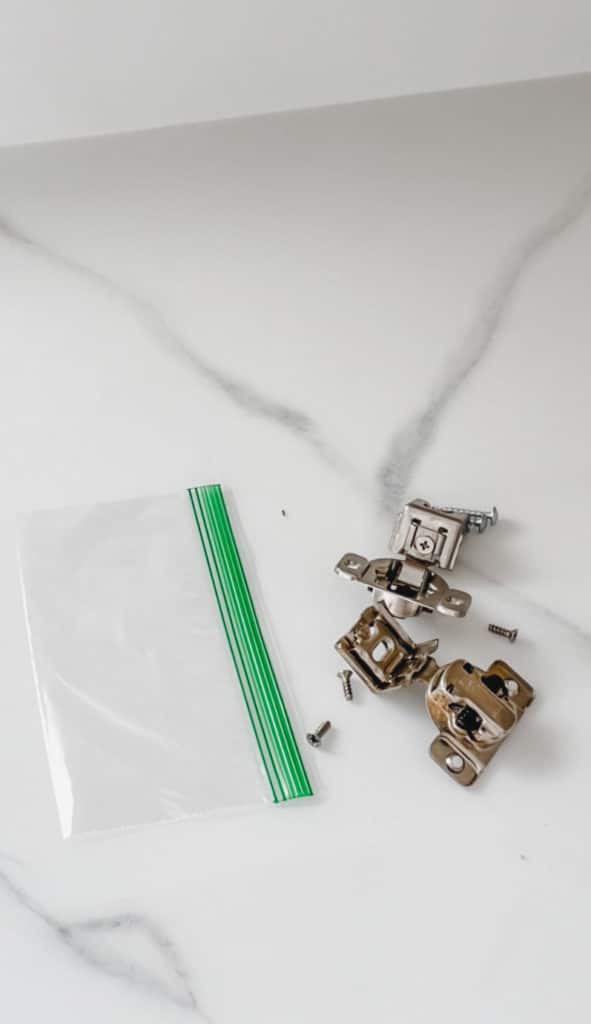
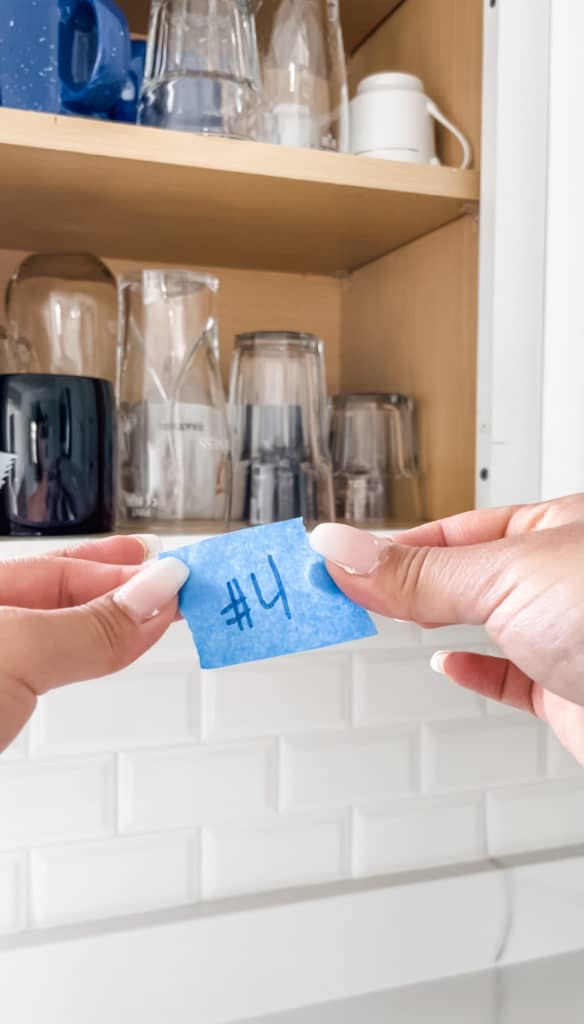
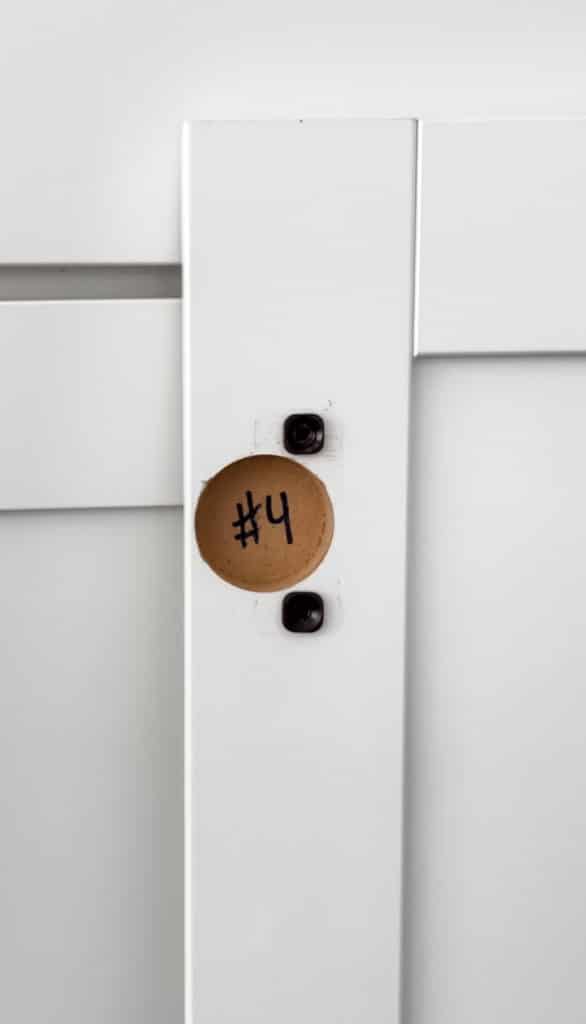
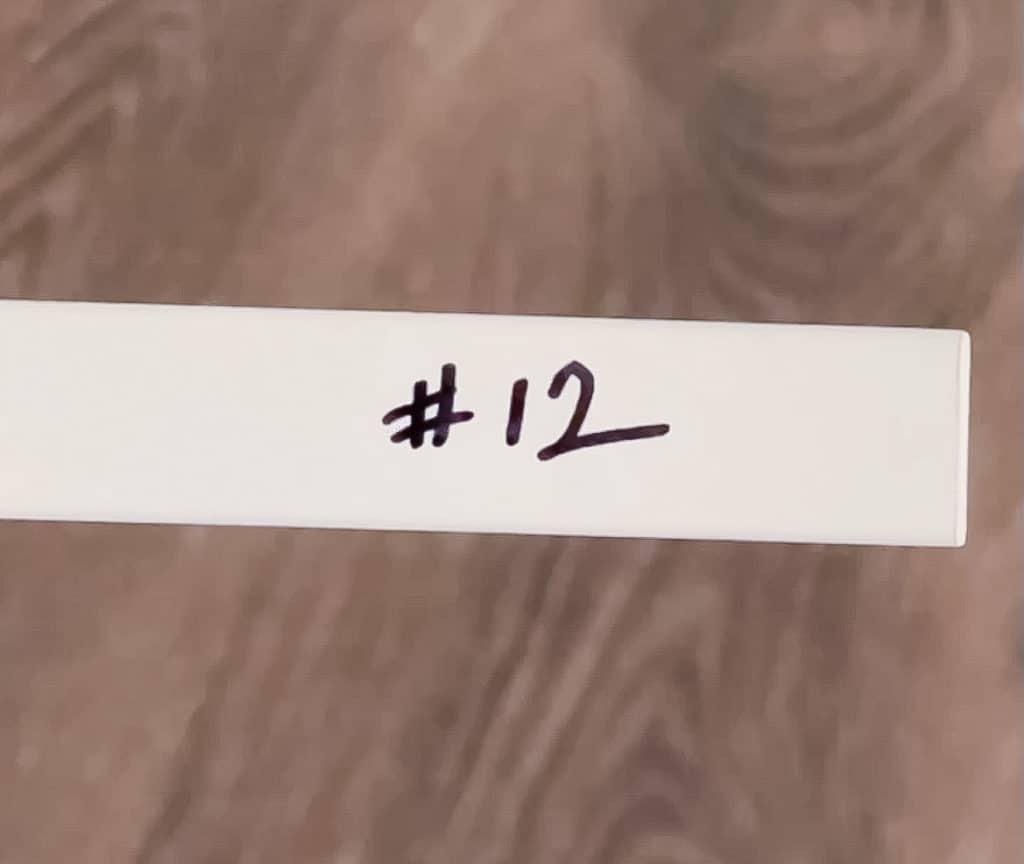
As you are removing your doors from each cabinet, it’s a smart idea to number each one of them so you know exactly where they go once it’s time to place them back on. Using a piece of painters tape, write down a number and place it within the cabinet. Write the corresponding number within the hinge socket in each cabinet door (this will later be covered with tape so that it’s not painted over).
Cabinet boxes
Protecting kitchen surfaces
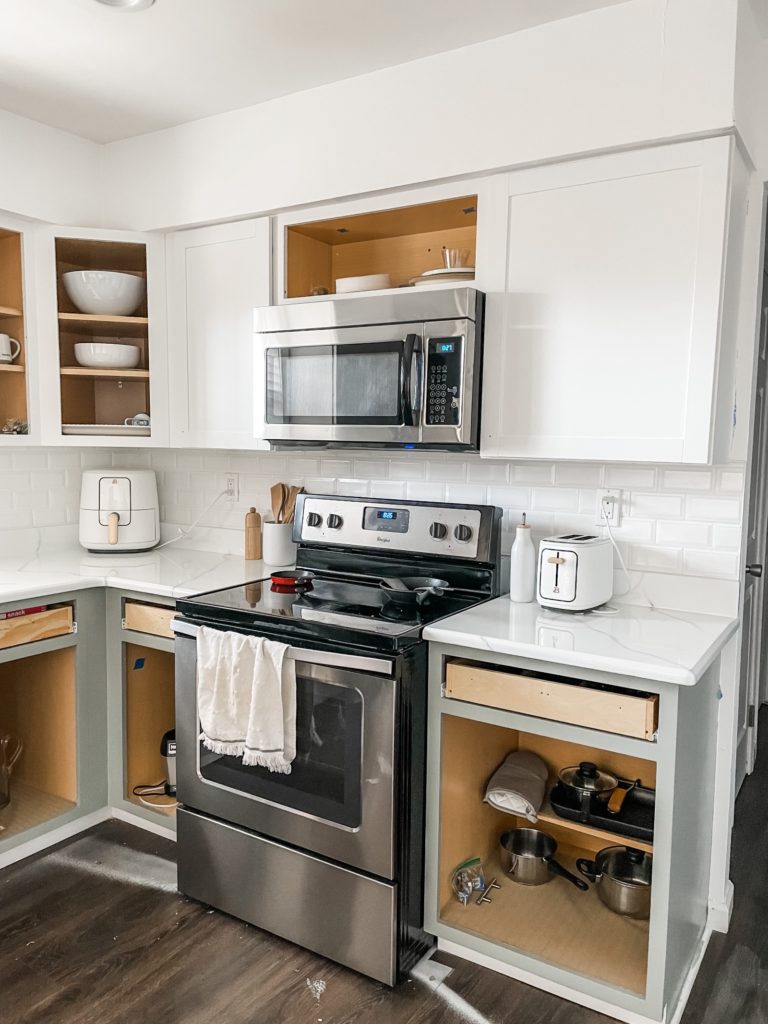
If you plan on using a paint sprayer on your cabinet boxes you’ll want to tape EVERYTHING off- counters, walls, ceiling, floor, backsplash, appliances, etc.
For countertops, backsplash, walls, and appliances: I suggest using masking film.
For floor: I suggest using craft paper.
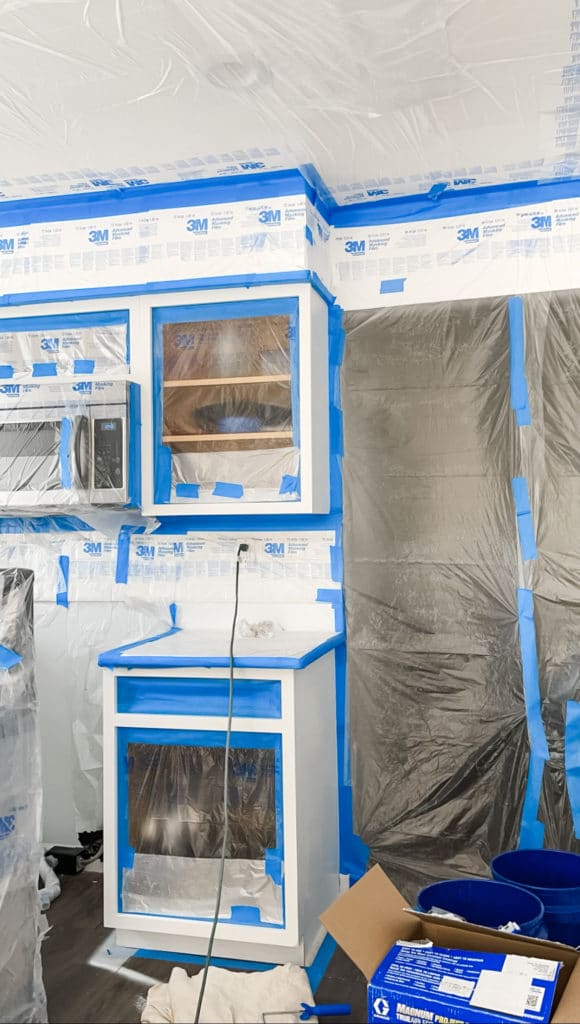
Additionally, you’ll want to cover the inside of your cabinet box. To do this you can apply blue painters tape along the inner lip of the cabinet frame. Place the painters tape inside out (meaning the sticky side is facing you). Then place a sheet of making film right over the blue painters tape. Add another layer of tape over the masking film for additional security.
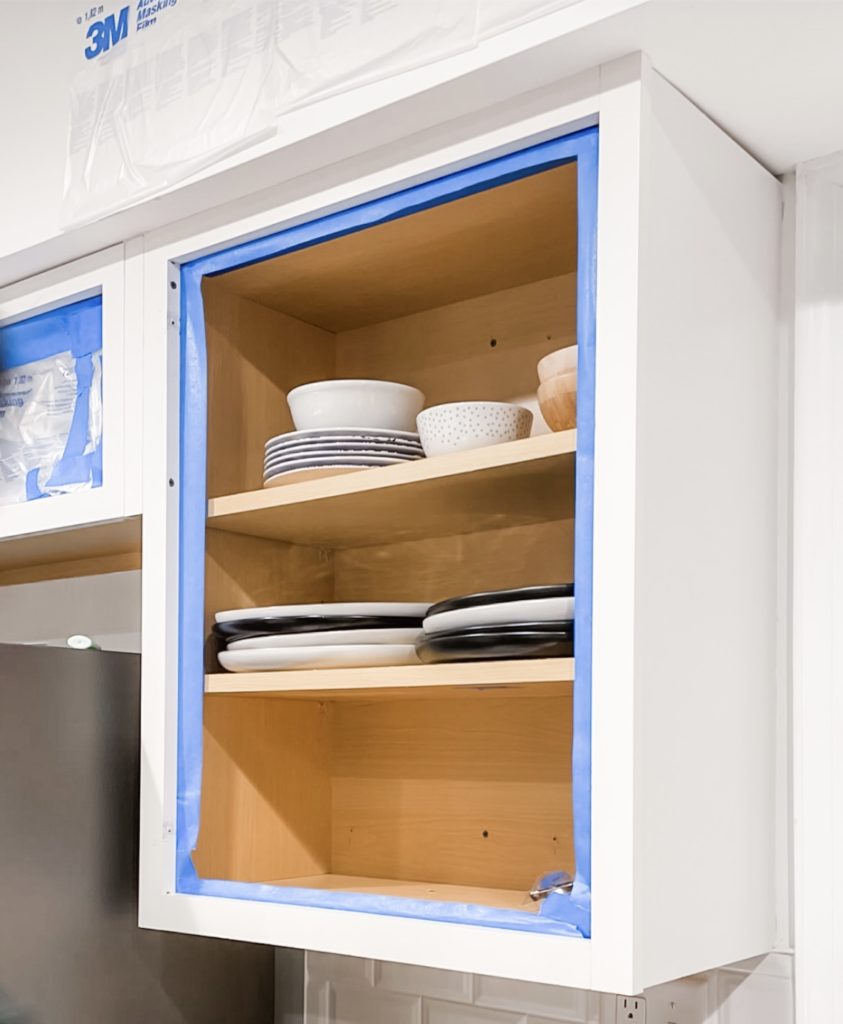
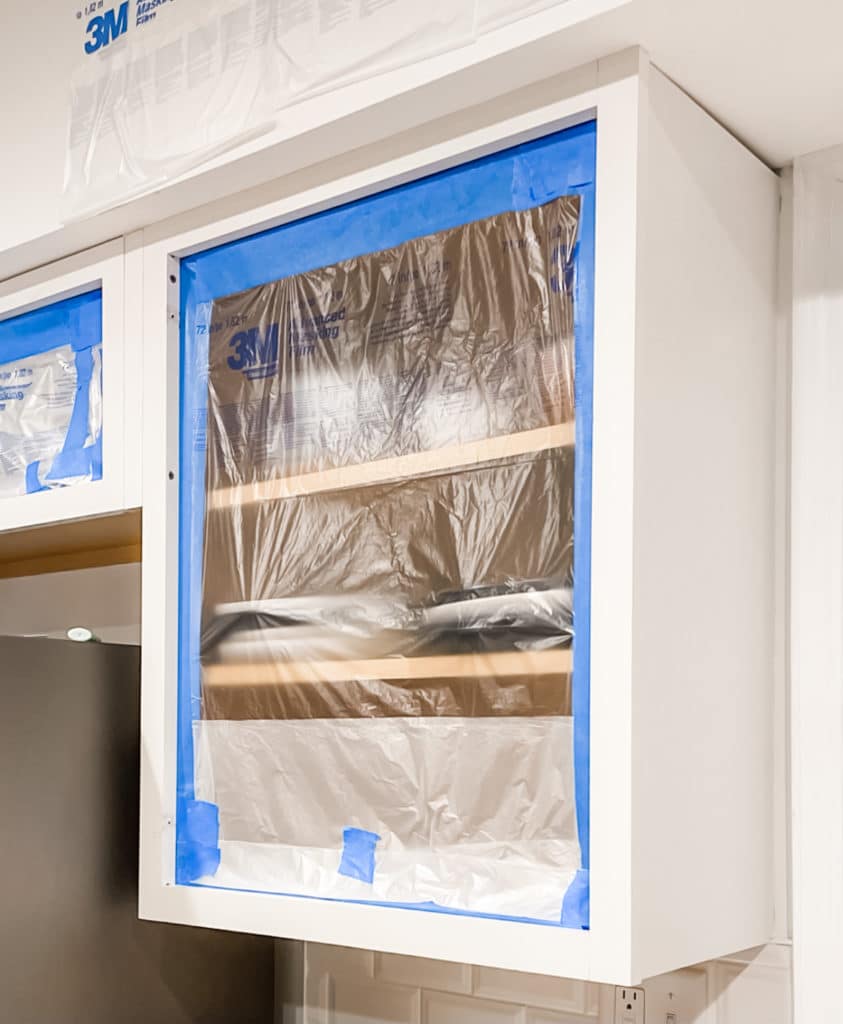
If you plan on using a roller/brush for your cabinet boxes, I would probably only cover the countertops and tape off edges alongside the wall/appliances. Depending on how confident you feel on your painting skills you might want to cover the inside of the cabinet box as well.
In order to use the masking film efficiently, you’ll need to use a hand-masker. They are definitely a bit pricey, but an investment nonetheless.
This step was the most tedious to complete but it is crucial if you don’t want to end up with a huge mess afterwards.
Cleaning
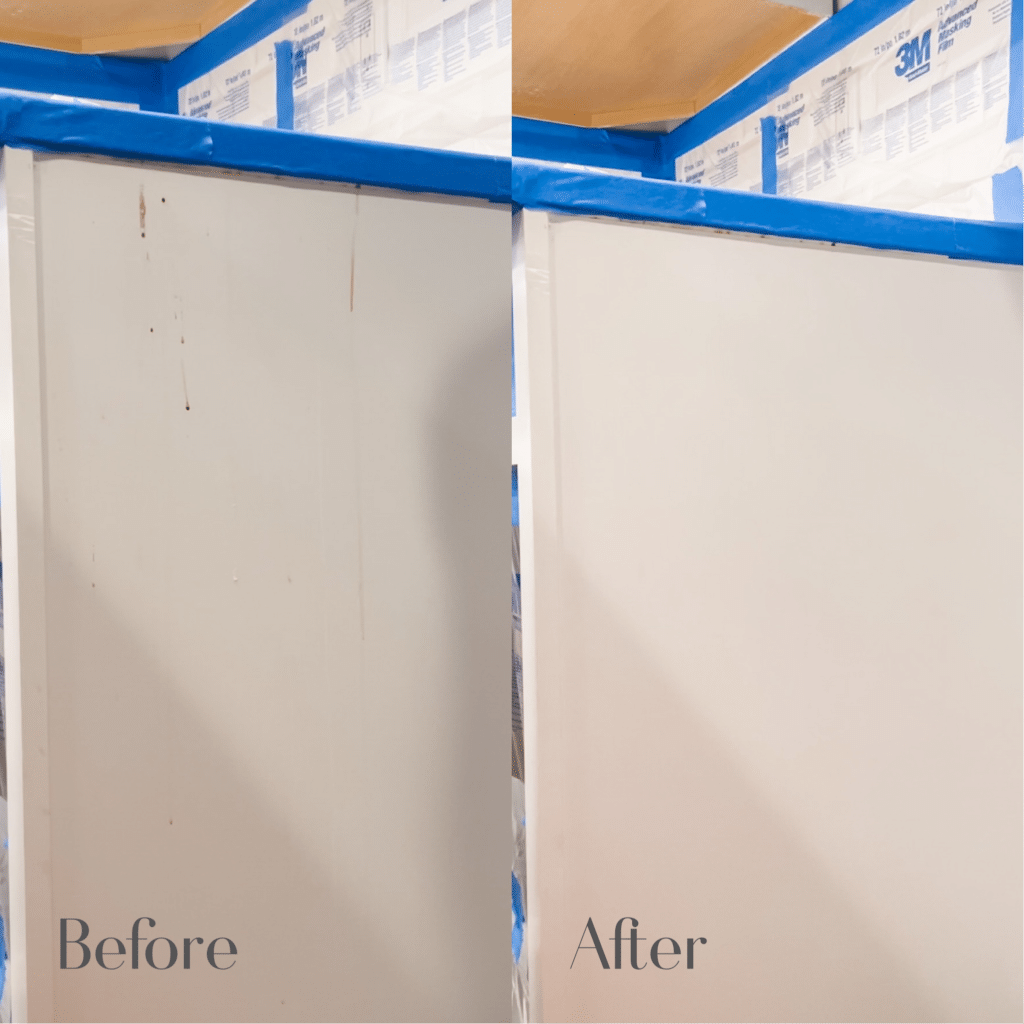
Before moving forward, wipe down your cabinet boxes to remove any dirt/grease buildup.
To clean the cabinets I used 1/4 cup of TSP and 1/2 gallon of hot water.
Prep & sand
Before beginning to sand inspect your cabinets for any cracks in the wood. Go in with some wood filler to close in any small gaps or imperfections that you may see.
For better paint adhesion it’s always a good idea to give your surface a light sand. I used 320 grit sanding paper.
Be sure to use a tack cloth or a vacuum to clean up the excess dust left behind.
Prime
Once all of your prep work has been completed, it is time to prime. This step is especially important if your cabinets are dark or have a noticeable woodgrain/knots. Using a primer will cover those areas and give you a nice and even surface to paint on.
You can either use a paint sprayer or a foam roller and brush to prime/paint your cabinets. I found it easier to use a roller for this step as I was having issues with my paint sprayer but it’s all personal preference.
Once your primer is dry do another round of sanding to ensure that you have the smoothest base for your paint to go on.
Paint
After priming and sanding your cabinets will finally be ready for paint. When selecting paint I recommend choosing a line that is durable and easy to clean – even if it means spending a little more money. After all the work that goes into painting cabinets you want to make sure that its worth your while and lasts for several years to come. Each paint brand typically carries a line that is specific for cabinets. Ask your sales representative if you are unsure with what line to go with.
Again, you can either use a paint sprayer or a foam roller and brush to apply your paint.
Once the paint has dried, remove all tape and masking film.
Cabinet Doors
Clean, prep, and sand the cabinet doors just as you did the cabinet boxes.
Conceal numbers
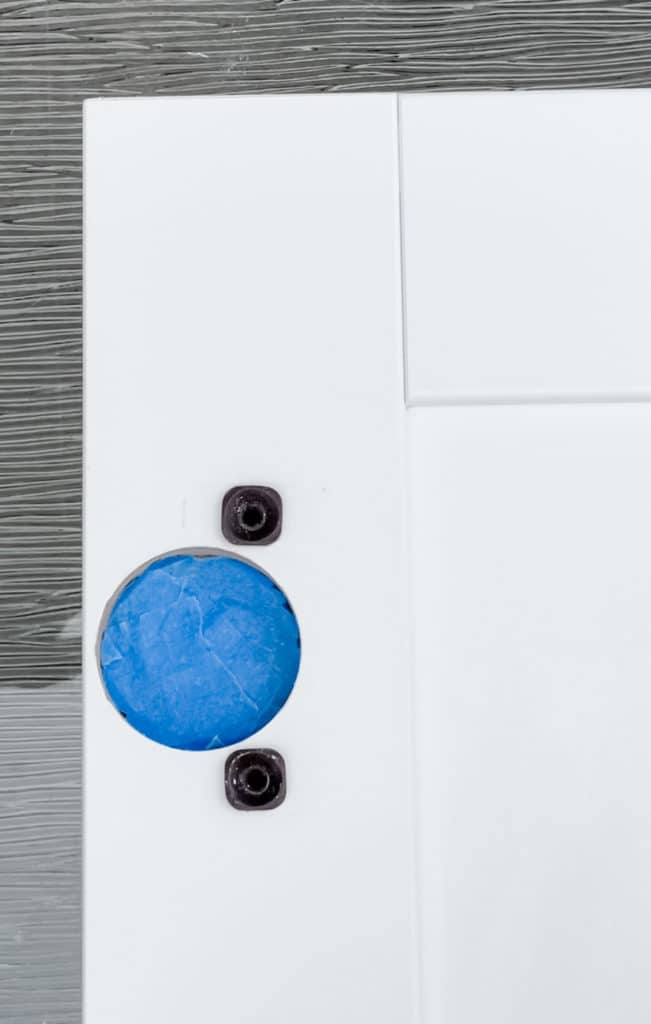
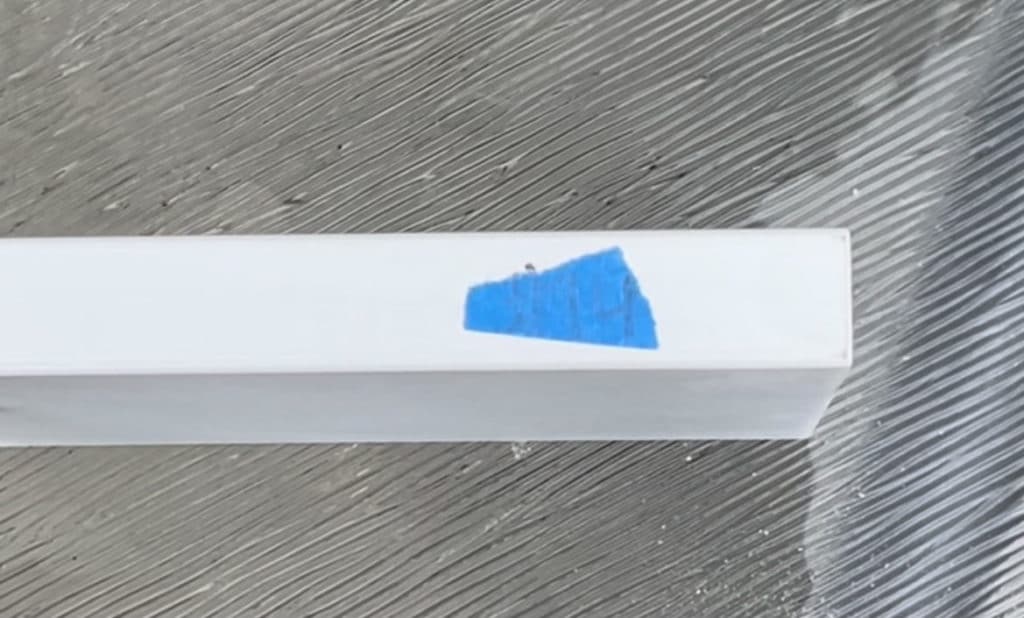
Before you paint the cabinet doors/drawers, be sure to cover the numbers that you previously labeled to avoid painting over them. You can do this by using painters tape to cover them up.
Fill in old screw holes
If you are going to be replacing any cabinet hardware, check to see if you need to cover any old screw holes.
If you find yourself needing to complete this step I highly recommend using Kwikwood. It doesn’t tend to shrink or crack like wood filler does. Kwikwood only takes about an hour to dry and it sands down beautifully. Once dried and painted over I honestly couldn’t even tell where the screw hole was previously!
Prime & Paint
I would highly suggest using a paint sprayer when priming/painting the doors if possible. The finish that a paint sprayer gives is impeccable! Not to mention that it also cuts down on time significantly. I used the Graco Truecoat 360 DS and have no complaints. It gave a beautiful finish and it was very beginner-friendly to use!
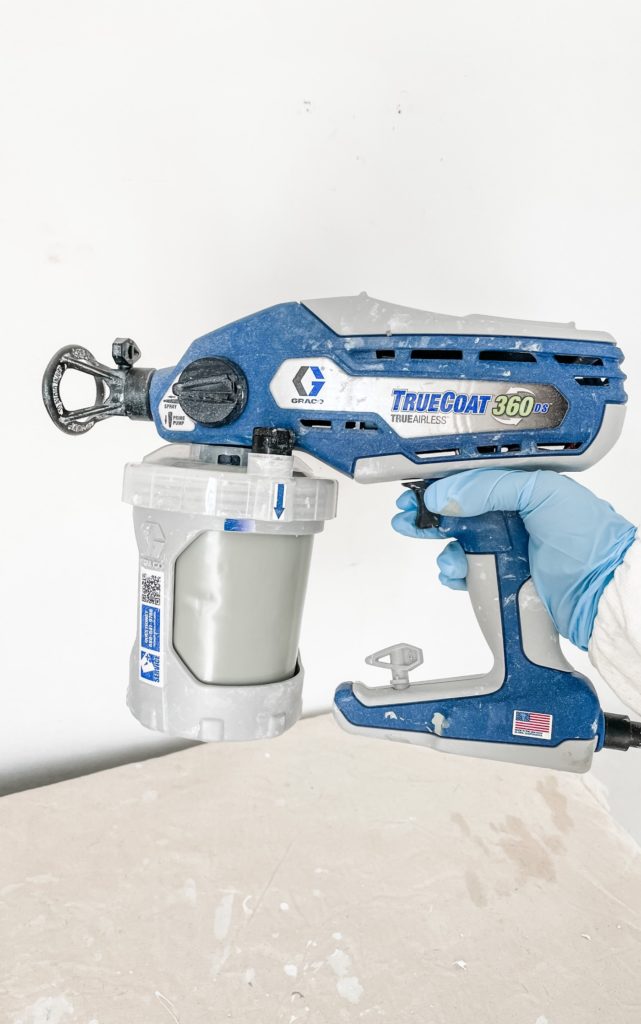
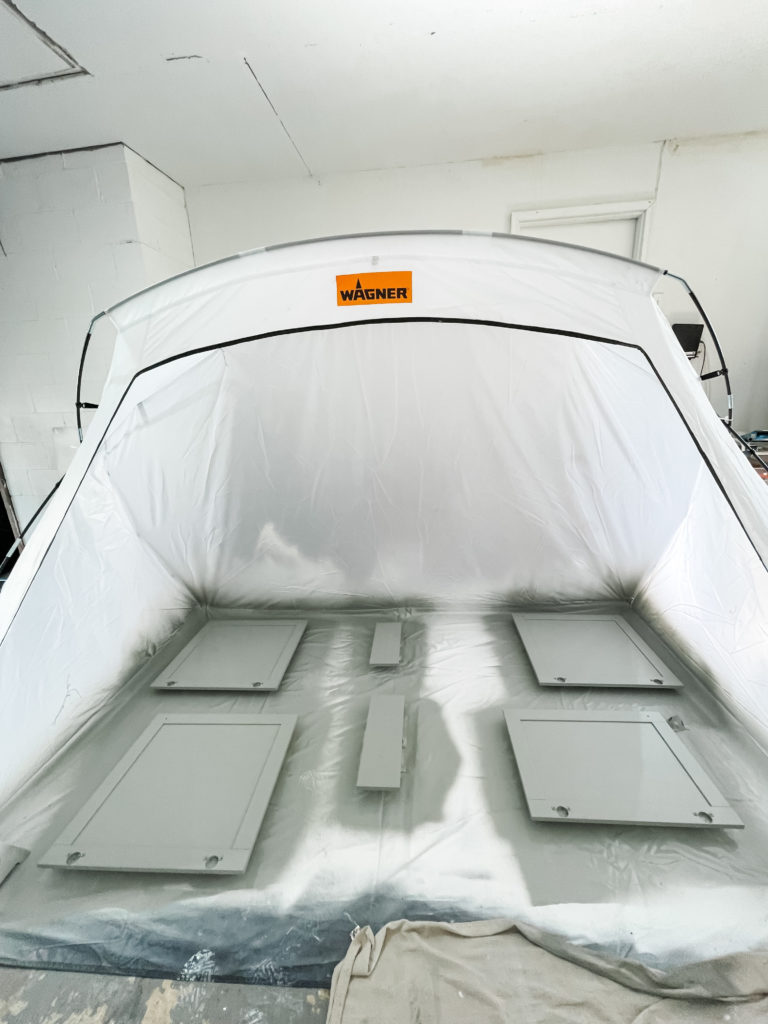
To avoid having to do more taping and masking I used a painter’s tent to help with the overspray when painting the cabinet doors.
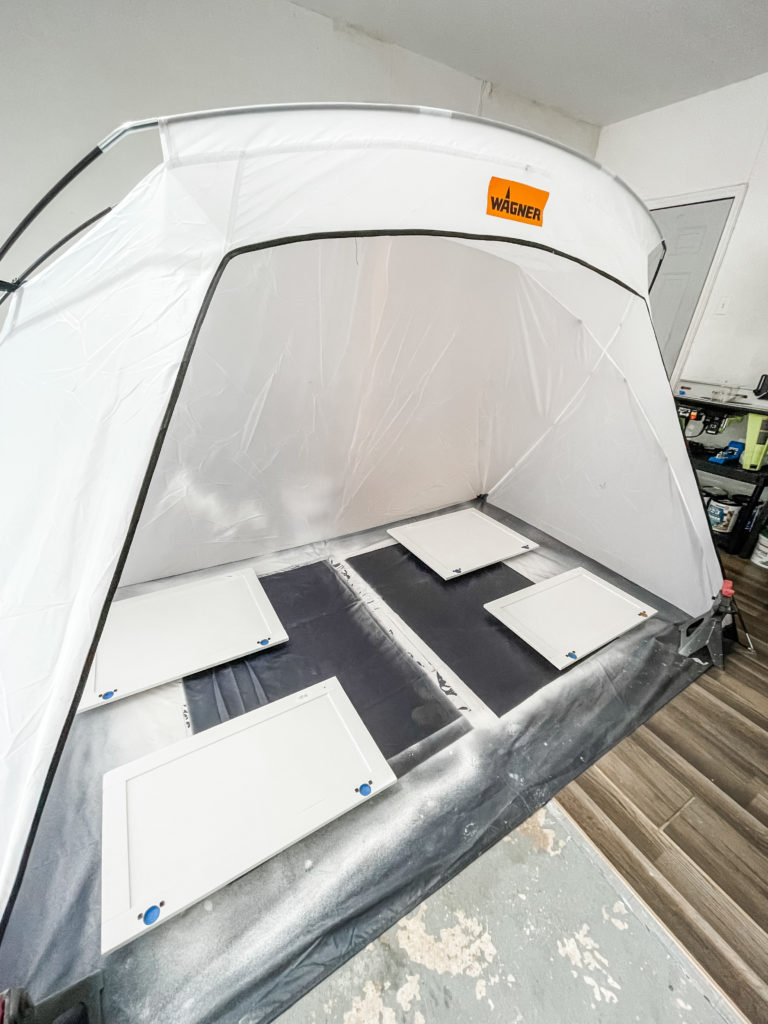
Begin by laying painter’s tripods/pyramids on the ground. This will allow you to spray the edges of your door by having it off the ground.
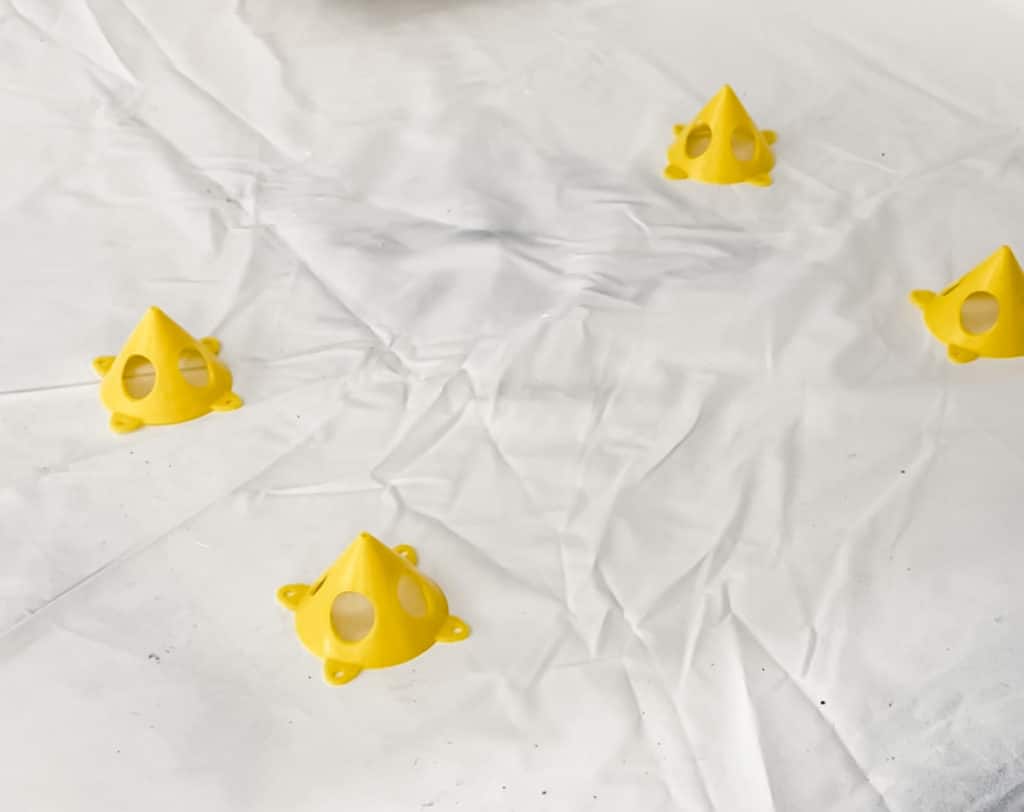
Always begin by spraying the backside of your doors first in case the painter’s pods leave any indents/imperfections on the finished surface. I suggest using tripods with a flat top surface to avoid dealing with accidental scratches or indentations that pointy ones may cause.
Once the backside of your doors is completely dry, flip them over and spray the front face of the doors.
Repeat this process until all doors have been primed and painted.
Reassemble Cabinets
Remove the painter’s tape previously placed within the hinge socket and on the bottom of cabinet drawers. Attach doors back onto their corresponding cabinet.
Place hardware onto cabinets and add new cabinet bumpers if needed.
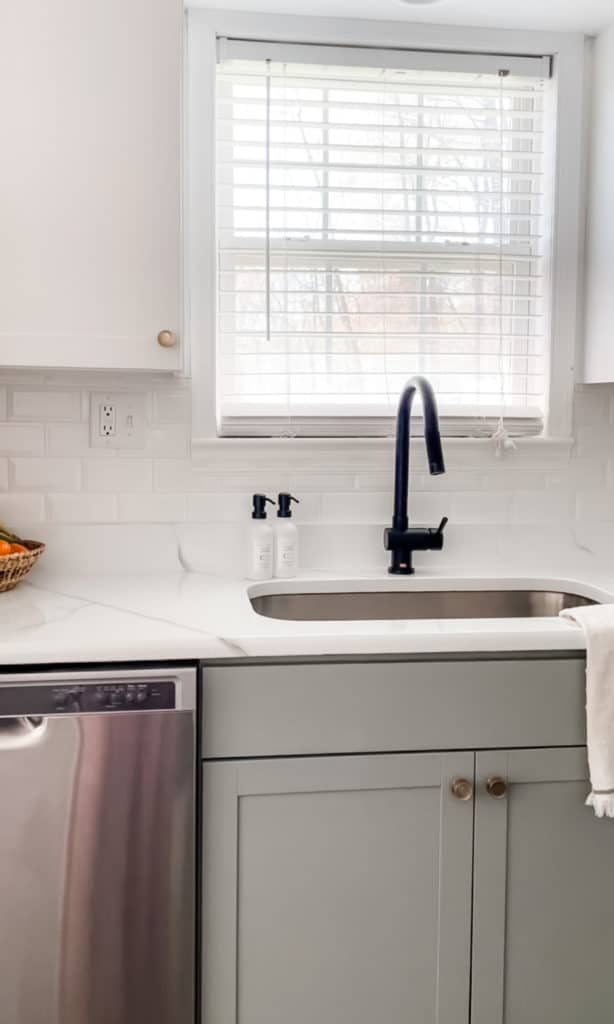
Do not underestimate the power of paint! Painting your kitchen cabinets can truly make your kitchen feel completely different. Overall the process is fairly simple (just a bit tedious). Once it’s all said and done you’ll be wondering why you didn’t do it sooner!
If you would like to see more of this project in action check out @ourblissfulnest on Instagram! There you can find a highlight titled “Kitchen Cabinets” on my page where you can see step-by-step video progress. As always, if you decide to try this project out feel free to tag @ourblissfulnest on your Instagram post or send me a picture via DM or email. I would love to see how it turns out!
Additional Notes:
I cannot stress the importance of finding a paint sprayer that works best for YOU. This project would have been so much easier on me if I would have had the proper sprayer to begin with. I started out with one that was too complicated for me to use and on top of that was having issues that were difficult to troubleshoot. That resulted in me getting frustrated and I ended up rolling the cabinets instead. I WISH I would have retuned that one right then and there and purchased the one that I ended up working with sooner. I would have most definitely sprayed the cabinet housing with the Graco Truecoat 360 DS instead of rolling it.
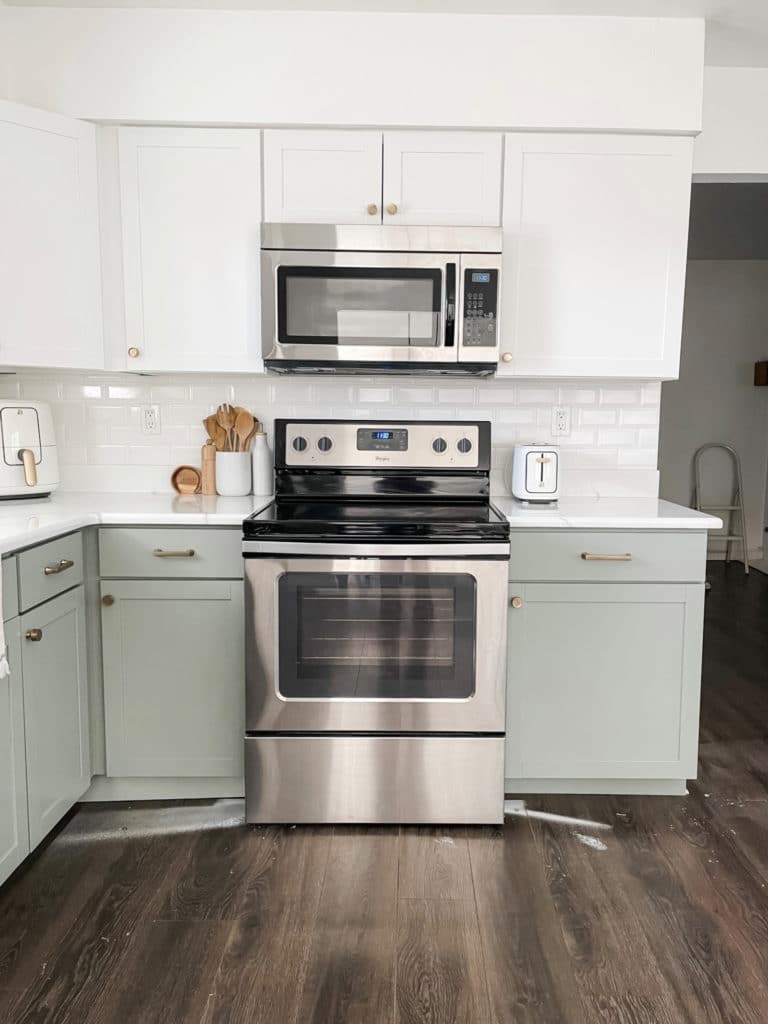
For reference my upper cabinets are painted “Pure White” By Sherwin Williams and lower cabinets are “Pigeon” by Farrow and Ball. As far as hardware goes, both knobs and pulls are by the brand Liberty in the color “Champagne Bronze”
Disclaimer: This post contains links in which I do earn a small commission from if you decide to purchase through them. This comes at no additional cost to you and as always your support is greatly appreciated!