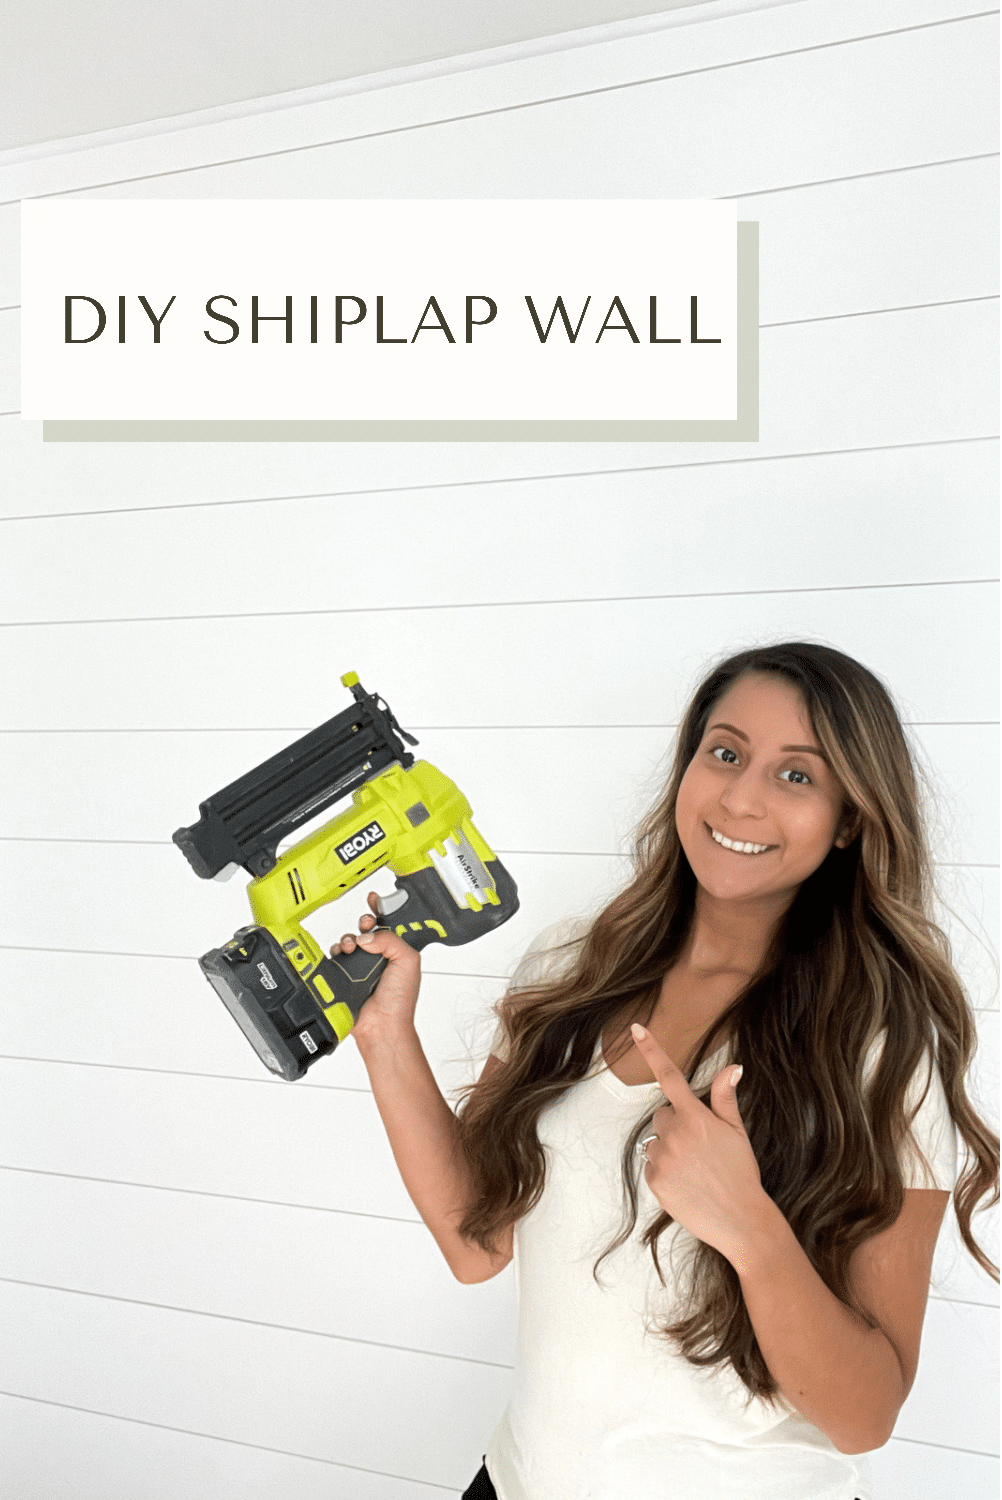
How to Create A DIY Shiplap Wall in 8 Easy Steps
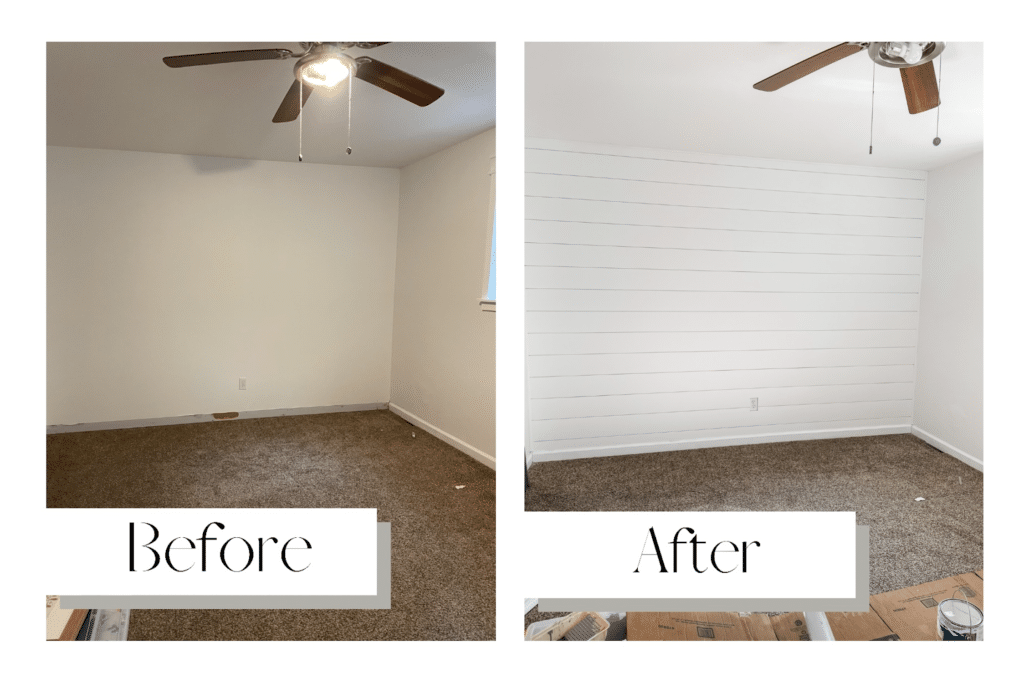
Creating an accent wall using shiplap is one of the easiest ways to transform a room. If you are new to DIY and have been looking for an easy project to dip your toes into- this would be a great one to start off with. It is fairly simple and requires minimal tools but creates a huge impact in any room!
This post will walk you through the step-by-step process of how to DIY your own shiplap wall.
Specifically, this post will go over the installation of primed pine nickel-gap shiplap. In my opinion it is the easiest to install. If you prefer a more budget friendly option I suggest using MDF boards or plywood.
Supplies Needed:
- Shiplap panels
- Measuring Tape
- Trim Puller
- Utility Knife
- Stud Finder
- Pencil
- Rafter Square
- Quarter round trim
- Spackling Paste
- Sanding Block Sponge
- Paintable Silicone Caulk
- Caulk Gun
- Paint color of choice
Tools Needed:
- Miter or Table Saw
- Brad Nailer
SHOP SUPPLIES & TOOLS HERE:

Step 1: CalculatIONS
If you want to avoid multiple trips to the store it is helpful to know how much shiplap you’ll need from the start.
You can manually find out how many shiplap panels you’ll need by multiplying the height by the width of your wall. This number will give you the area of square footage that you’ll need to cover.
For example, if my wall is 8ft tall and 12ft wide, then the area of square footage to be covered is 96.
8 x 12 = 96
Next you want to take the square footage number and divide it by your shiplap panel width. If you are using nickel-gap shiplap keep in mind that although it is advertised as 8 inches wide (as an example) the face of the panel is only 6.5 inches in reality. That extra 1.5 inch does not end up counting since the groove portion of the shiplap is just overlapped by another panel.
Continuing with the example above, you would divide 96 by 6.5.
96/6.5 = 14.8
You would round up the number to get a total of 15 panels.
If you are not much of a math person like myself or if you would like to double check your math, there are calculators online that can do the math for you. Click here to input your measurements into a calculator.
Step 2: Remove Baseboards
Since shiplap panels tend to be thicker than most baseboards, you’ll want to remove the baseboard before you get started.
Take your utility knife and score the caulk that seals the baseboard. Continue by using your trim puller.
(If you have one on a hand, a multi-tool can also be used to remove your baseboards)
Try to be careful when removing the baseboard. If you are able to keep it in one piece you can reuse it once the shiplap is in place.
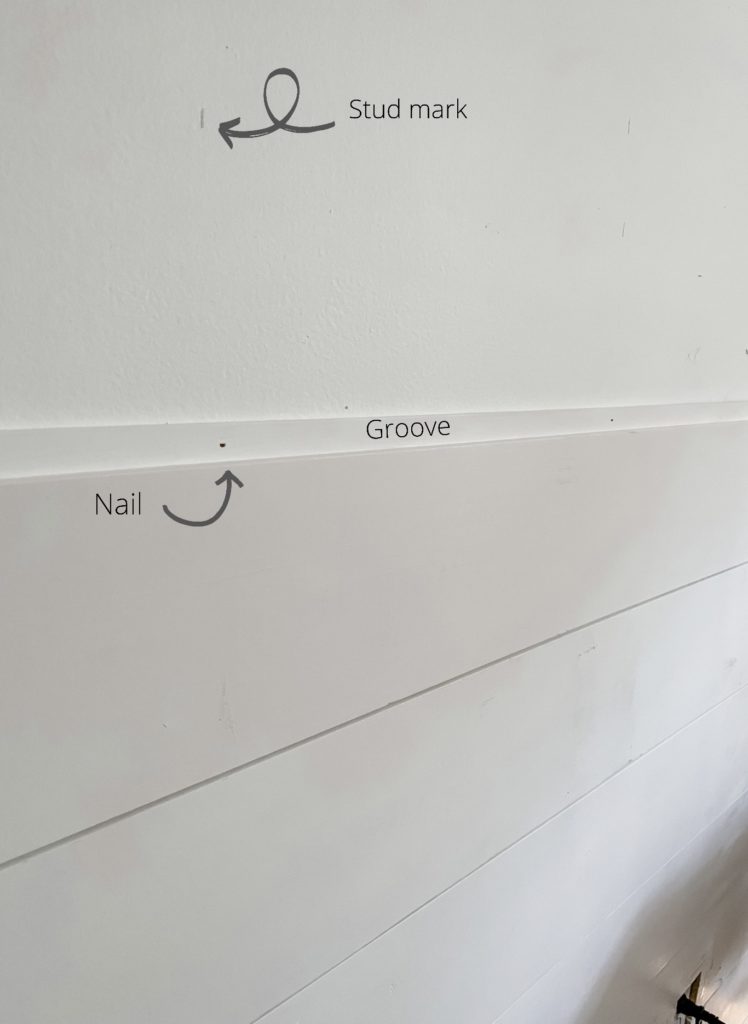
Step 3: Mark your Studs
If you are installing your shiplap horizontally, you want to make sure that you nail it into the studs of the wall. This provides a stronger anchor rather than nailing it directly into the drywall.
To find the studs in your wall use a stud finder.
Run your stud finder across the wall and place a mark at every stud using a pencil. These will serve as your landmarks when you go to nail your shiplap in.
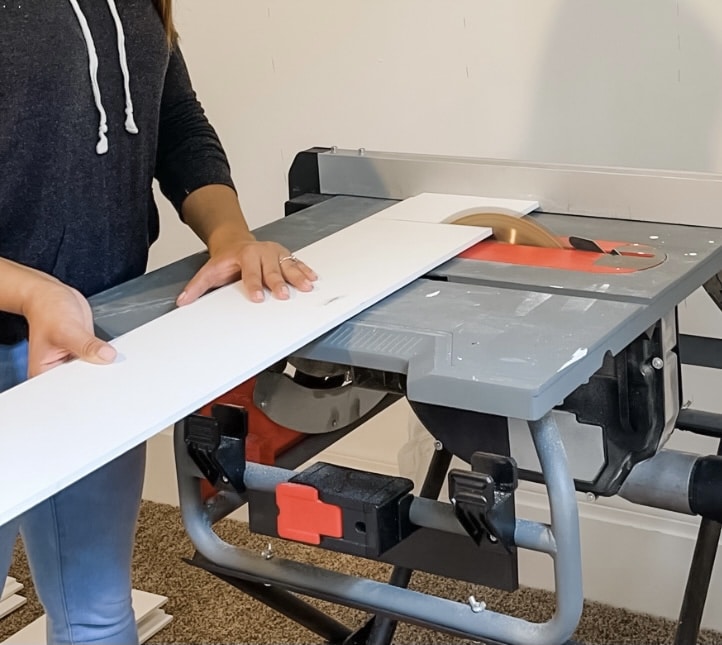
Step 4: Cut Shiplap to Size
It is important to keep in mind that walls are never perfectly straight. For example, your bottom shiplap panel may measure 11ft 3/4 but the next panel could measure 11ft 1/2 and so on. Therefore, you’ll need to carefully measure as you go for each panel. While it is a pain to have to go back and measure constantly, you will quickly realize that it is necessary.
You can utilize a rafter square to create a perfectly straight line to mark where you’ll need to make your cut.
I recommend using a miter saw to cut your shiplap to size but a table saw will work just as well.
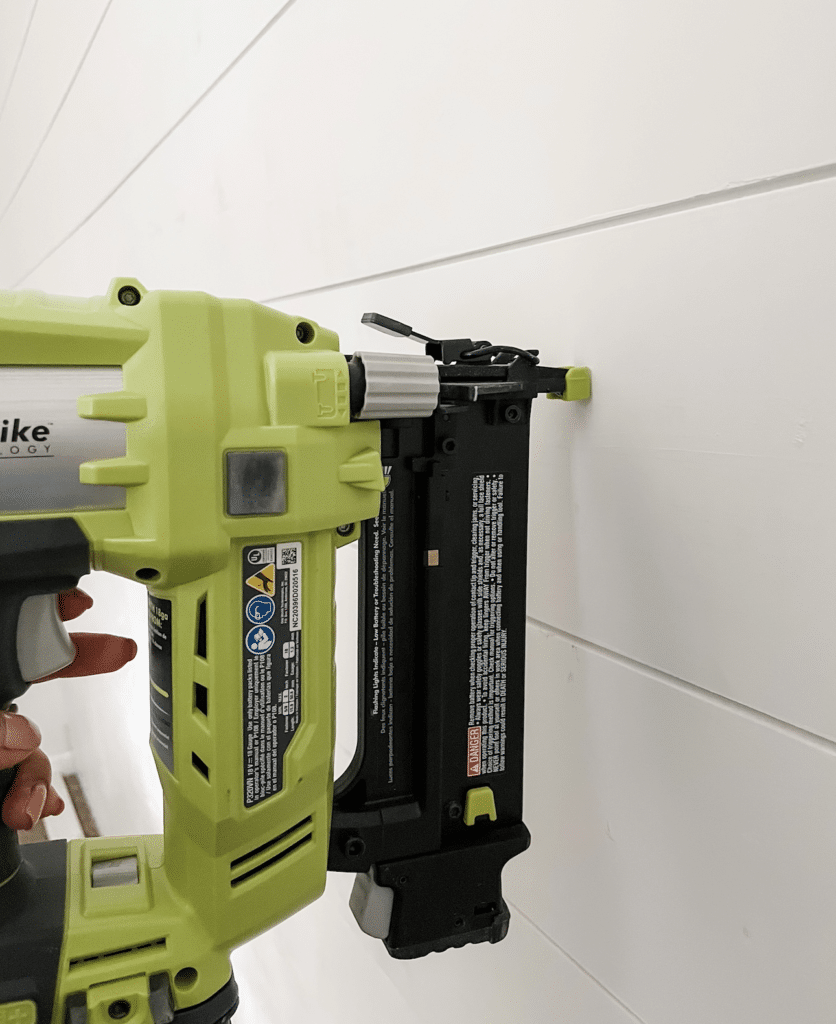
Step 5: Anchor Shiplap onto Wall
This is where the fun begins! Starting at the bottom of your wall, begin nailing the shiplap into the studs with the side of the groove facing up.
I recommend placing most of your nails within the groove of your shiplap. By doing so, you will have less holes to fill in at the end since the grooves will be covered by the next panel.
Repeat this step until all of your shiplap is in place.
Tip: Sometimes there may be a large gap between the wall and your panel. This makes it harder to create a strong anchor onto your stud. To fix this problem use wood shims to place in between the wall and the shiplap. The shims act as a filler to close the gap and therefore, allow for a sturdier anchor. If your shim is too tall in comparison to your panel, use a razor blade or saw to trim off the excess.
Step 6: Add Trim
Once all of your shiplap has been anchored you can add trim to the outside perimeter of the wall. This step is optional but I promise you that it will make the overall appearance of your wall look more put together.
There are various trim options to choose from, but I suggest using quarter trim.
Using your miter or table saw, cut your trim at a 45 degree angle so that each piece fits snuggly into one another. Don’t stress if your cuts aren’t perfect, you can always go back and fill them in with caulk.
Attach trim with a brad nailer and finish off with your baseboard.
Step 7: Fill Nails, Sand, & Caulk
While these tasks may be tedious, they are what pull the project together to give it that clean and professional look.
Use spackle paste to fill in nail holes.
Sand over the spackling paste with a sanding block sponge once it’s dry. It also doesn’t hurt to give a light sand over the entire shiplap panel in order to prep it for paint.
Run a tack cloth over the wall to pick up the excess sanding dust left behind.
Lastly, caulk around the trim. Wipe the excess off by using baby wipes or wet paper towels. If you accidentally get caulk in between the shiplap panels, a skewer or toothpick will work great to clean it out.
Step 8: Paint
The last and final step is to paint. A pop of color looks great over shiplap or keep it simple and clean with coat of white paint. Either way you can’t go wrong!
**Tip: To avoid struggling to paint in between panels, paint the side of the grooves BEFORE you nail them into the wall. Or if you prefer to anchor the panel first, paint the groove before adding the next panel. Trust me, this will end up saving you time in the long run.
Simple enough, right? I hope this post gives you the confidence to tackle on your own DIY wall! You can find video clips of this project on @ourblissfulnest’s Instagram page. They are saved under a highlight titled “Shiplap Wall”. If you have any questions leave them down below. As always, if you try out this DIY feel free to tag @ourblissfulnest on your Instagram posts or send a picture via DM or email. I would love to see how it turns out!
Disclaimer: This post contains links in which I do earn a small commission from if you decide to purchase through them. This comes at no additional cost to you and as always your support is greatly appreciated!