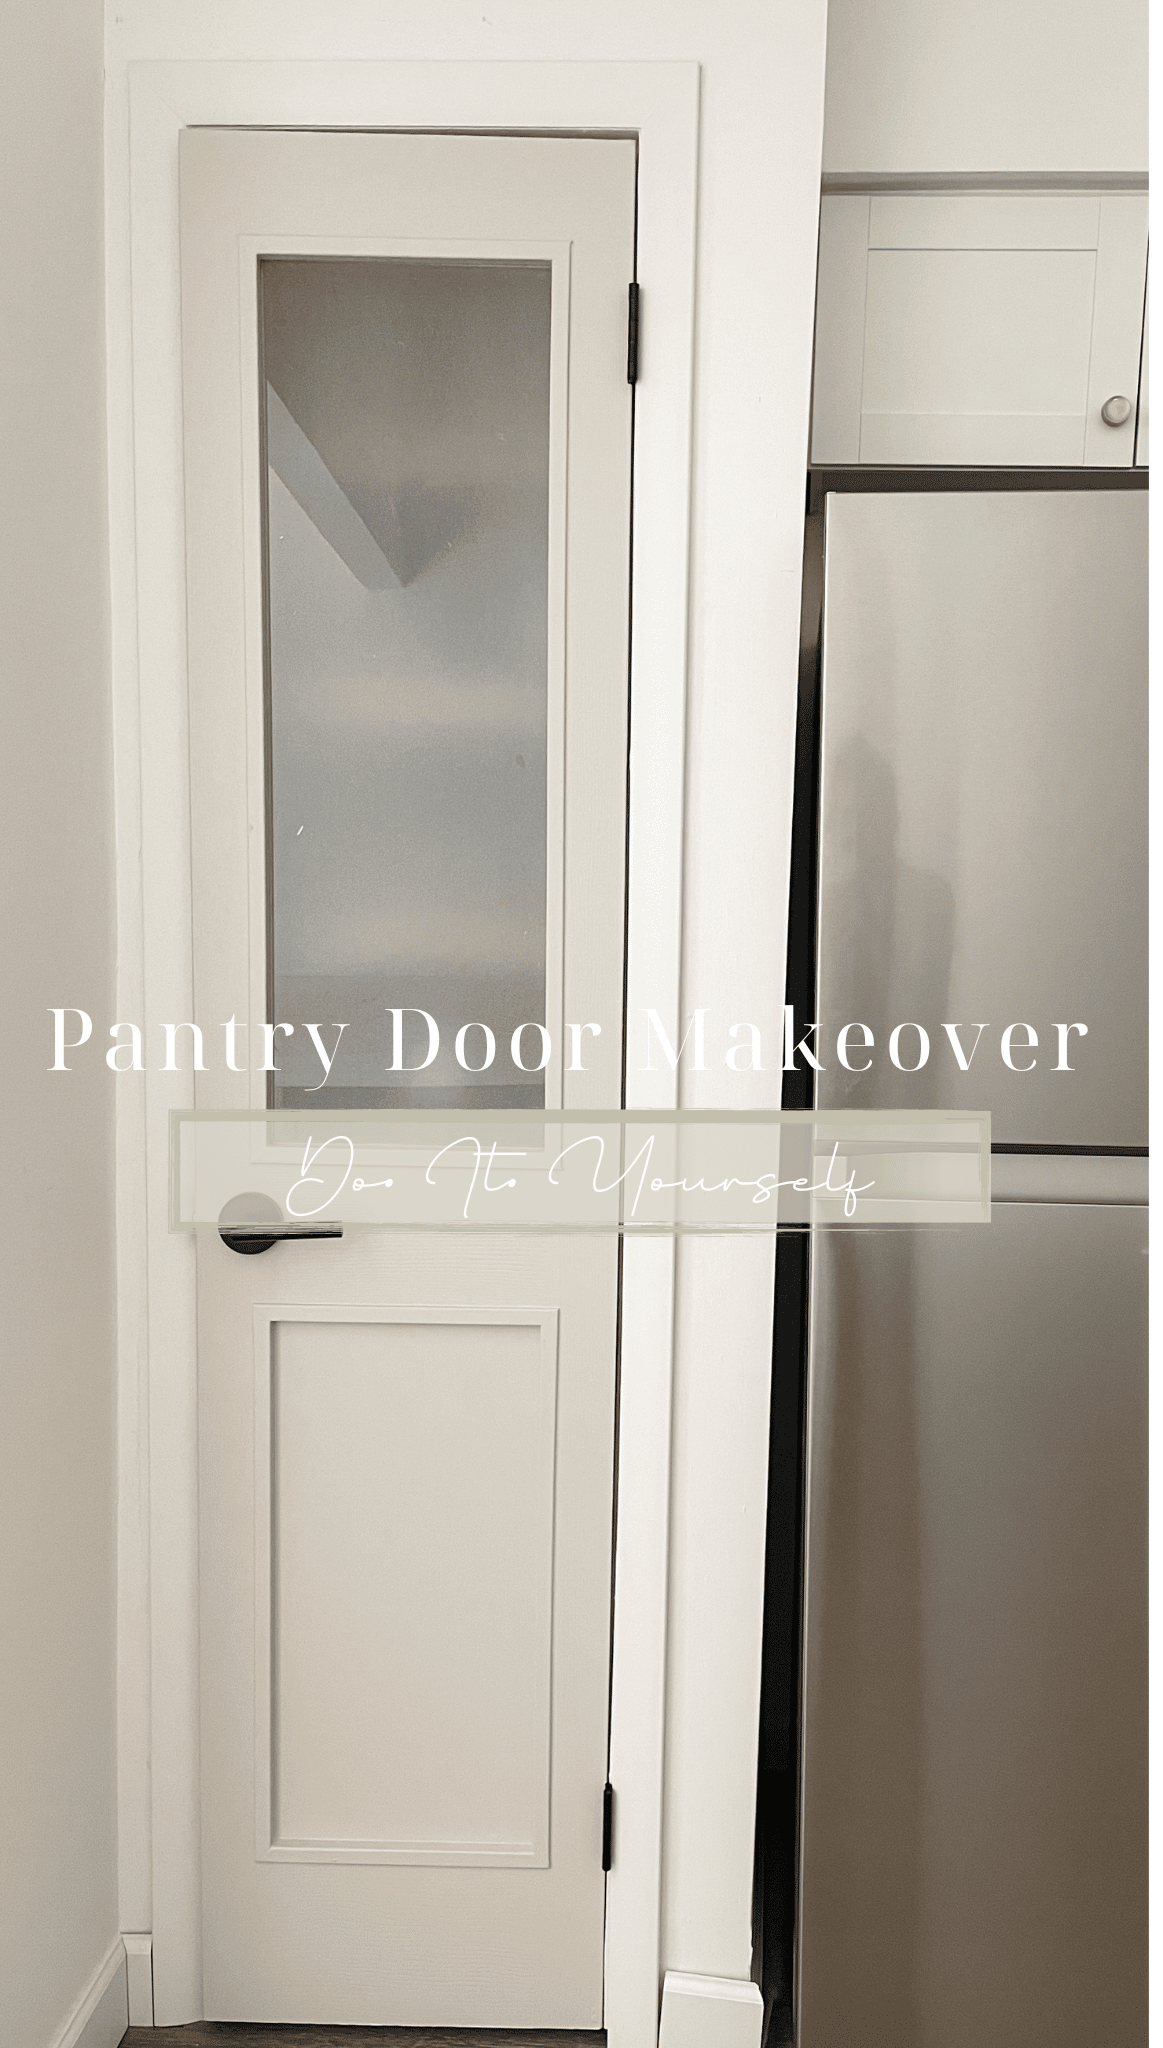
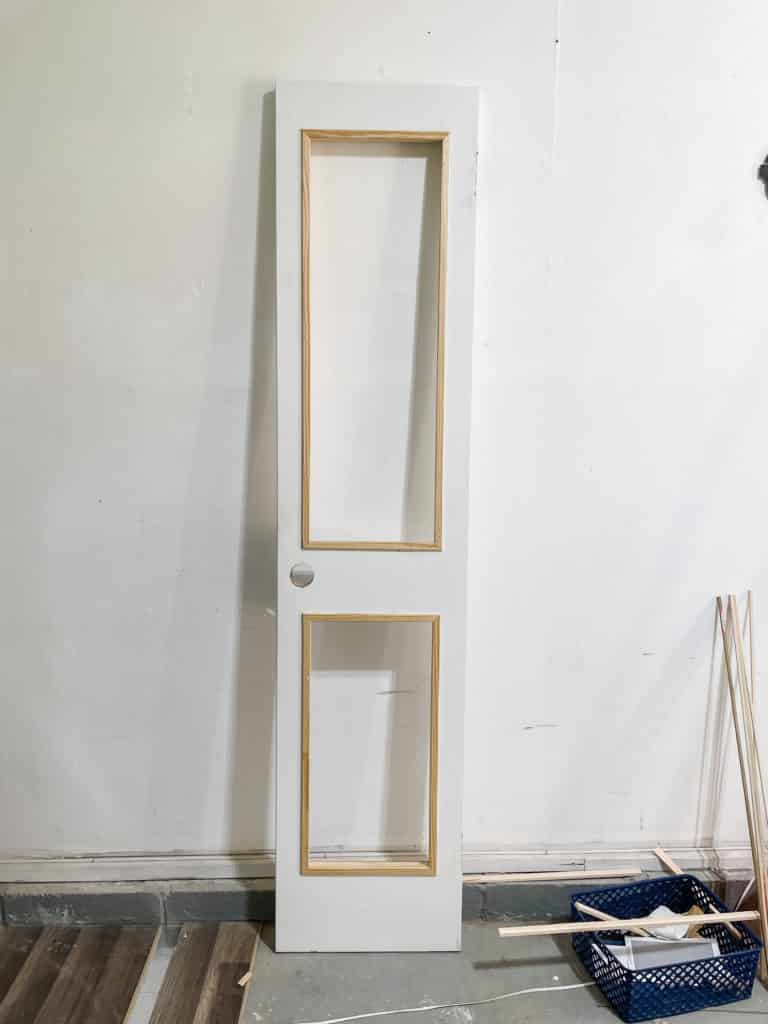
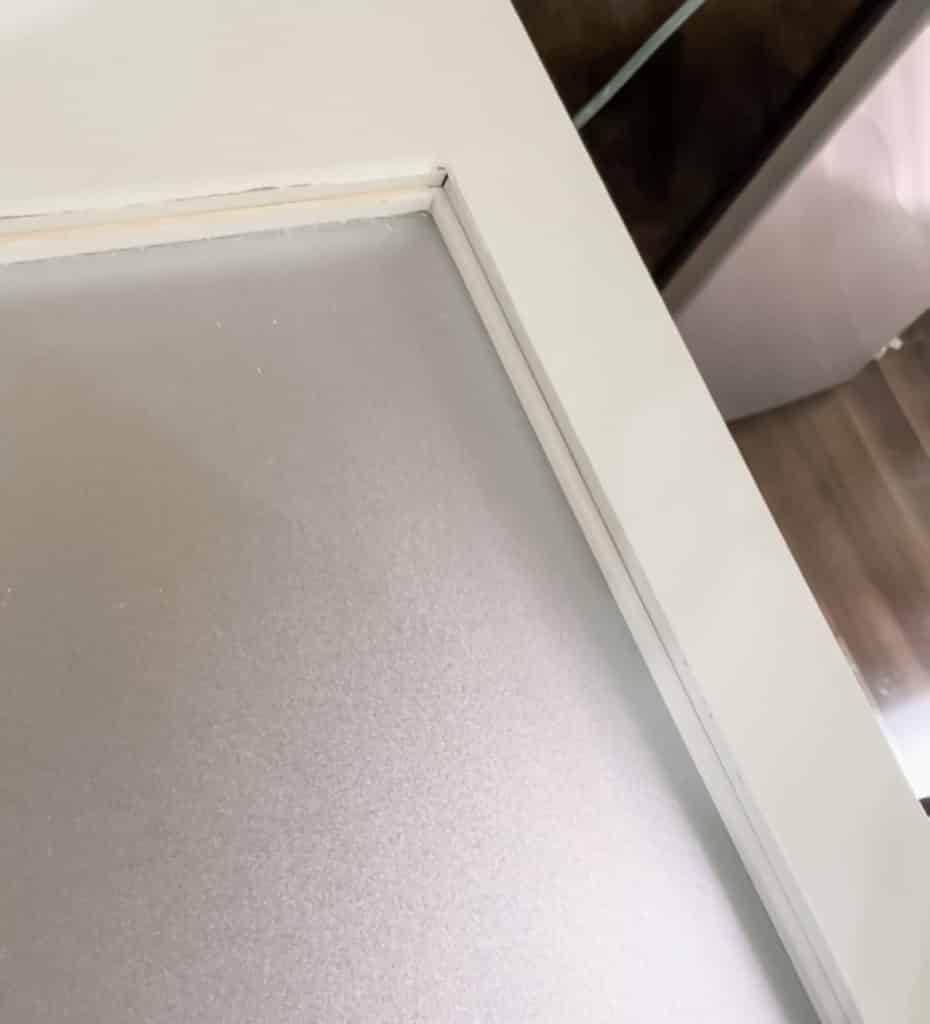
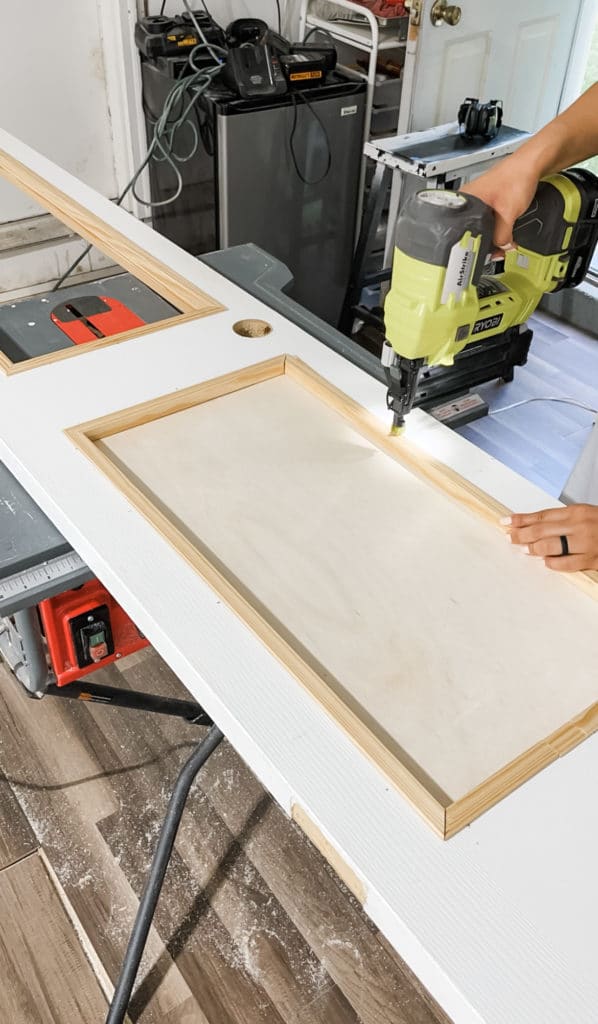
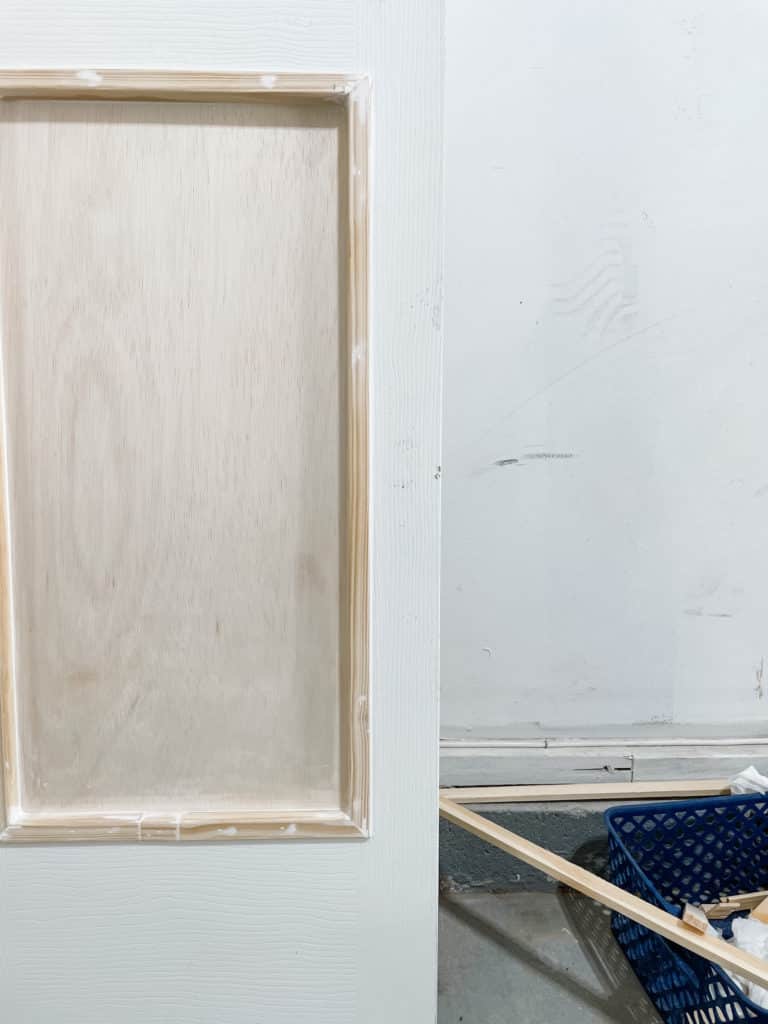
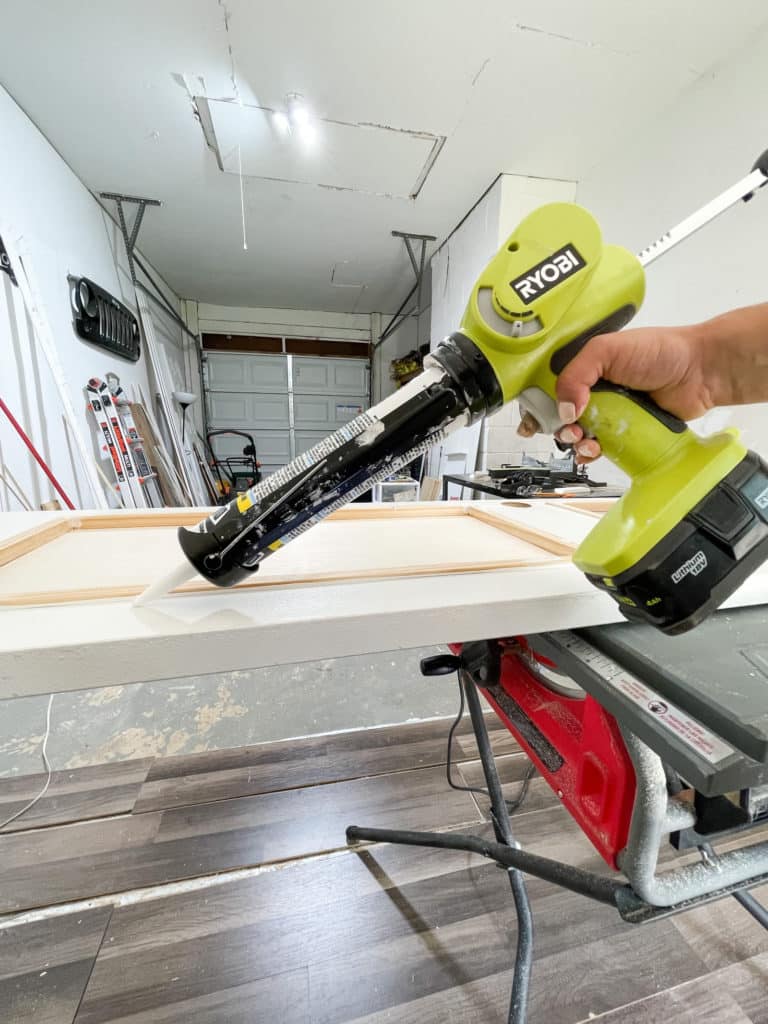
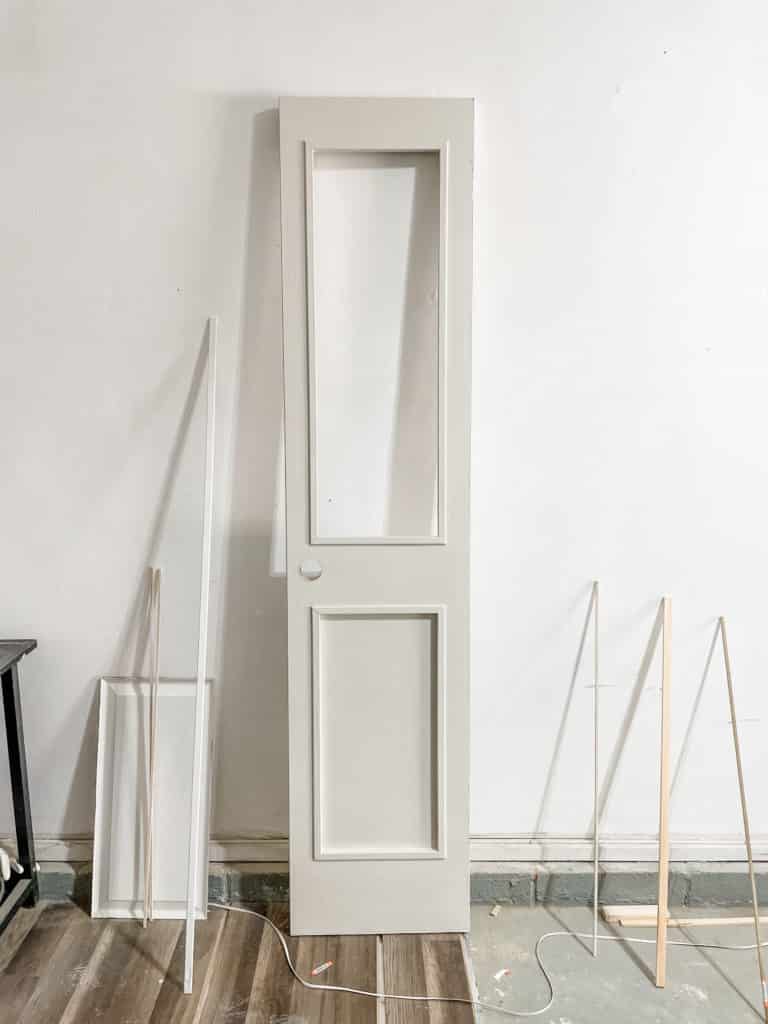
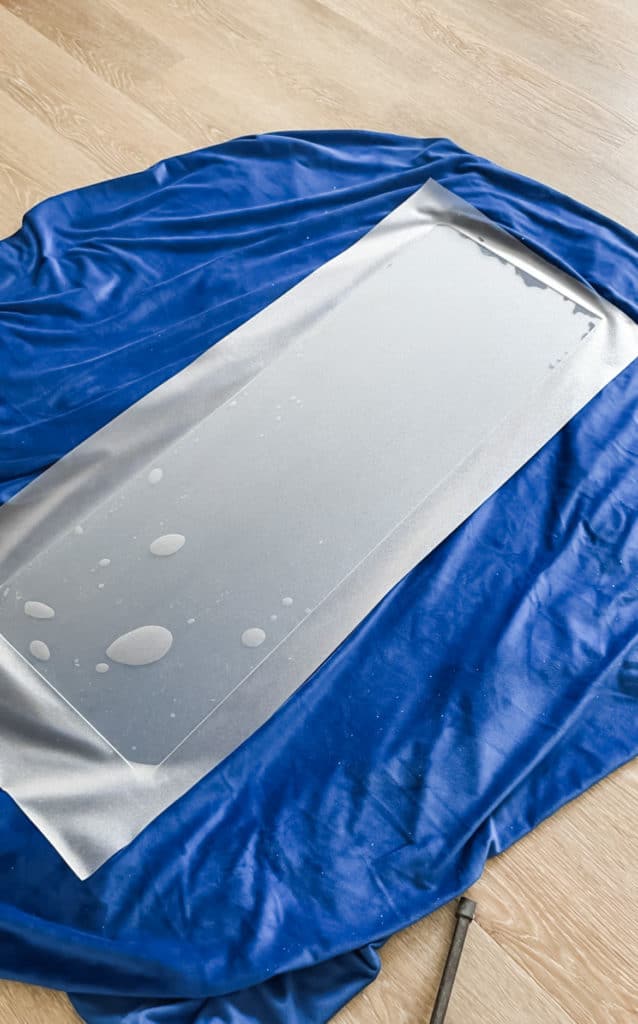
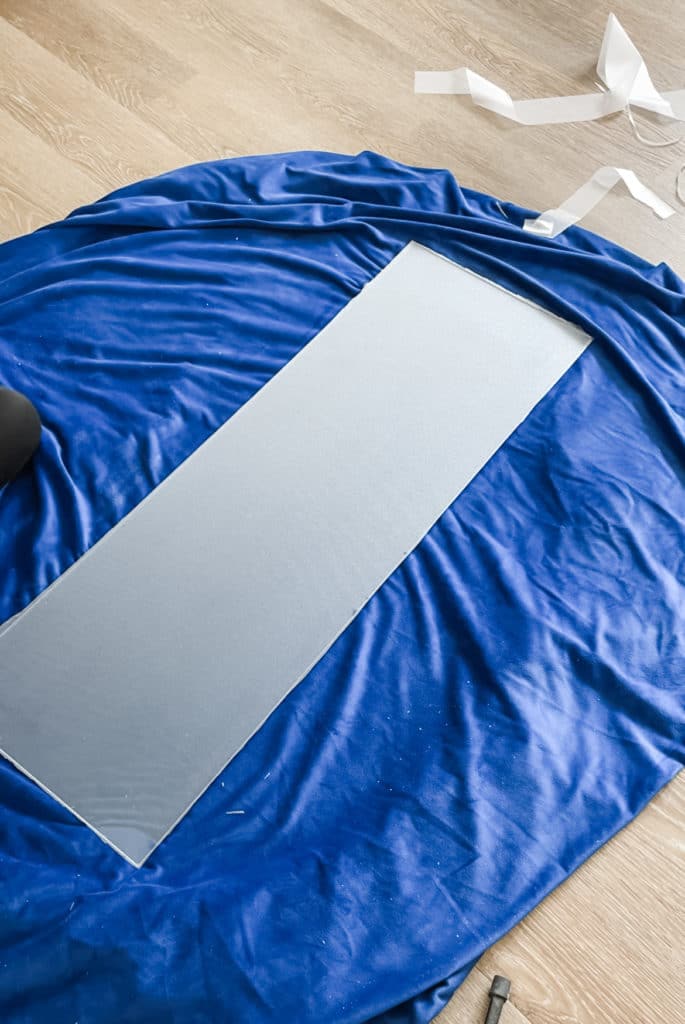
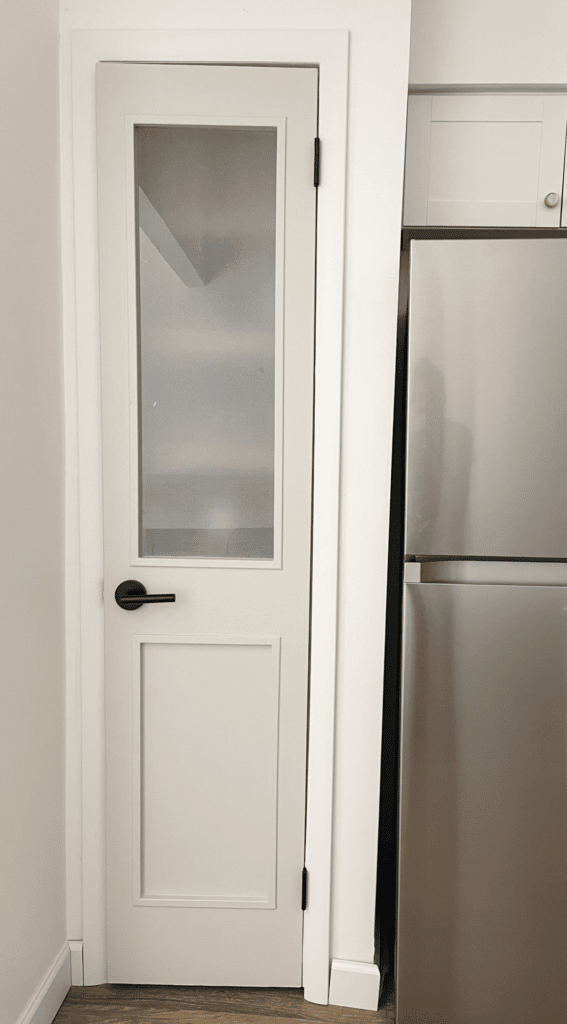
Pantry Door Makeover
SHOP TOOLS/SUPPLIES HERE:


SHOP TOOLS/SUPPLIES HERE: